About Us
Prowler Cloud
Walkthrough video onboarding an Azure Subscription using Service Principal.
Government Cloud SupportGovernment cloud subscriptions (Azure Government) are not currently supported, but we expect to add support for them in the near future.
Prerequisites
Before setting up Azure in Prowler App, you need to create a Service Principal with proper permissions. For detailed instructions on how to create the Service Principal and configure permissions, see Authentication > Service Principal.Step 1: Get the Subscription ID
-
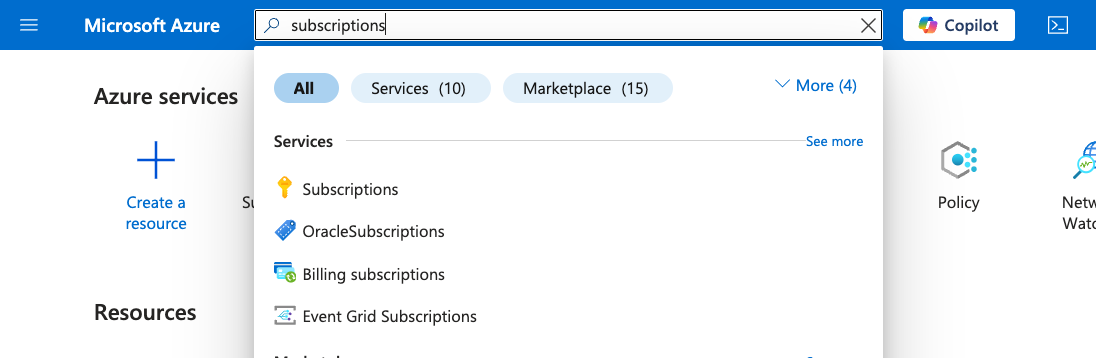
Go to the Azure Portal and search for
Subscriptions -
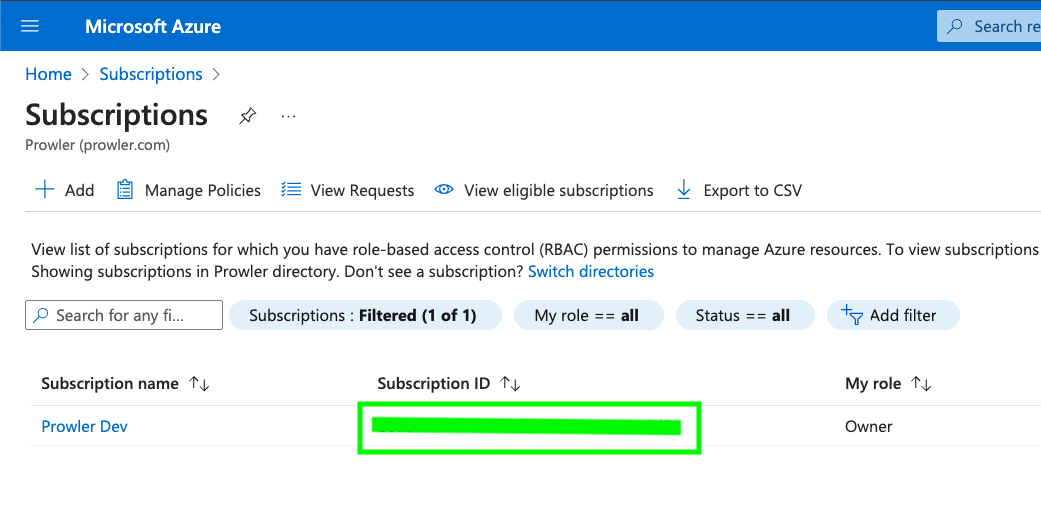
Locate and copy your Subscription ID
Step 2: Access Prowler Cloud
- Navigate to Prowler Cloud or launch Prowler App
-
Navigate to
Configuration>Providers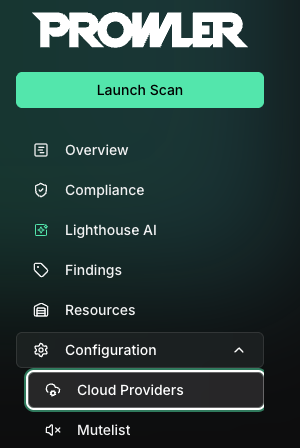
-
Click on
Add Provider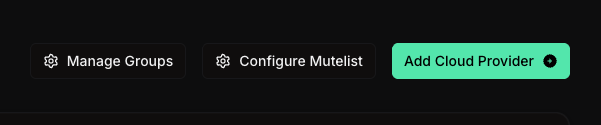
-
Select
Microsoft Azure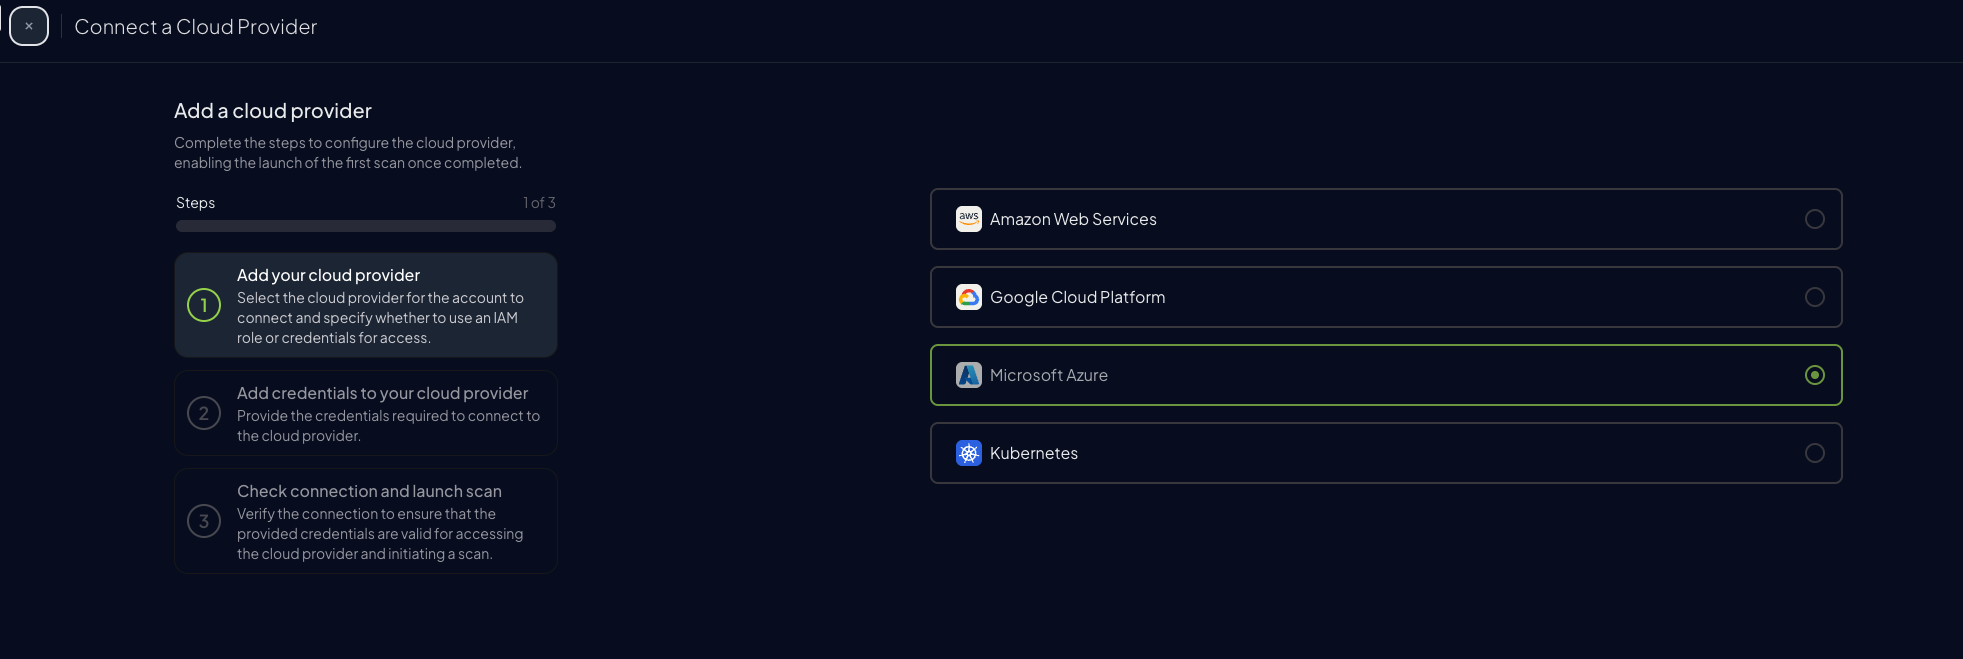
-
Add the Subscription ID and an optional alias, then click
Next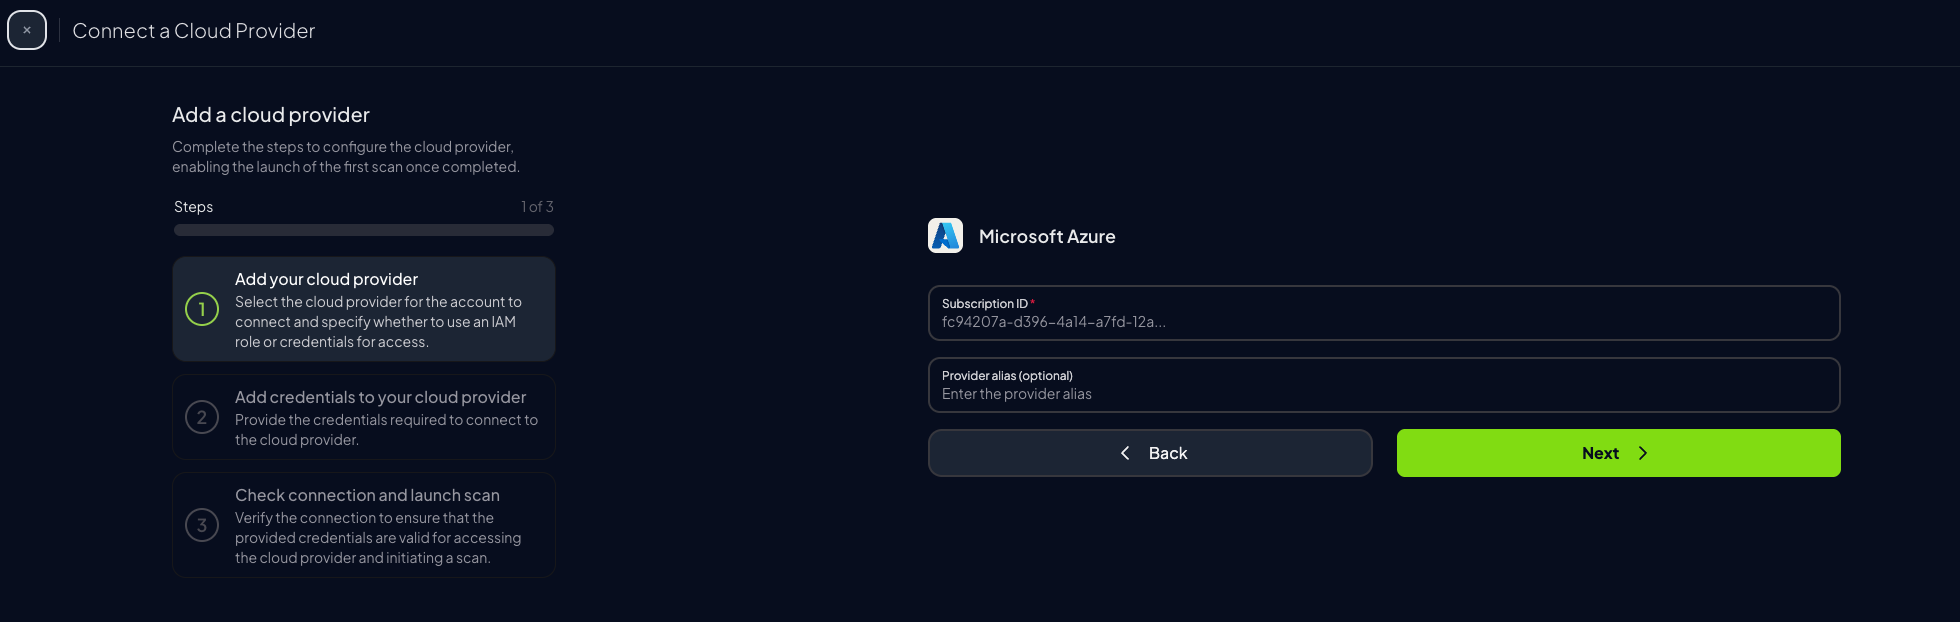
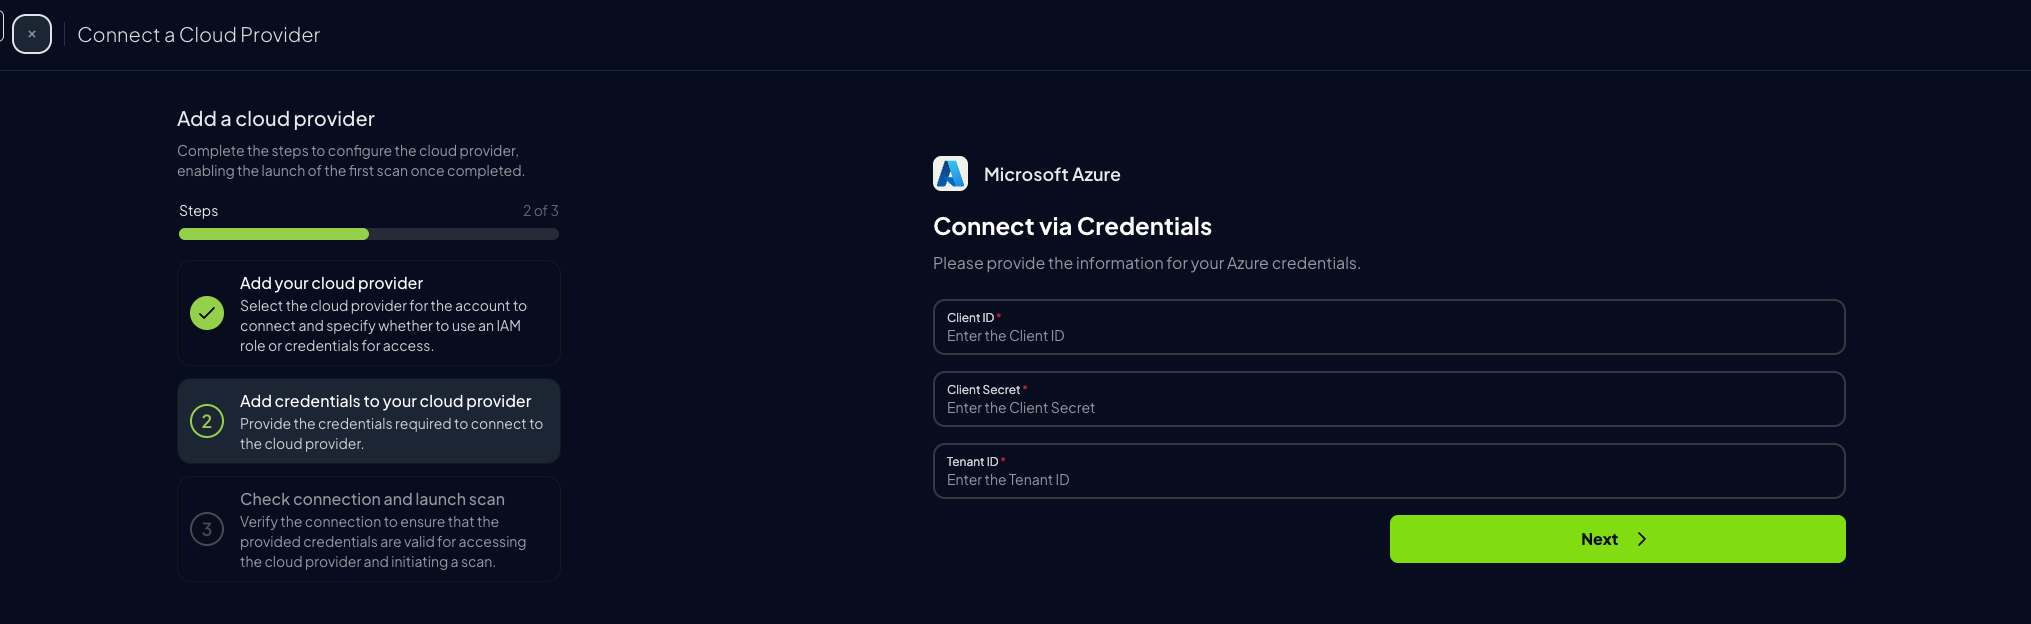
Step 3: Add Credentials to Prowler Cloud
For Azure, Prowler App uses a service principal application to authenticate. For more information about the process of creating and adding permissions to a service principal refer to this section. When you finish creating and adding the Entra and Subscription scope permissions to the service principal, enter theTenant ID, Client ID and Client Secret of the service principal application.
-
Go to your App Registration overview and copy the
Client IDandTenant ID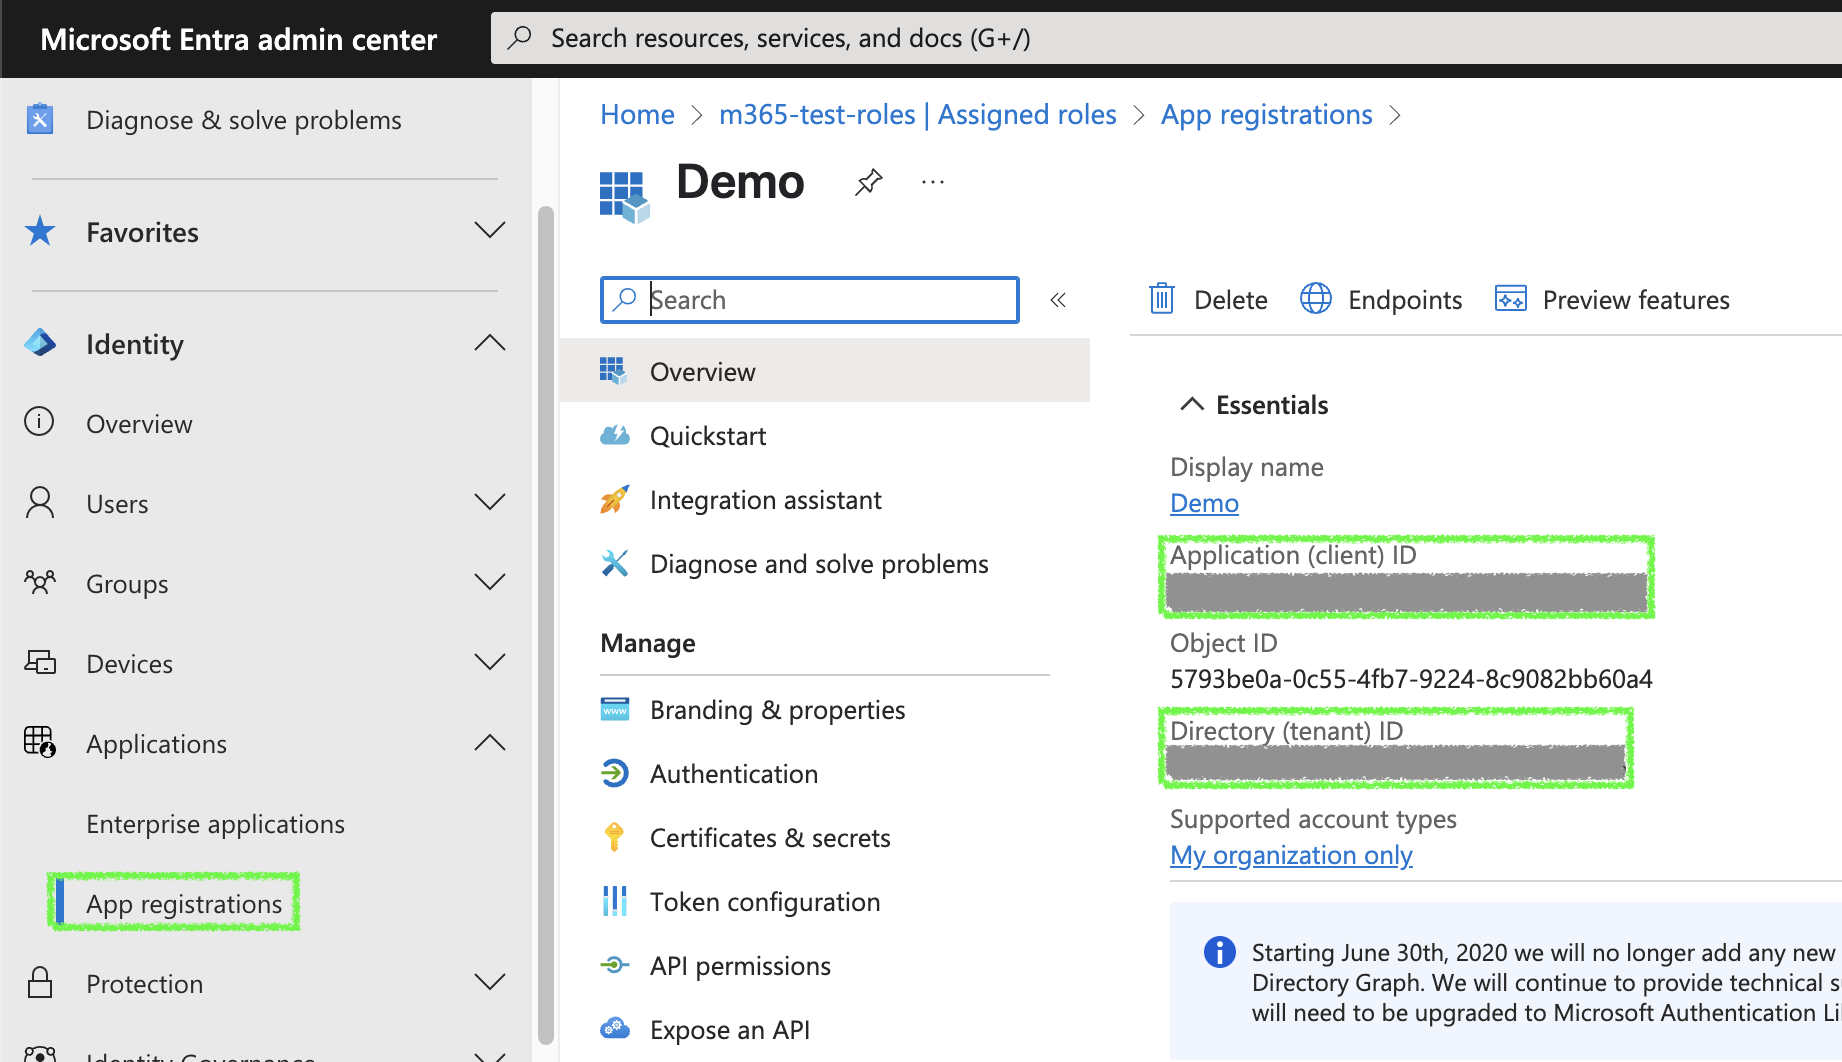
-
Go to Prowler App and paste:
Client IDTenant IDClient Secretfrom earlier
-
Click
Next
-
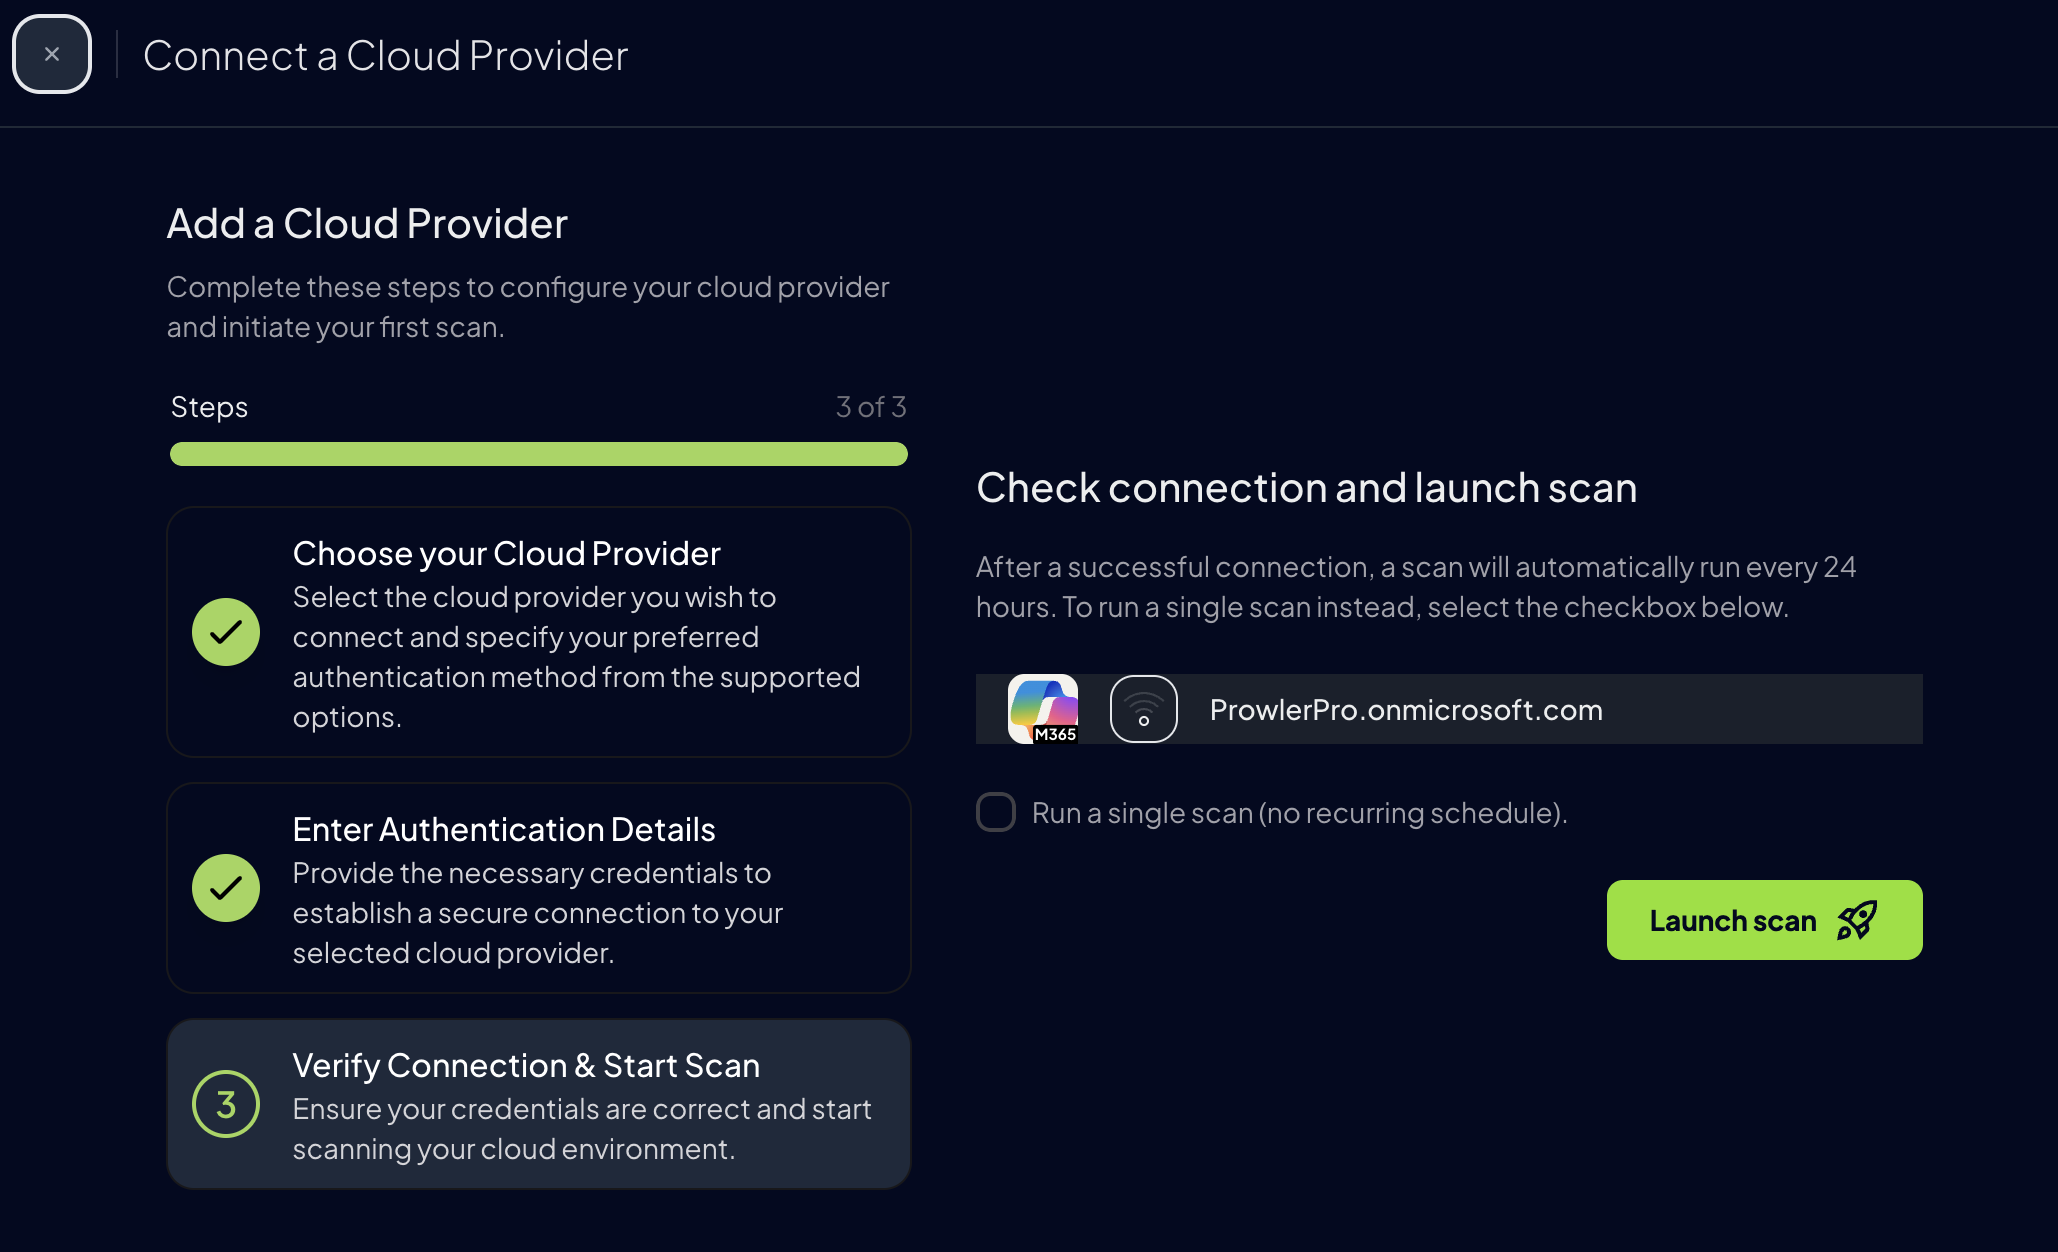
Click “Launch Scan”