> ## Documentation Index
> Fetch the complete documentation index at: https://docs.prowler.com/llms.txt
> Use this file to discover all available pages before exploring further.
# Getting Started with Kubernetes
## Prowler Cloud
### Step 1: Access Prowler Cloud/App
1. Navigate to [Prowler Cloud](https://cloud.prowler.com/) or launch [Prowler App](/user-guide/tutorials/prowler-app)
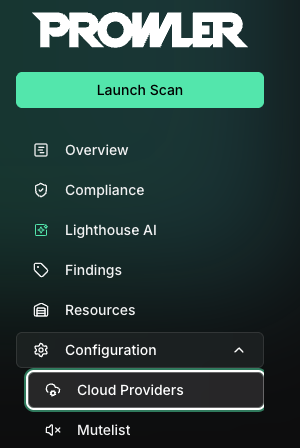
2. Go to "Configuration" > "Providers"
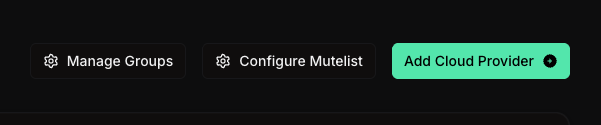
3. Click "Add Provider"
4. Select "Kubernetes"
5. Enter your Kubernetes Cluster context from your kubeconfig file and optionally provide a friendly alias
### Step 2: Configure Kubernetes Authentication
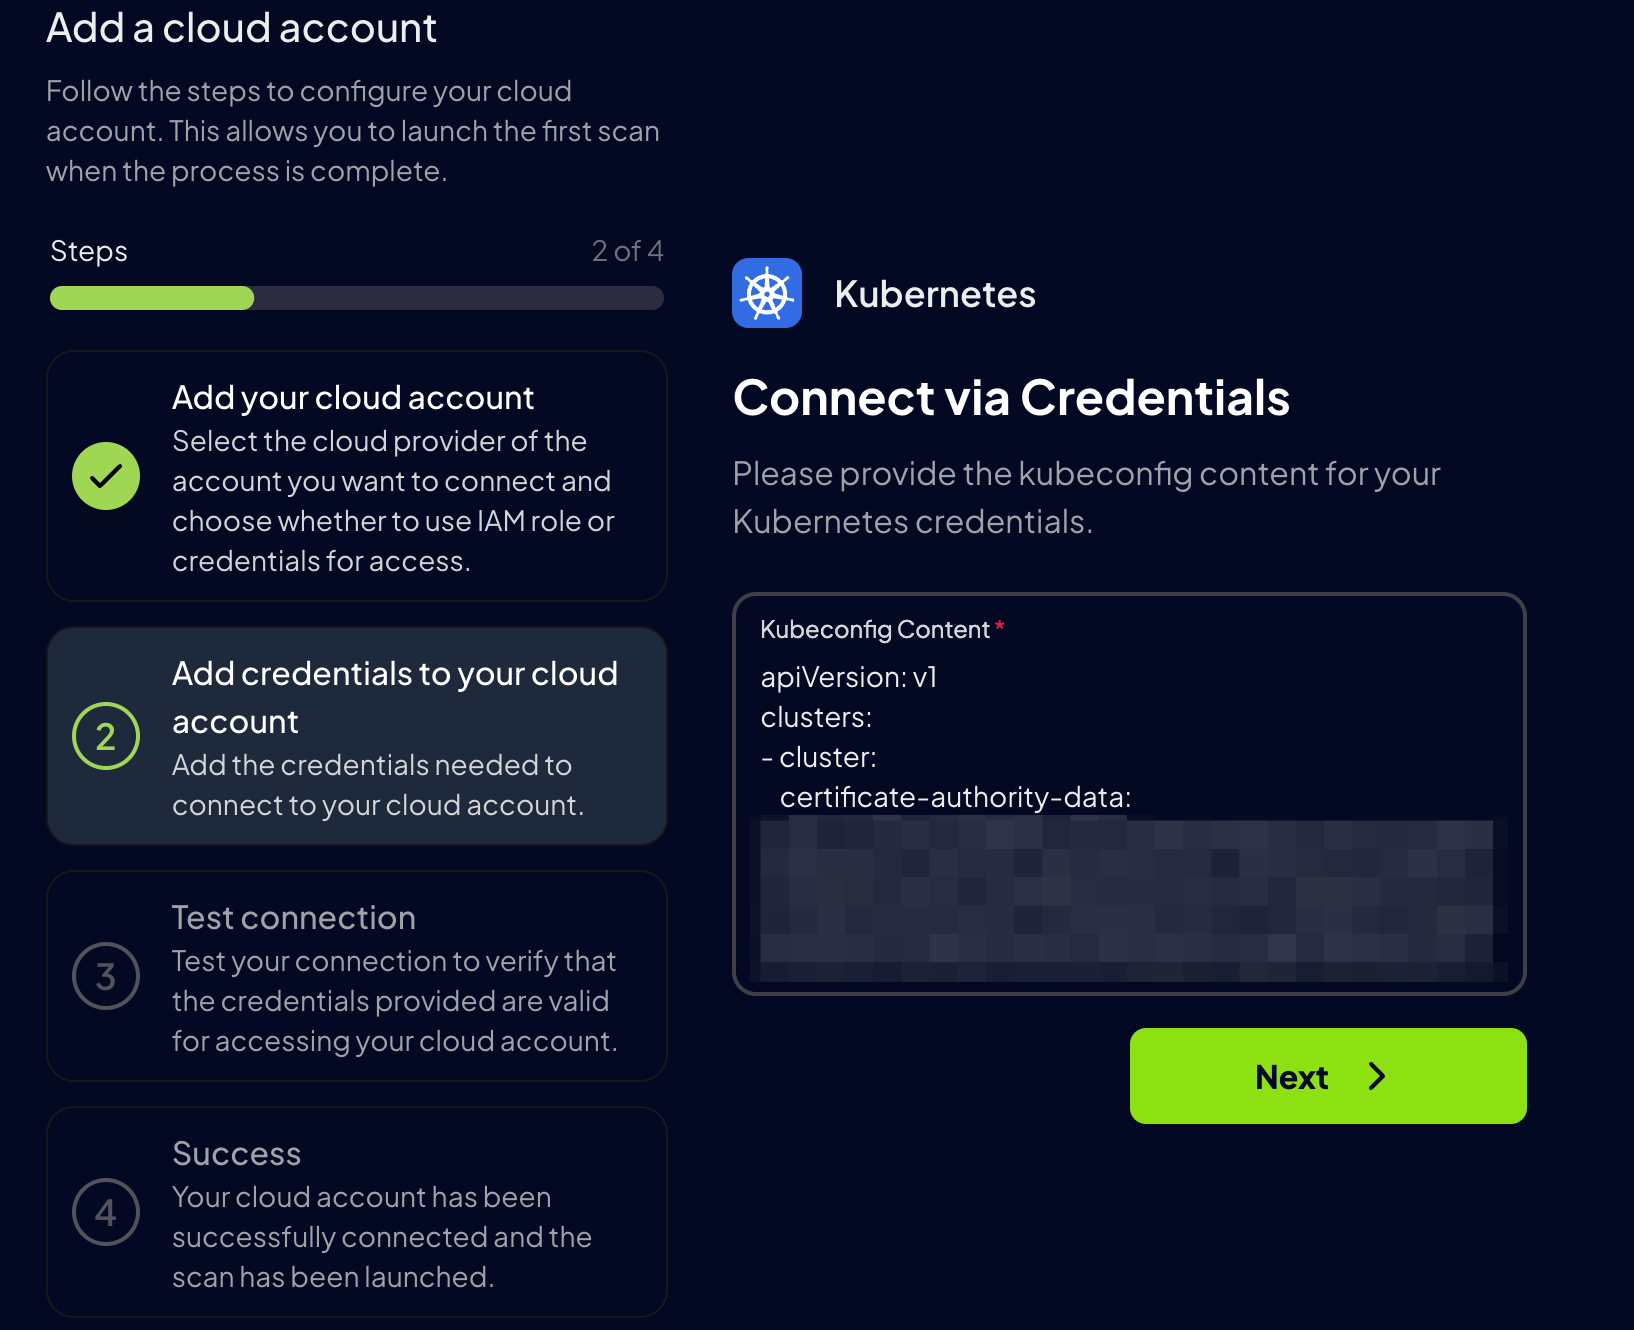
For Kubernetes, Prowler App uses a `kubeconfig` file to authenticate. Paste the contents of your `kubeconfig` file into the `Kubeconfig content` field.
Kubeconfigs that use `users[].user.exec` authentication are not supported in Prowler Cloud/App. For security reasons, Prowler Cloud does not run commands declared by uploaded kubeconfigs. Use kubeconfig credentials that do not rely on `exec` authentication, such as the ServiceAccount token flow documented below.
By default, the `kubeconfig` file is located at `~/.kube/config`.
### Step 3: Additional Setup for EKS, GKE, AKS, or External Clusters
If you are adding an **EKS**, **GKE**, **AKS** or external cluster, follow these additional steps to ensure proper authentication:
**Make sure your cluster allows traffic from the Prowler Cloud IP address `52.48.254.174/32`**
1. Apply the necessary Kubernetes resources to your EKS, GKE, AKS or external cluster (you can find the files in the [`kubernetes` directory of the Prowler repository](https://github.com/prowler-cloud/prowler/tree/master/kubernetes)):
```console theme={null}
kubectl apply -f kubernetes/prowler-sa.yaml
kubectl apply -f kubernetes/prowler-role.yaml
kubectl apply -f kubernetes/prowler-rolebinding.yaml
```
2. Generate a long-lived token for authentication:
```console theme={null}
kubectl create token prowler-sa -n prowler-ns --duration=0
```
* **Security Note:** The `--duration=0` option generates a non-expiring token, which may pose a security risk if not managed properly. Choose an appropriate expiration time based on security policies. For a limited-time token, set `--duration=
 3. Click "Add Provider"
 4. Select "Kubernetes"
5. Enter your Kubernetes Cluster context from your kubeconfig file and optionally provide a friendly alias
### Step 2: Configure Kubernetes Authentication
For Kubernetes, Prowler App uses a `kubeconfig` file to authenticate. Paste the contents of your `kubeconfig` file into the `Kubeconfig content` field.
4. Select "Kubernetes"
5. Enter your Kubernetes Cluster context from your kubeconfig file and optionally provide a friendly alias
### Step 2: Configure Kubernetes Authentication
For Kubernetes, Prowler App uses a `kubeconfig` file to authenticate. Paste the contents of your `kubeconfig` file into the `Kubeconfig content` field.
 ### Step 3: Additional Setup for EKS, GKE, AKS, or External Clusters
If you are adding an **EKS**, **GKE**, **AKS** or external cluster, follow these additional steps to ensure proper authentication:
**Make sure your cluster allows traffic from the Prowler Cloud IP address `52.48.254.174/32`**
1. Apply the necessary Kubernetes resources to your EKS, GKE, AKS or external cluster (you can find the files in the [`kubernetes` directory of the Prowler repository](https://github.com/prowler-cloud/prowler/tree/master/kubernetes)):
```console theme={null}
kubectl apply -f kubernetes/prowler-sa.yaml
kubectl apply -f kubernetes/prowler-role.yaml
kubectl apply -f kubernetes/prowler-rolebinding.yaml
```
2. Generate a long-lived token for authentication:
```console theme={null}
kubectl create token prowler-sa -n prowler-ns --duration=0
```
* **Security Note:** The `--duration=0` option generates a non-expiring token, which may pose a security risk if not managed properly. Choose an appropriate expiration time based on security policies. For a limited-time token, set `--duration=
### Step 3: Additional Setup for EKS, GKE, AKS, or External Clusters
If you are adding an **EKS**, **GKE**, **AKS** or external cluster, follow these additional steps to ensure proper authentication:
**Make sure your cluster allows traffic from the Prowler Cloud IP address `52.48.254.174/32`**
1. Apply the necessary Kubernetes resources to your EKS, GKE, AKS or external cluster (you can find the files in the [`kubernetes` directory of the Prowler repository](https://github.com/prowler-cloud/prowler/tree/master/kubernetes)):
```console theme={null}
kubectl apply -f kubernetes/prowler-sa.yaml
kubectl apply -f kubernetes/prowler-role.yaml
kubectl apply -f kubernetes/prowler-rolebinding.yaml
```
2. Generate a long-lived token for authentication:
```console theme={null}
kubectl create token prowler-sa -n prowler-ns --duration=0
```
* **Security Note:** The `--duration=0` option generates a non-expiring token, which may pose a security risk if not managed properly. Choose an appropriate expiration time based on security policies. For a limited-time token, set `--duration=