> ## Documentation Index
> Fetch the complete documentation index at: https://docs.prowler.com/llms.txt
> Use this file to discover all available pages before exploring further.
# Getting Started With Microsoft 365 on Prowler
**Government Cloud Support**
Government cloud accounts or tenants (Microsoft 365 Government) are currently unsupported, but we expect to add support for them in the near future.
## Prerequisites
Set up authentication for Microsoft 365 with the [Microsoft 365 Authentication](/user-guide/providers/microsoft365/authentication) guide before starting either path:
* Register an application in Microsoft Entra ID
* Grant the Microsoft Graph and external API permissions listed for the provider
* Generate an application certificate (recommended) or client secret
* Prepare PowerShell module permissions to enable every check
Onboard Microsoft 365 using Prowler Cloud
Onboard Microsoft 365 using Prowler CLI
## Prowler Cloud
### Step 1: Locate the Domain ID
1. Open the Entra ID portal, then search for "Domain" or go to Identity > Settings > Domain Names.
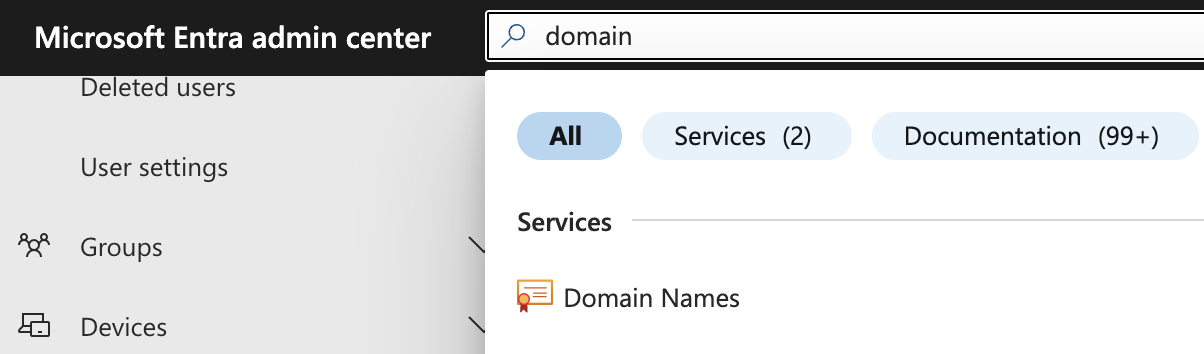
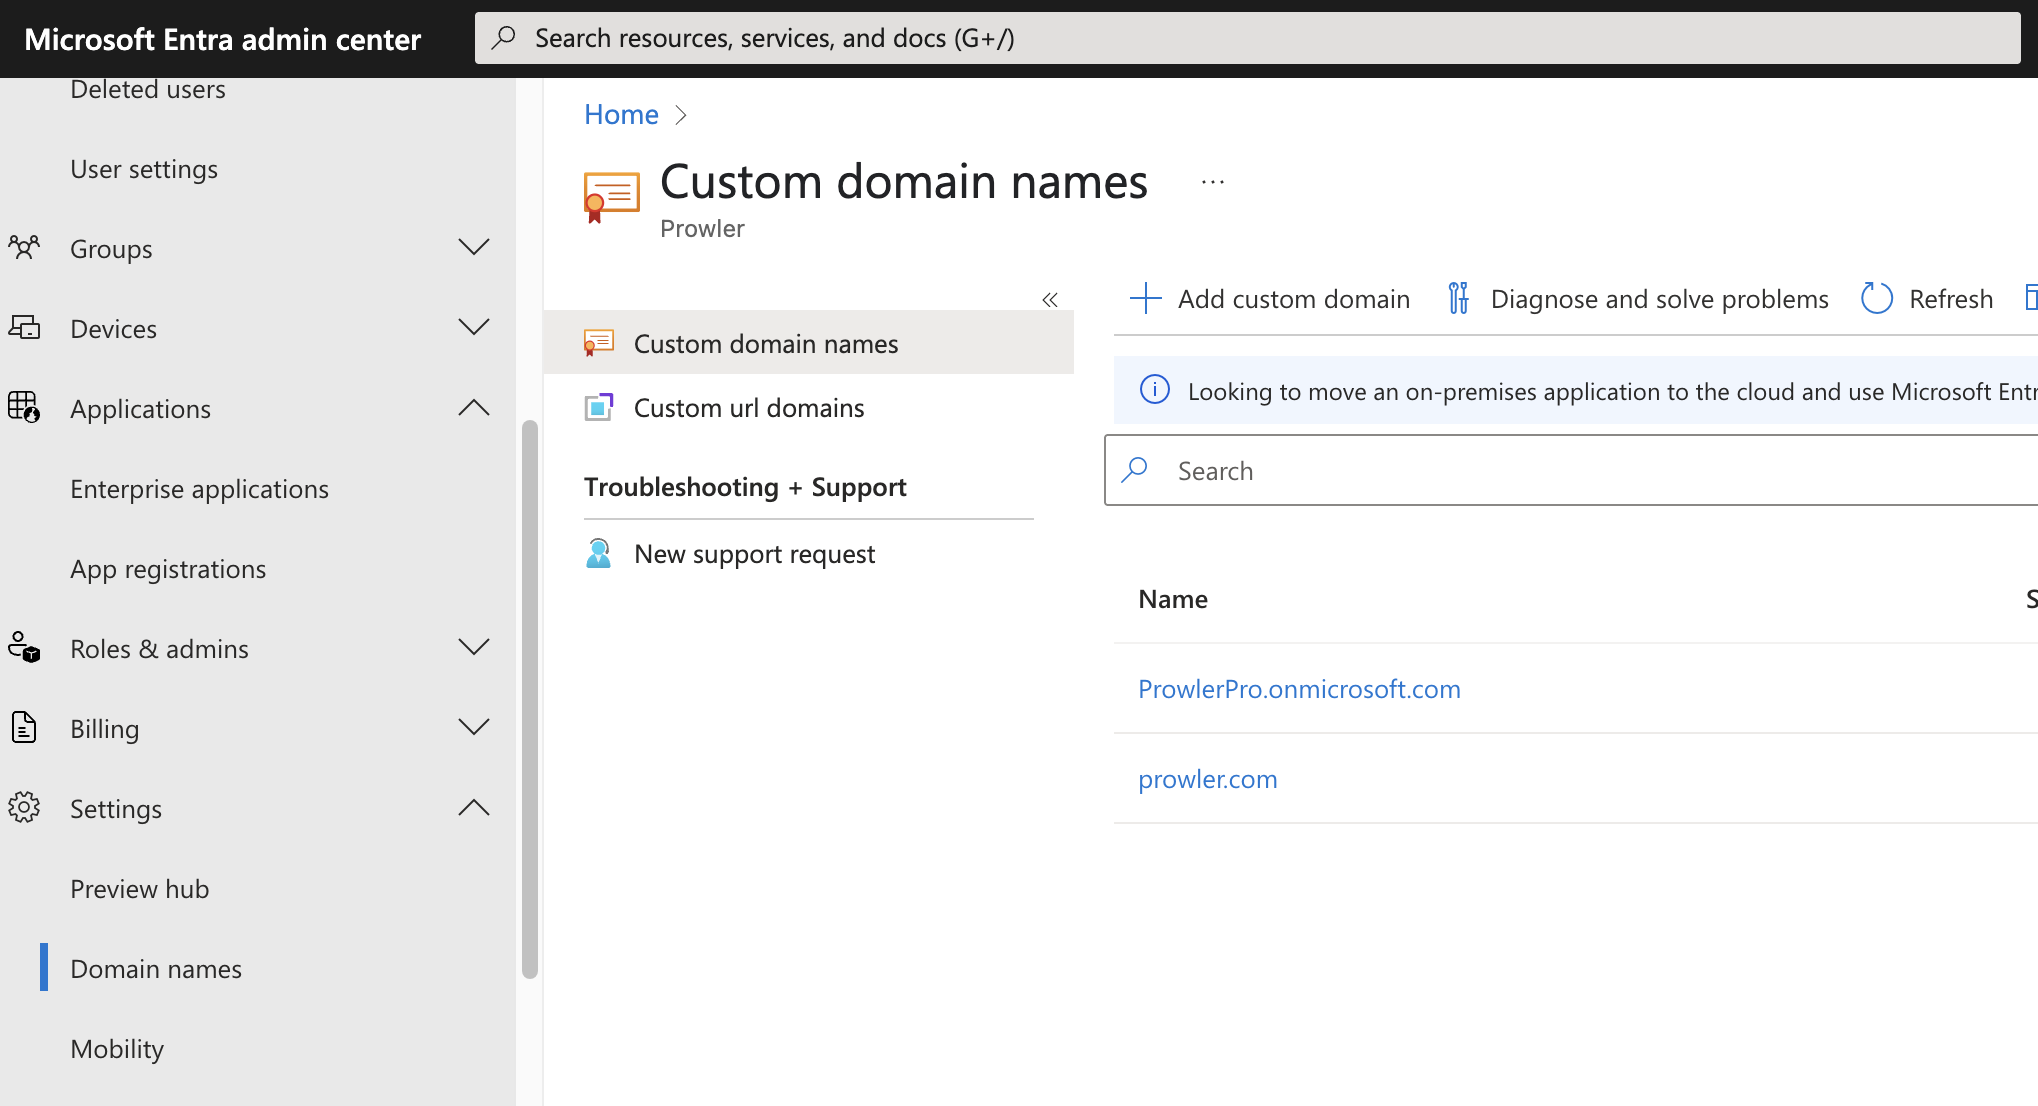 2. Select the domain that acts as the unique identifier for the Microsoft 365 account in Prowler Cloud.
### Step 2: Open Prowler Cloud
1. Go to [Prowler Cloud](https://cloud.prowler.com/) or launch [Prowler App](/user-guide/tutorials/prowler-app).
2. Navigate to "Configuration" > "Providers".
2. Select the domain that acts as the unique identifier for the Microsoft 365 account in Prowler Cloud.
### Step 2: Open Prowler Cloud
1. Go to [Prowler Cloud](https://cloud.prowler.com/) or launch [Prowler App](/user-guide/tutorials/prowler-app).
2. Navigate to "Configuration" > "Providers".
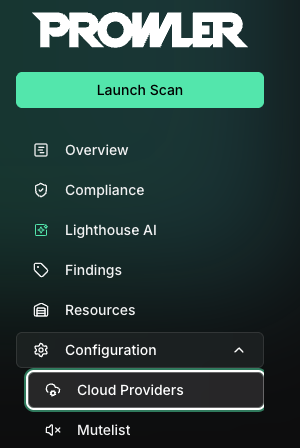 3. Click "Add Provider".
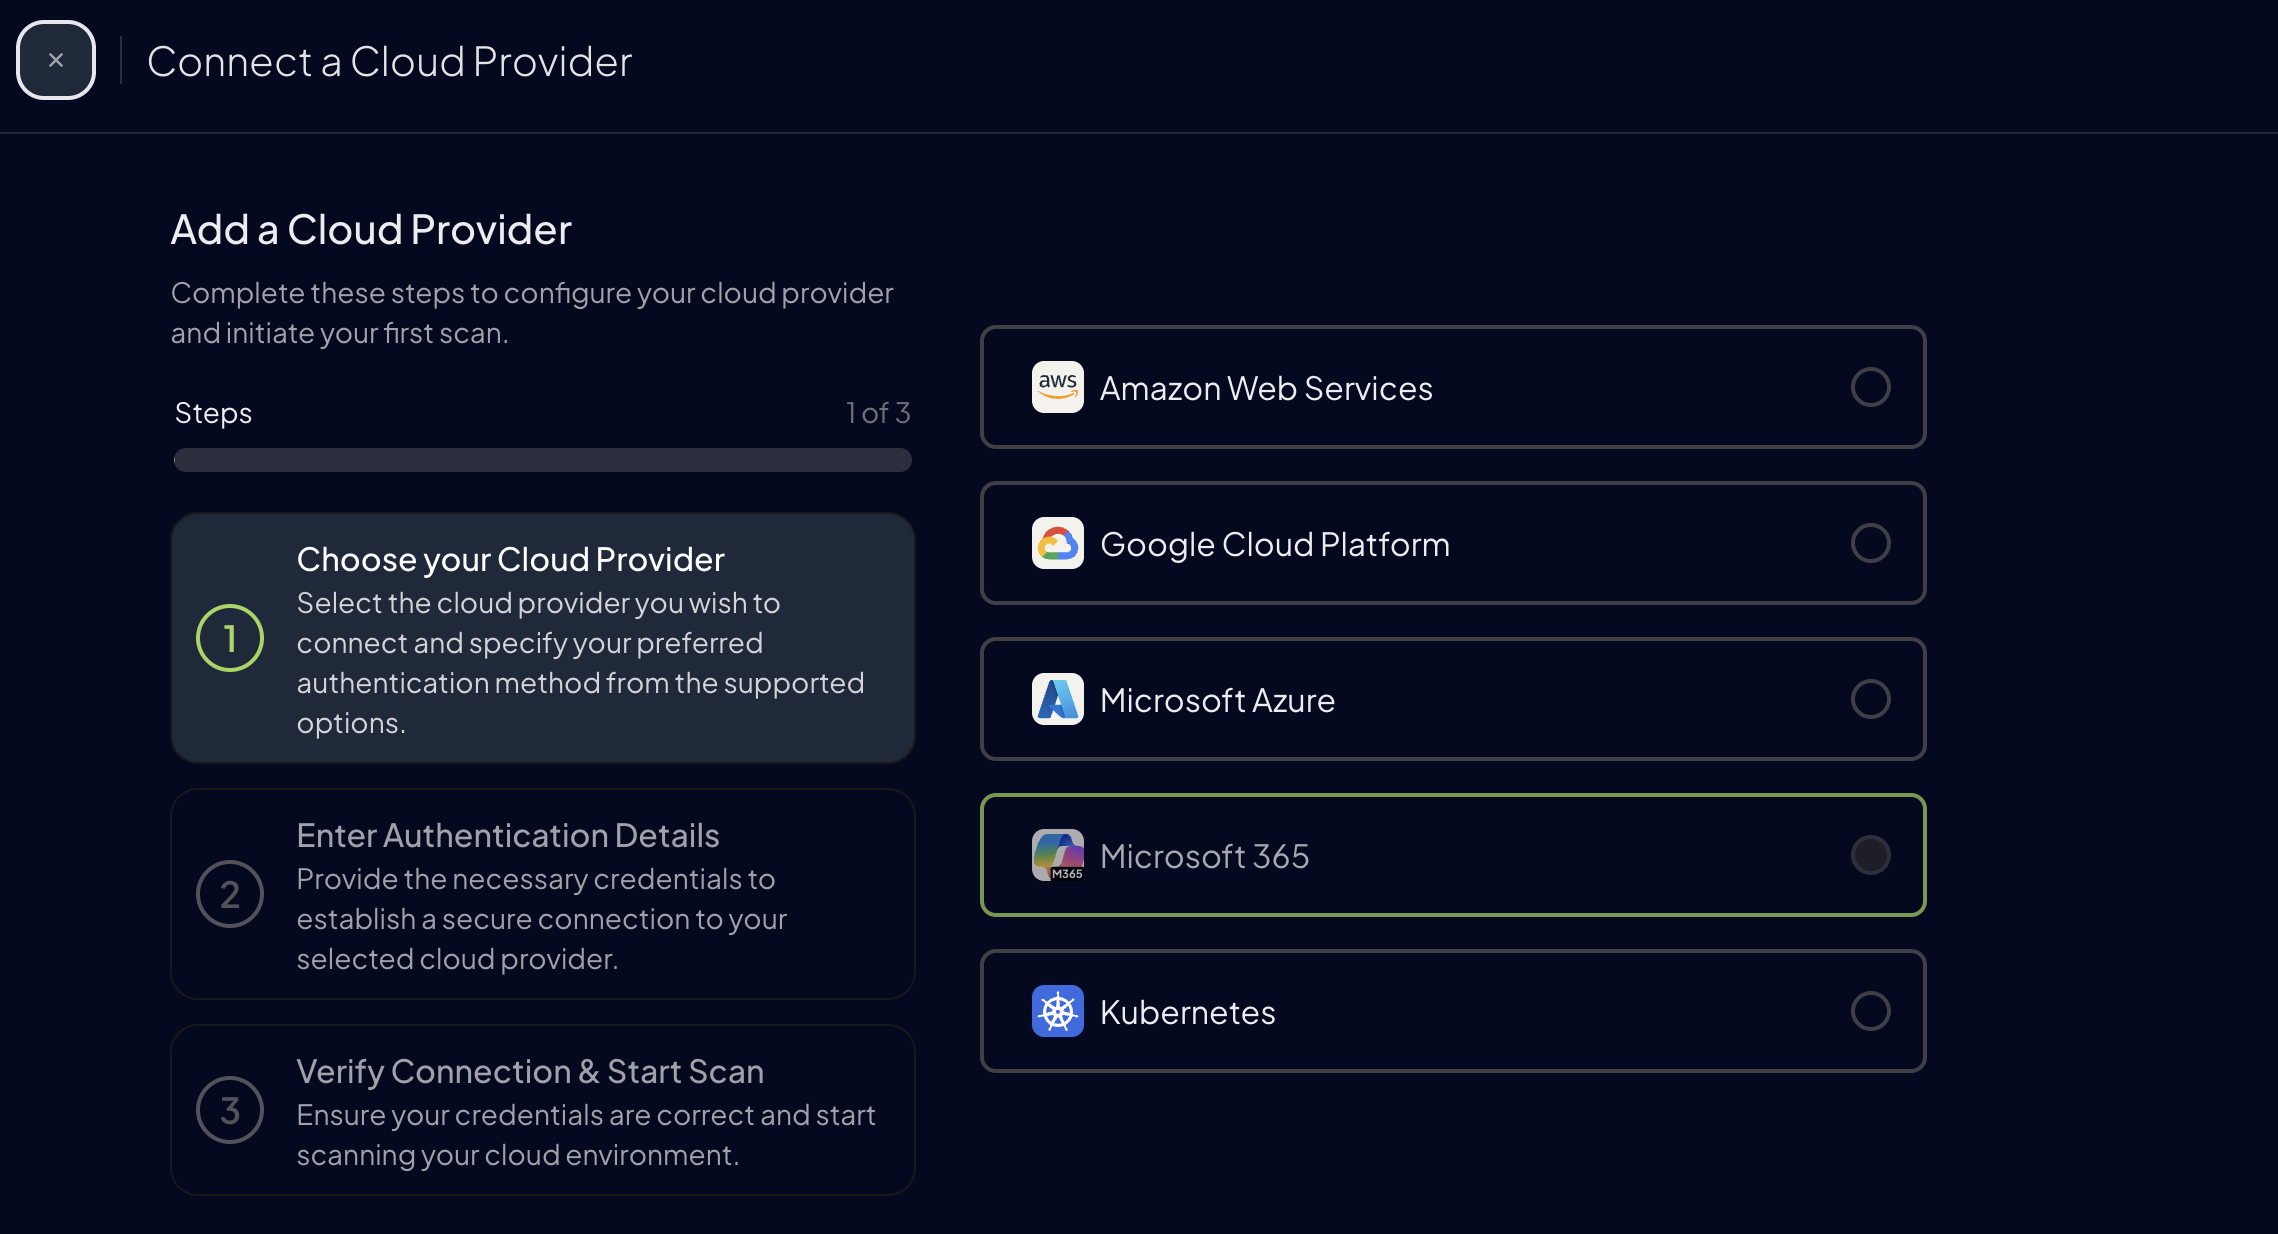
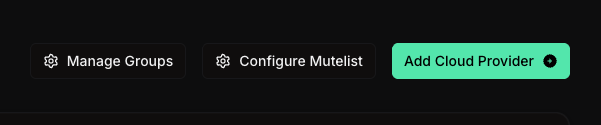 4. Select "Microsoft 365".
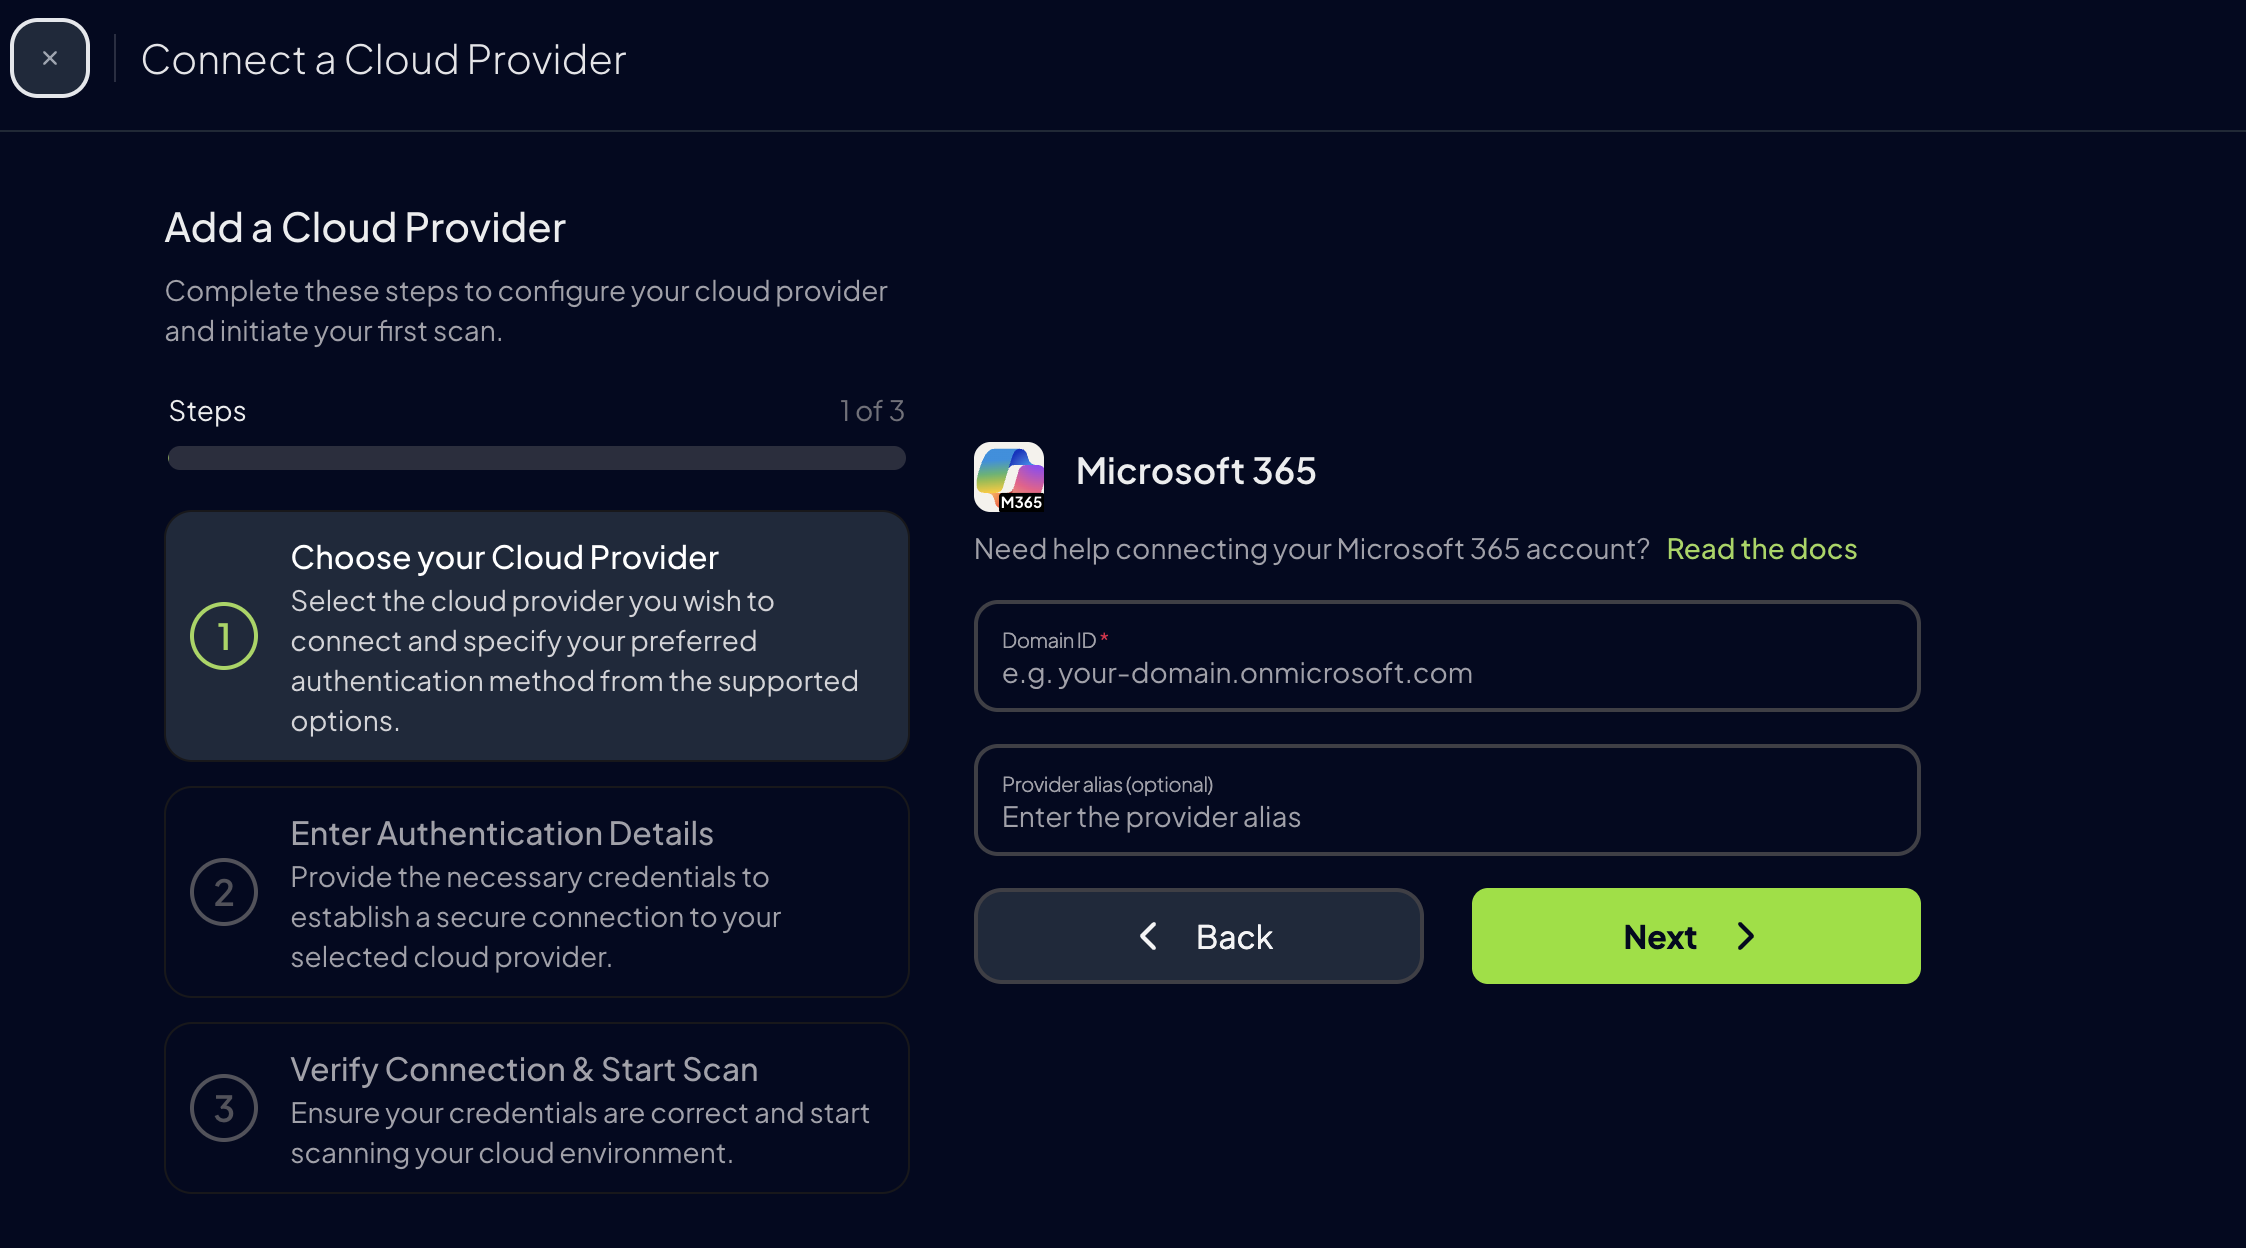
 5. Add the Domain ID and an optional alias, then click "Next".
 ### Step 3: Choose and Provide Authentication
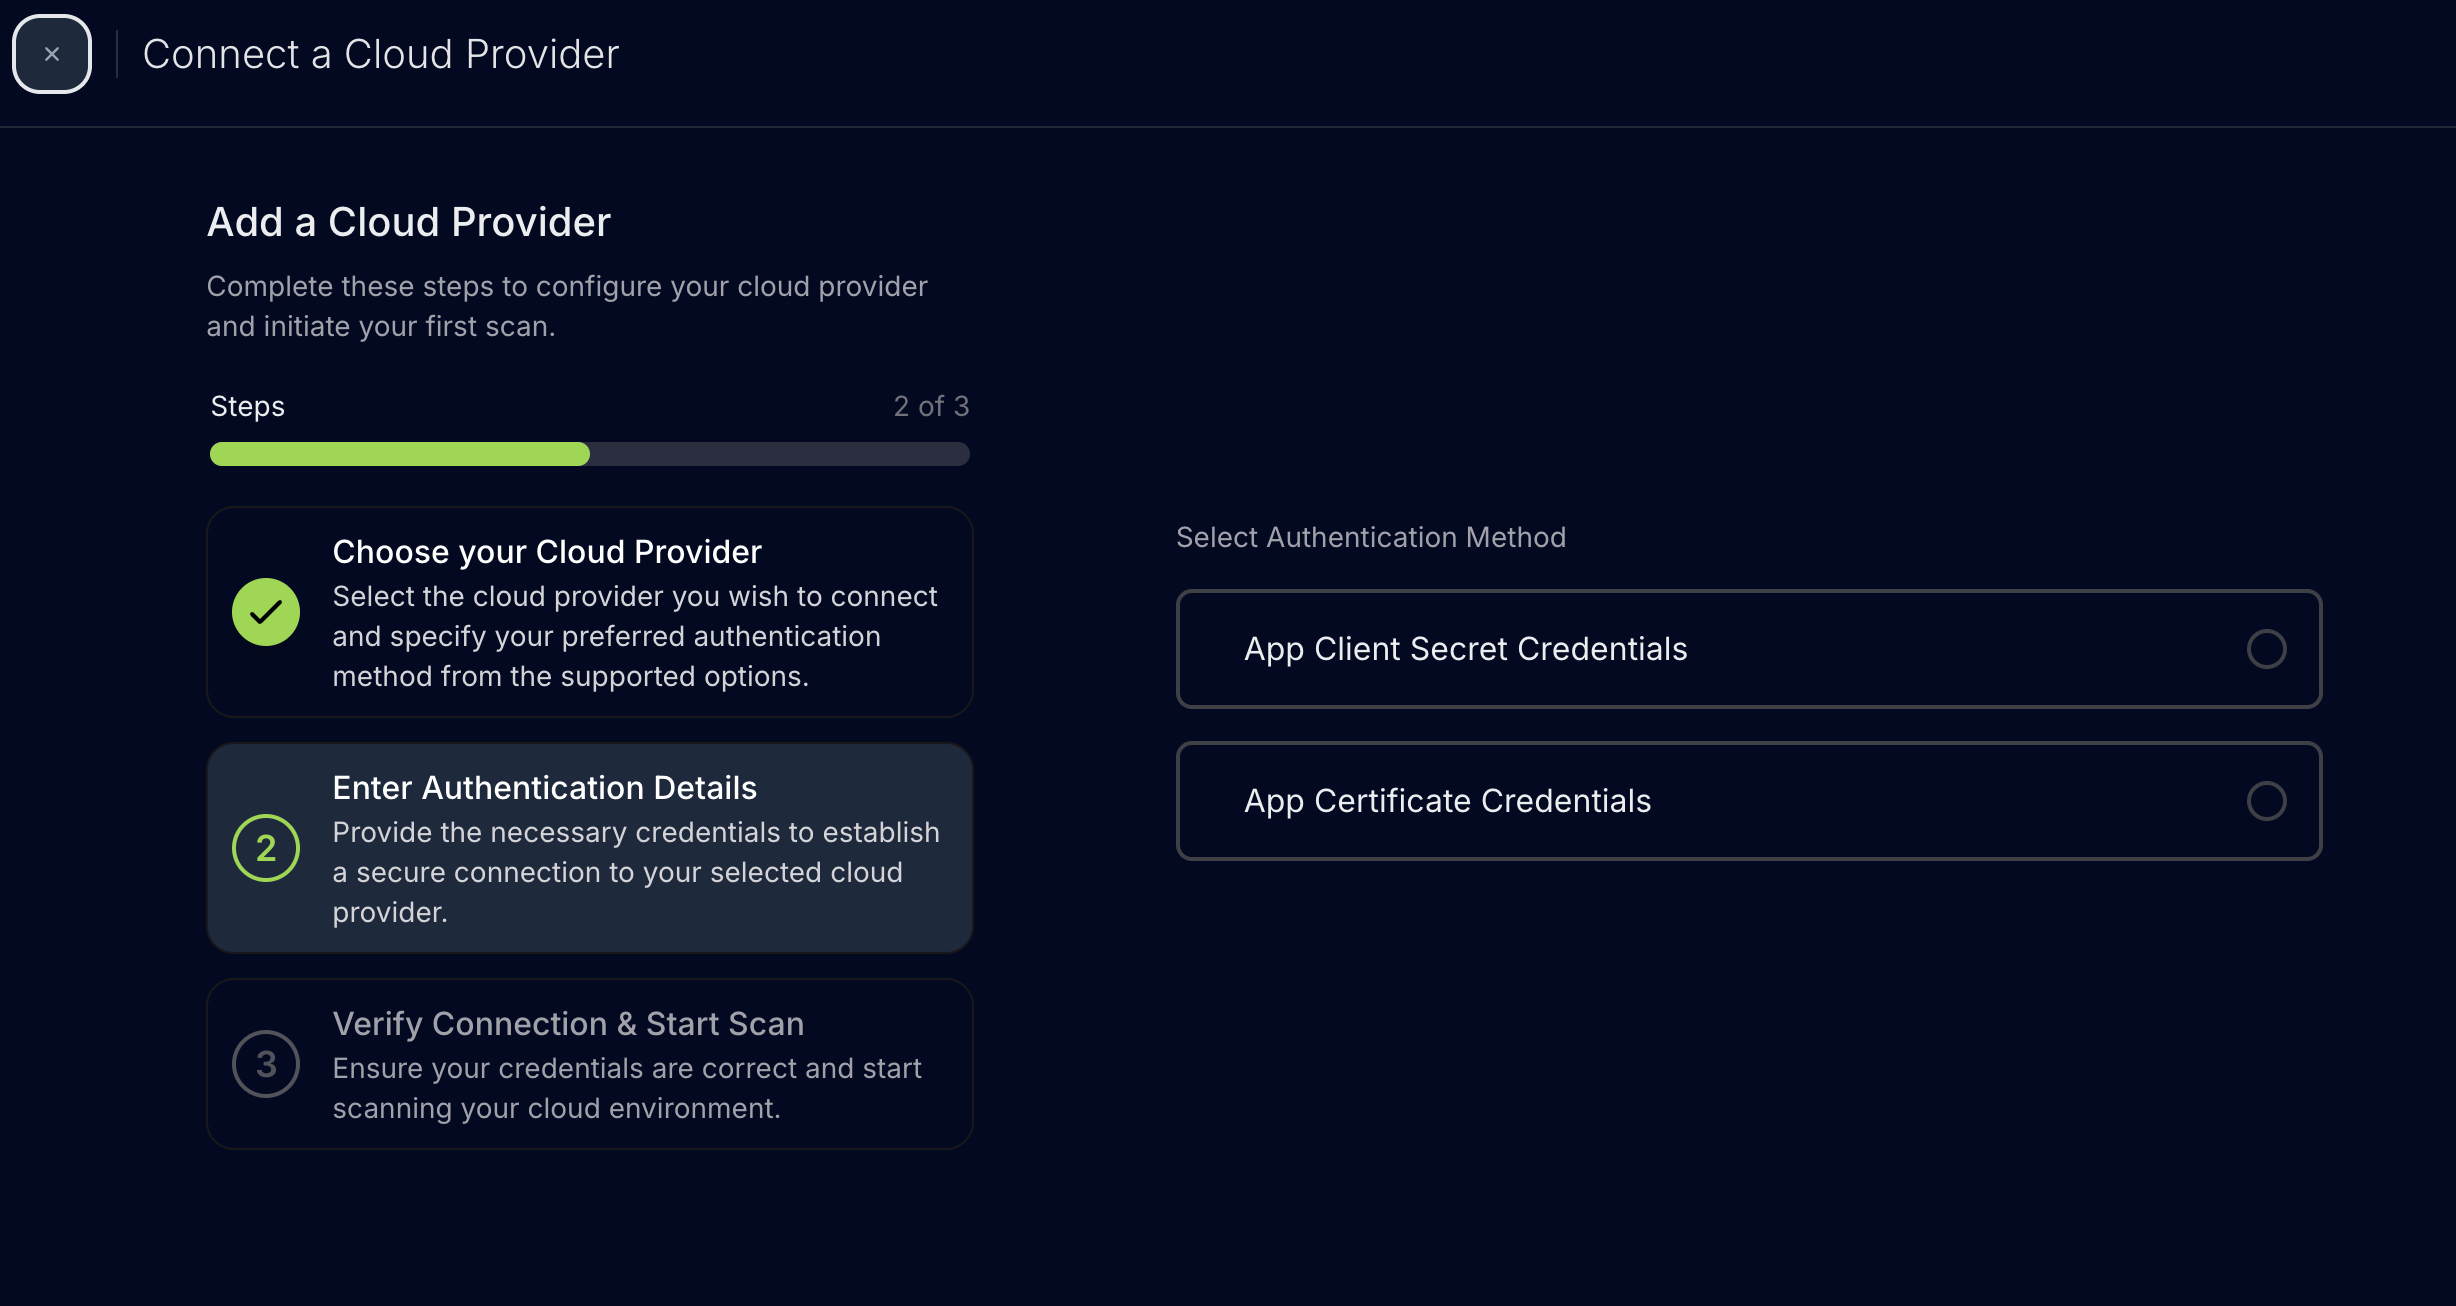
After the Domain ID is in place, select the app-only authentication option that matches the Microsoft Entra ID setup:
### Step 3: Choose and Provide Authentication
After the Domain ID is in place, select the app-only authentication option that matches the Microsoft Entra ID setup:
 #### Application Certificate Authentication (Recommended)
1. Enter the **tenant ID**, the unique identifier for the Microsoft Entra ID directory.
2. Enter the **application (client) ID**, the identifier for the Entra application registration.
3. Upload the **certificate file content** (Base64-encoded PFX).
#### Application Certificate Authentication (Recommended)
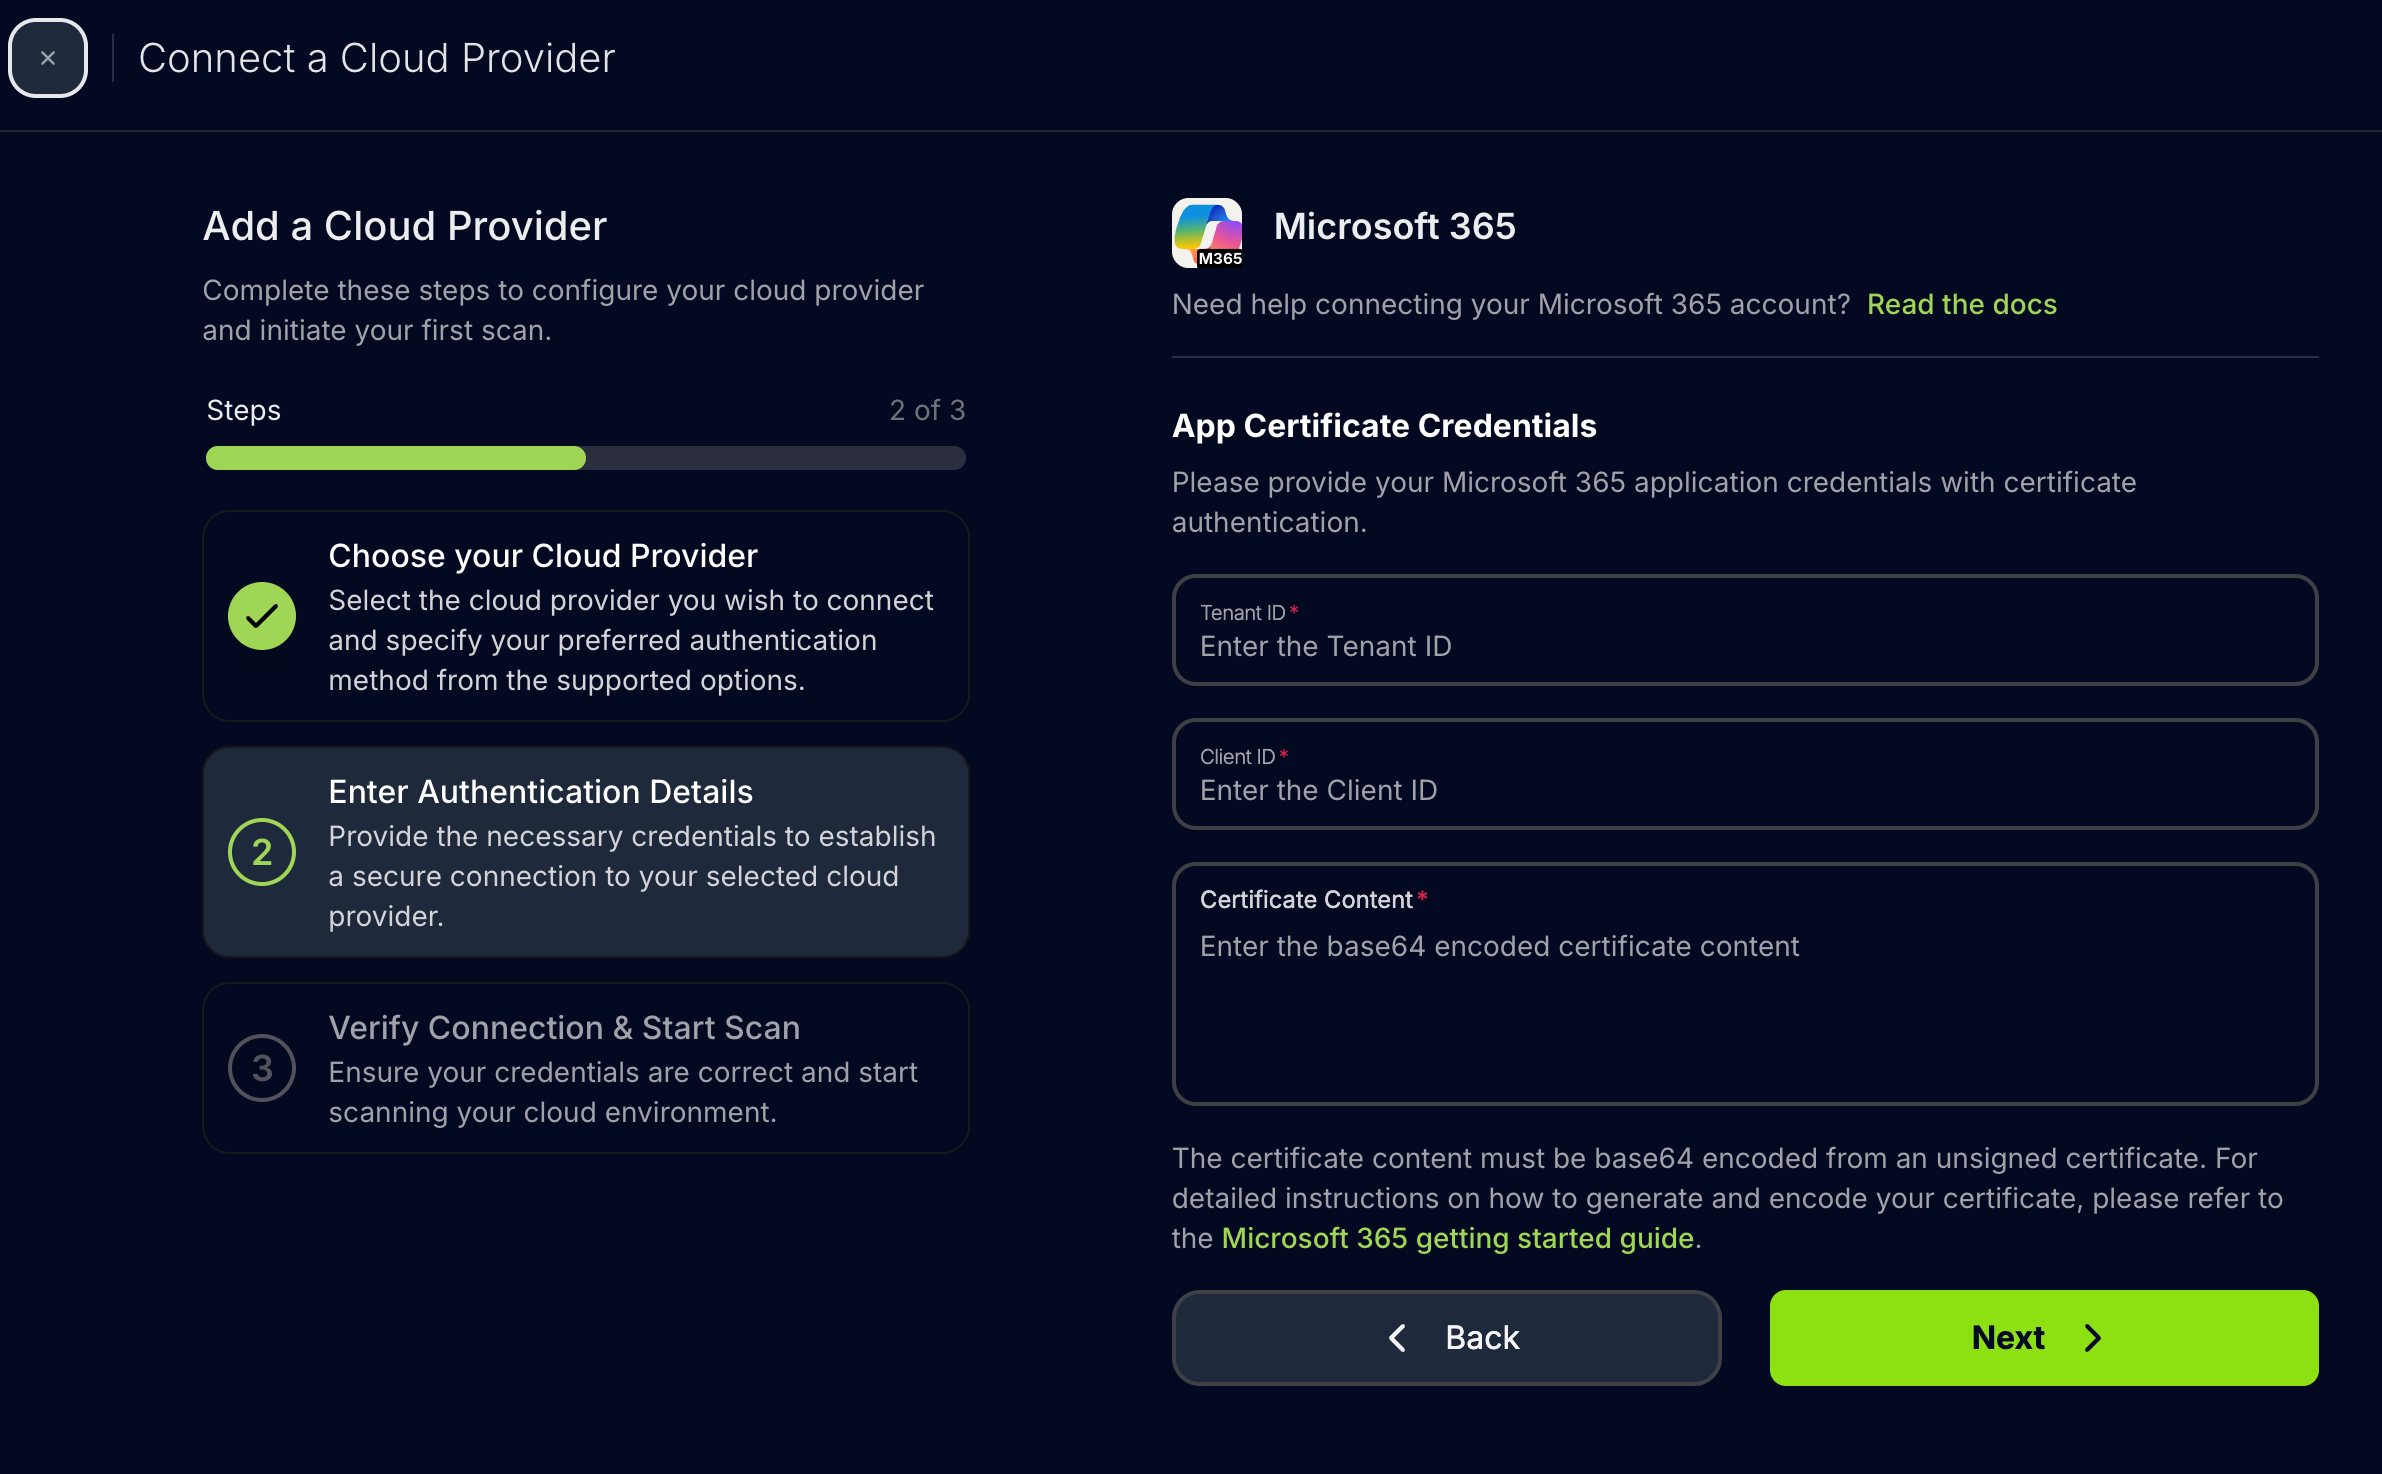
1. Enter the **tenant ID**, the unique identifier for the Microsoft Entra ID directory.
2. Enter the **application (client) ID**, the identifier for the Entra application registration.
3. Upload the **certificate file content** (Base64-encoded PFX).
 Use this method to avoid managing secrets and to unlock all Microsoft 365 checks, including the PowerShell-based ones. Full setup steps are in the [Authentication guide](/user-guide/providers/microsoft365/authentication#application-certificate-authentication-recommended).
#### Application Client Secret Authentication
1. Enter the **tenant ID**.
2. Enter the **application (client) ID**.
3. Enter the **client secret**.
Use this method to avoid managing secrets and to unlock all Microsoft 365 checks, including the PowerShell-based ones. Full setup steps are in the [Authentication guide](/user-guide/providers/microsoft365/authentication#application-certificate-authentication-recommended).
#### Application Client Secret Authentication
1. Enter the **tenant ID**.
2. Enter the **application (client) ID**.
3. Enter the **client secret**.
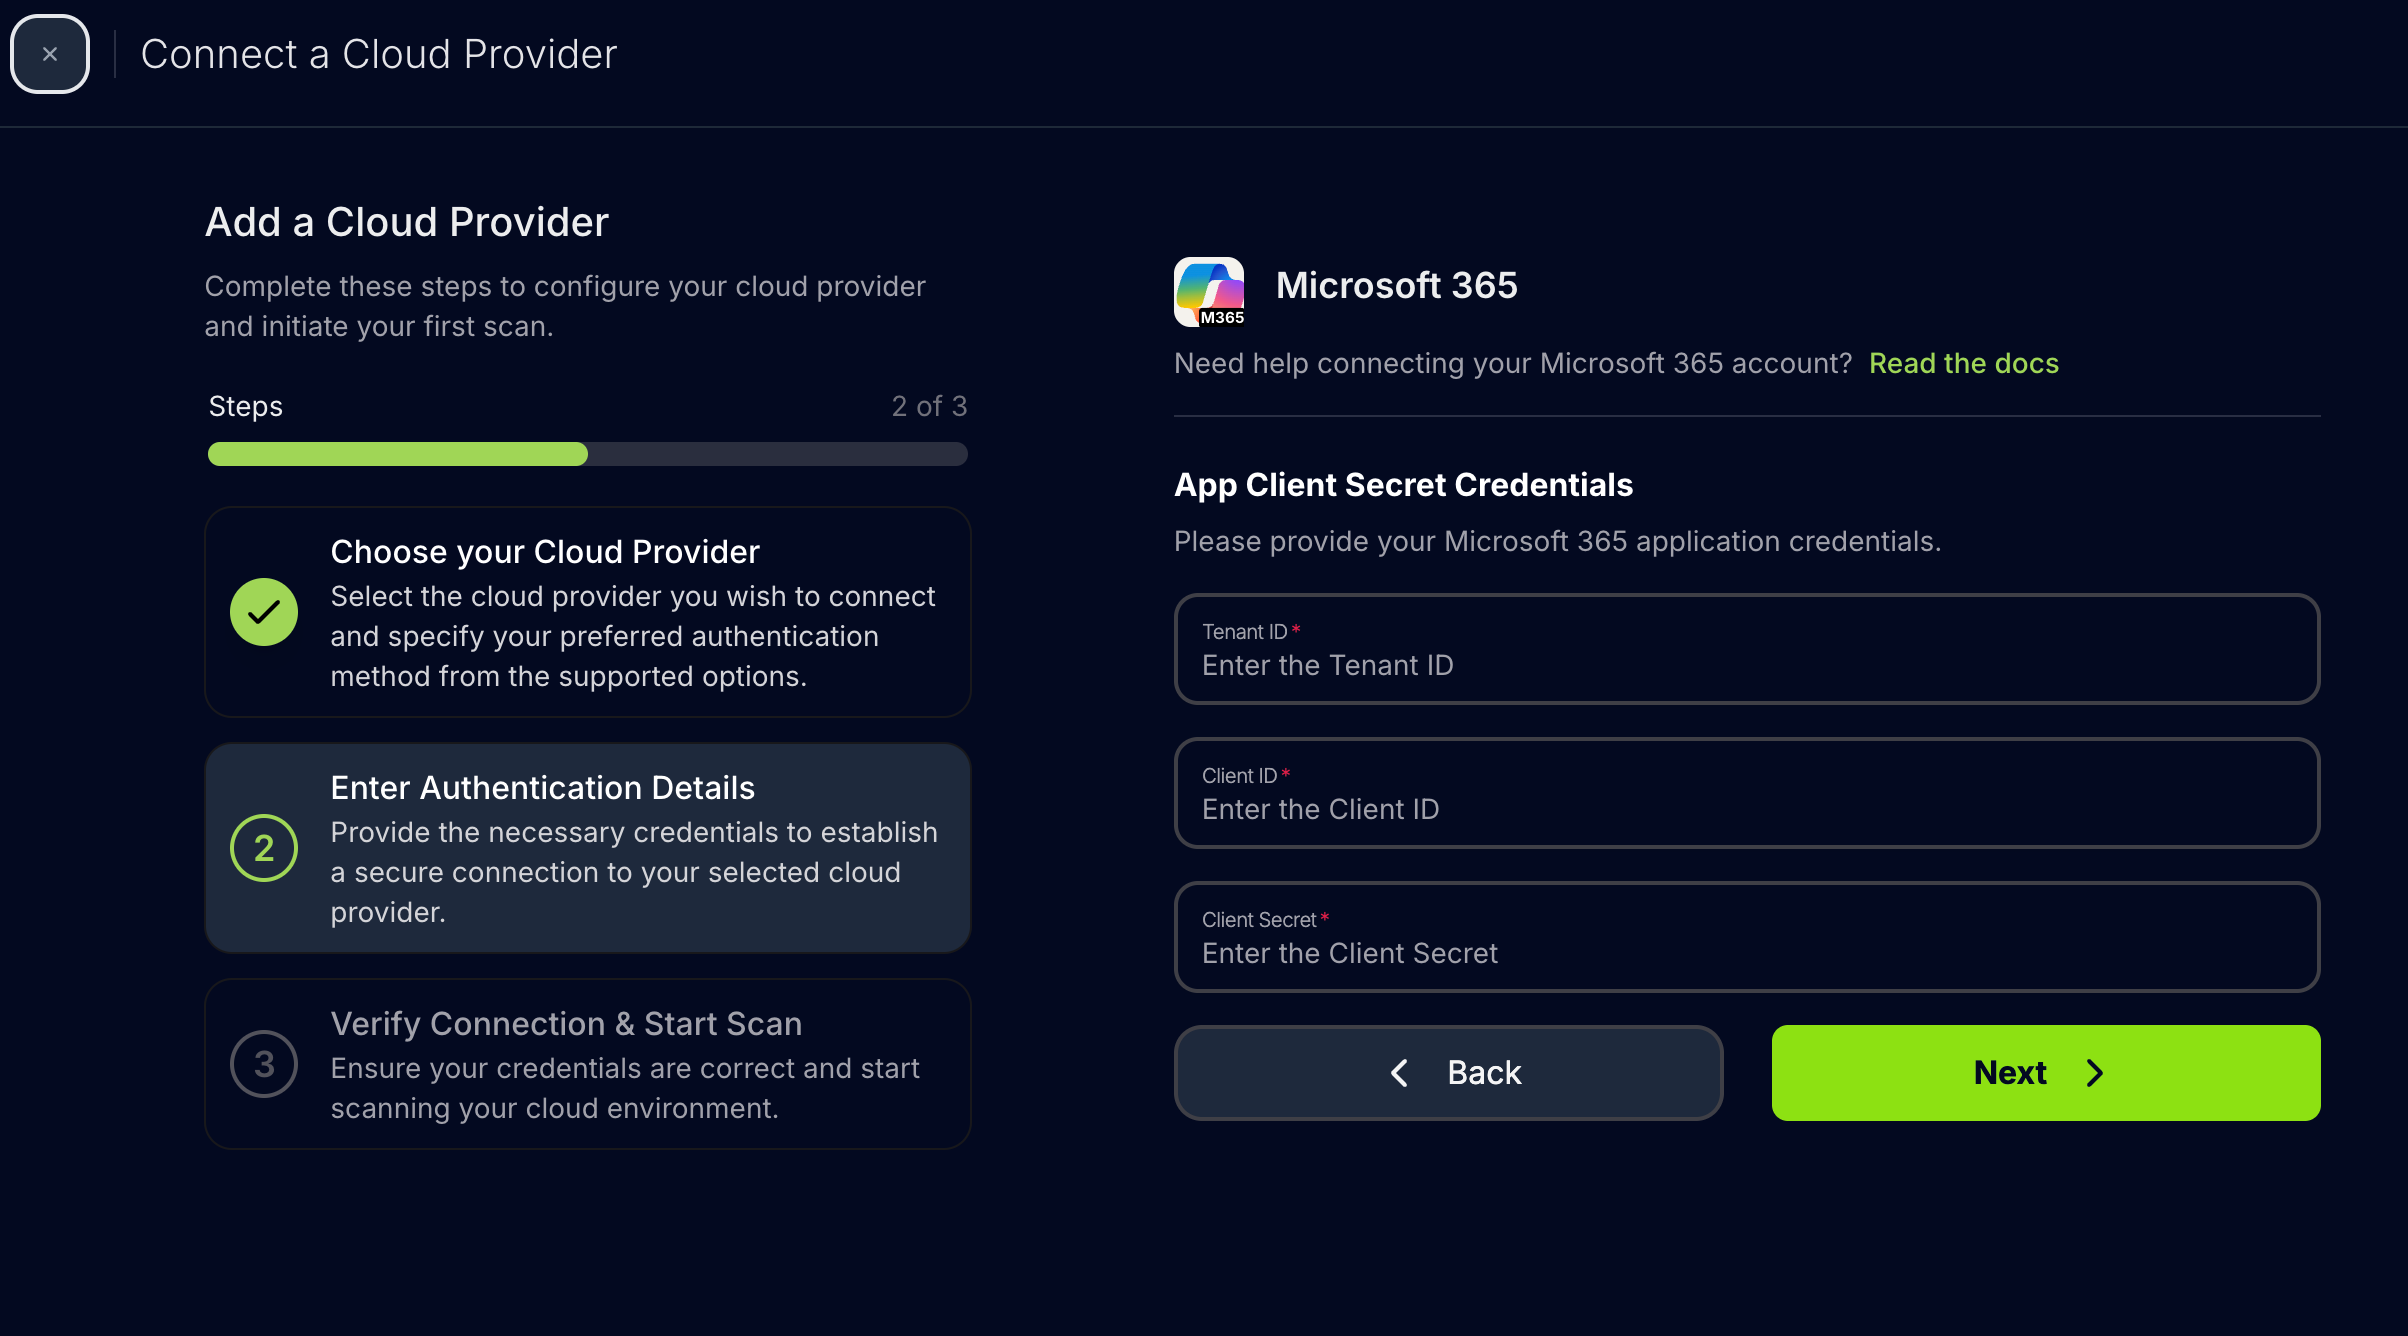 For the complete setup workflow, follow the [Authentication guide](/user-guide/providers/microsoft365/authentication#application-client-secret-authentication).
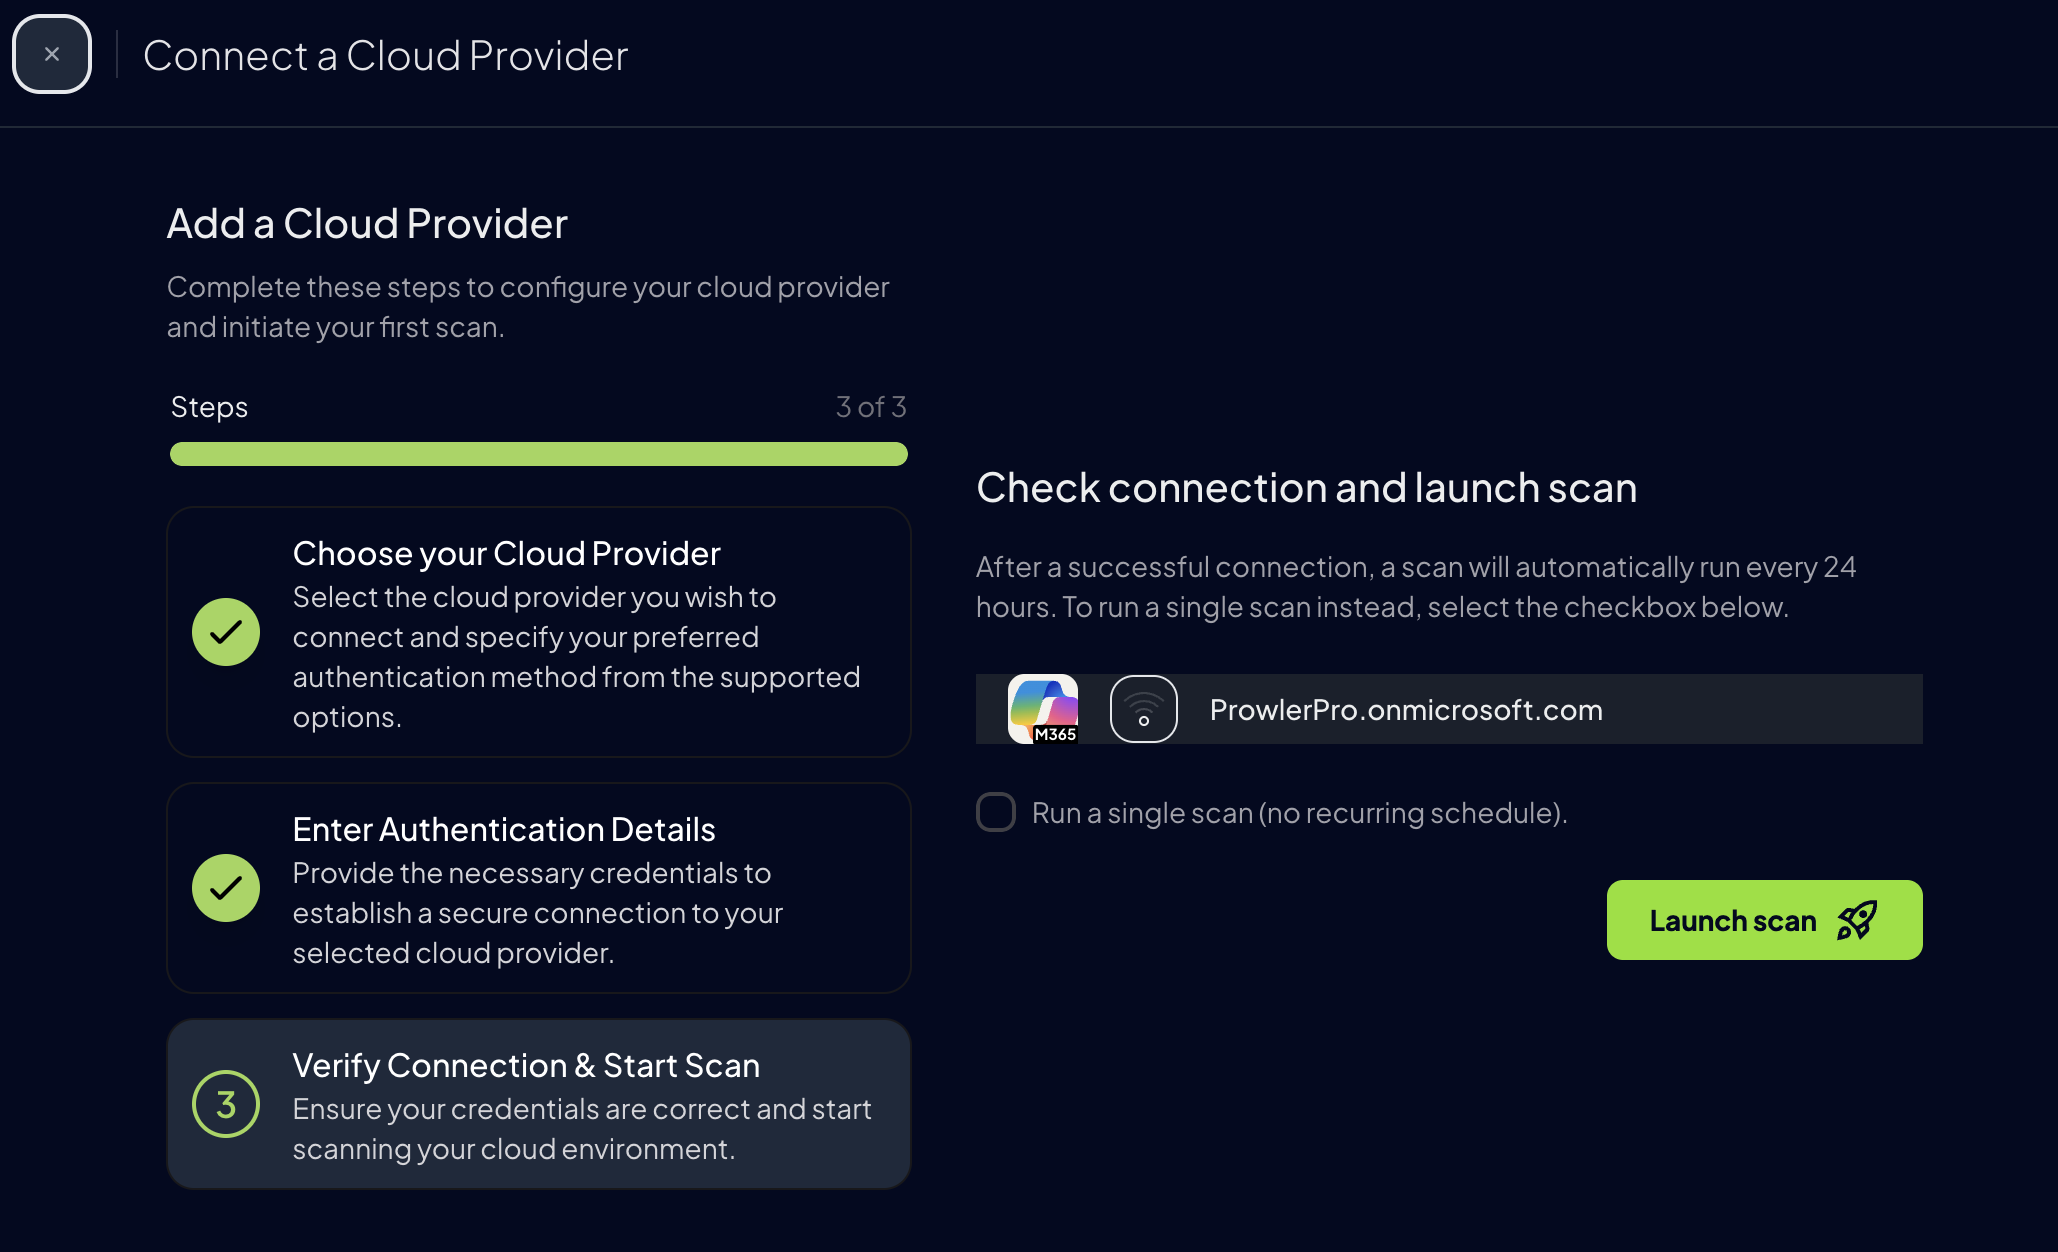
### Step 4: Launch the Scan
1. Review the summary, then click **Next**.
For the complete setup workflow, follow the [Authentication guide](/user-guide/providers/microsoft365/authentication#application-client-secret-authentication).
### Step 4: Launch the Scan
1. Review the summary, then click **Next**.
 2. Click **Launch Scan** to start auditing Microsoft 365.
 ***
## Prowler CLI
### Step 1: Confirm PowerShell Coverage
PowerShell 7.4+ keeps the full Microsoft 365 coverage. Installation options are listed in the [Authentication guide](/user-guide/providers/microsoft365/authentication#supported-powershell-versions).
### Step 2: Select an Authentication Method
Choose the matching flag from the [Microsoft 365 Authentication](/user-guide/providers/microsoft365/authentication) guide:
* **Application Certificate Authentication** (recommended): `--certificate-auth`
* **Application Client Secret Authentication**: `--sp-env-auth`
* **Azure CLI Authentication**: `--az-cli-auth`
* **Interactive Browser Authentication**: `--browser-auth`
### Step 3: Run the First Scan
Run a baseline scan after credentials are configured:
```console theme={null}
prowler m365 --sp-env-auth
```
### Step 4: Enable Full Coverage
Include PowerShell module initialization to run every check:
```console theme={null}
prowler m365 --sp-env-auth --init-modules
```
### Region Selection
By default, Prowler connects to the global Microsoft 365 environment (`M365Global`). To target a different cloud environment, use the `--region` flag:
```console theme={null}
prowler m365 --sp-env-auth --region M365USGovernment
```
Available regions:
* **M365Global** (default): Standard commercial cloud
* **M365China**: China-operated cloud (21Vianet)
* **M365USGovernment**: US Government cloud (GCC High)
***
***
## Prowler CLI
### Step 1: Confirm PowerShell Coverage
PowerShell 7.4+ keeps the full Microsoft 365 coverage. Installation options are listed in the [Authentication guide](/user-guide/providers/microsoft365/authentication#supported-powershell-versions).
### Step 2: Select an Authentication Method
Choose the matching flag from the [Microsoft 365 Authentication](/user-guide/providers/microsoft365/authentication) guide:
* **Application Certificate Authentication** (recommended): `--certificate-auth`
* **Application Client Secret Authentication**: `--sp-env-auth`
* **Azure CLI Authentication**: `--az-cli-auth`
* **Interactive Browser Authentication**: `--browser-auth`
### Step 3: Run the First Scan
Run a baseline scan after credentials are configured:
```console theme={null}
prowler m365 --sp-env-auth
```
### Step 4: Enable Full Coverage
Include PowerShell module initialization to run every check:
```console theme={null}
prowler m365 --sp-env-auth --init-modules
```
### Region Selection
By default, Prowler connects to the global Microsoft 365 environment (`M365Global`). To target a different cloud environment, use the `--region` flag:
```console theme={null}
prowler m365 --sp-env-auth --region M365USGovernment
```
Available regions:
* **M365Global** (default): Standard commercial cloud
* **M365China**: China-operated cloud (21Vianet)
* **M365USGovernment**: US Government cloud (GCC High)
***