 About Us
Prerequisites
Set up authentication for Cloudflare with the Cloudflare Authentication guide before starting either path:- Create a Cloudflare User API Token (recommended) or locate the Global API Key
- Grant the required read-only permissions (
Account Settings:Read,Zone:Read,Zone Settings:Read,DNS:Read) - Identify the Cloudflare Account ID to use as the provider identifier
Quick Setup: Use these pre-configured links to create a token with the required permissions already selected:
- Create User API Token — creates a User API Token (recommended).
- Create Account-Owned API Token — creates an account-owned token, better suited for automation and CI/CD.
Account Settings, Zone, Zone Settings, DNS) and the name Prowler Security Scanner prefilled. See Cloudflare Authentication for the equivalent manual steps.Prowler Cloud
Onboard Cloudflare using Prowler Cloud
Prowler CLI
Onboard Cloudflare using Prowler CLI
Prowler Cloud
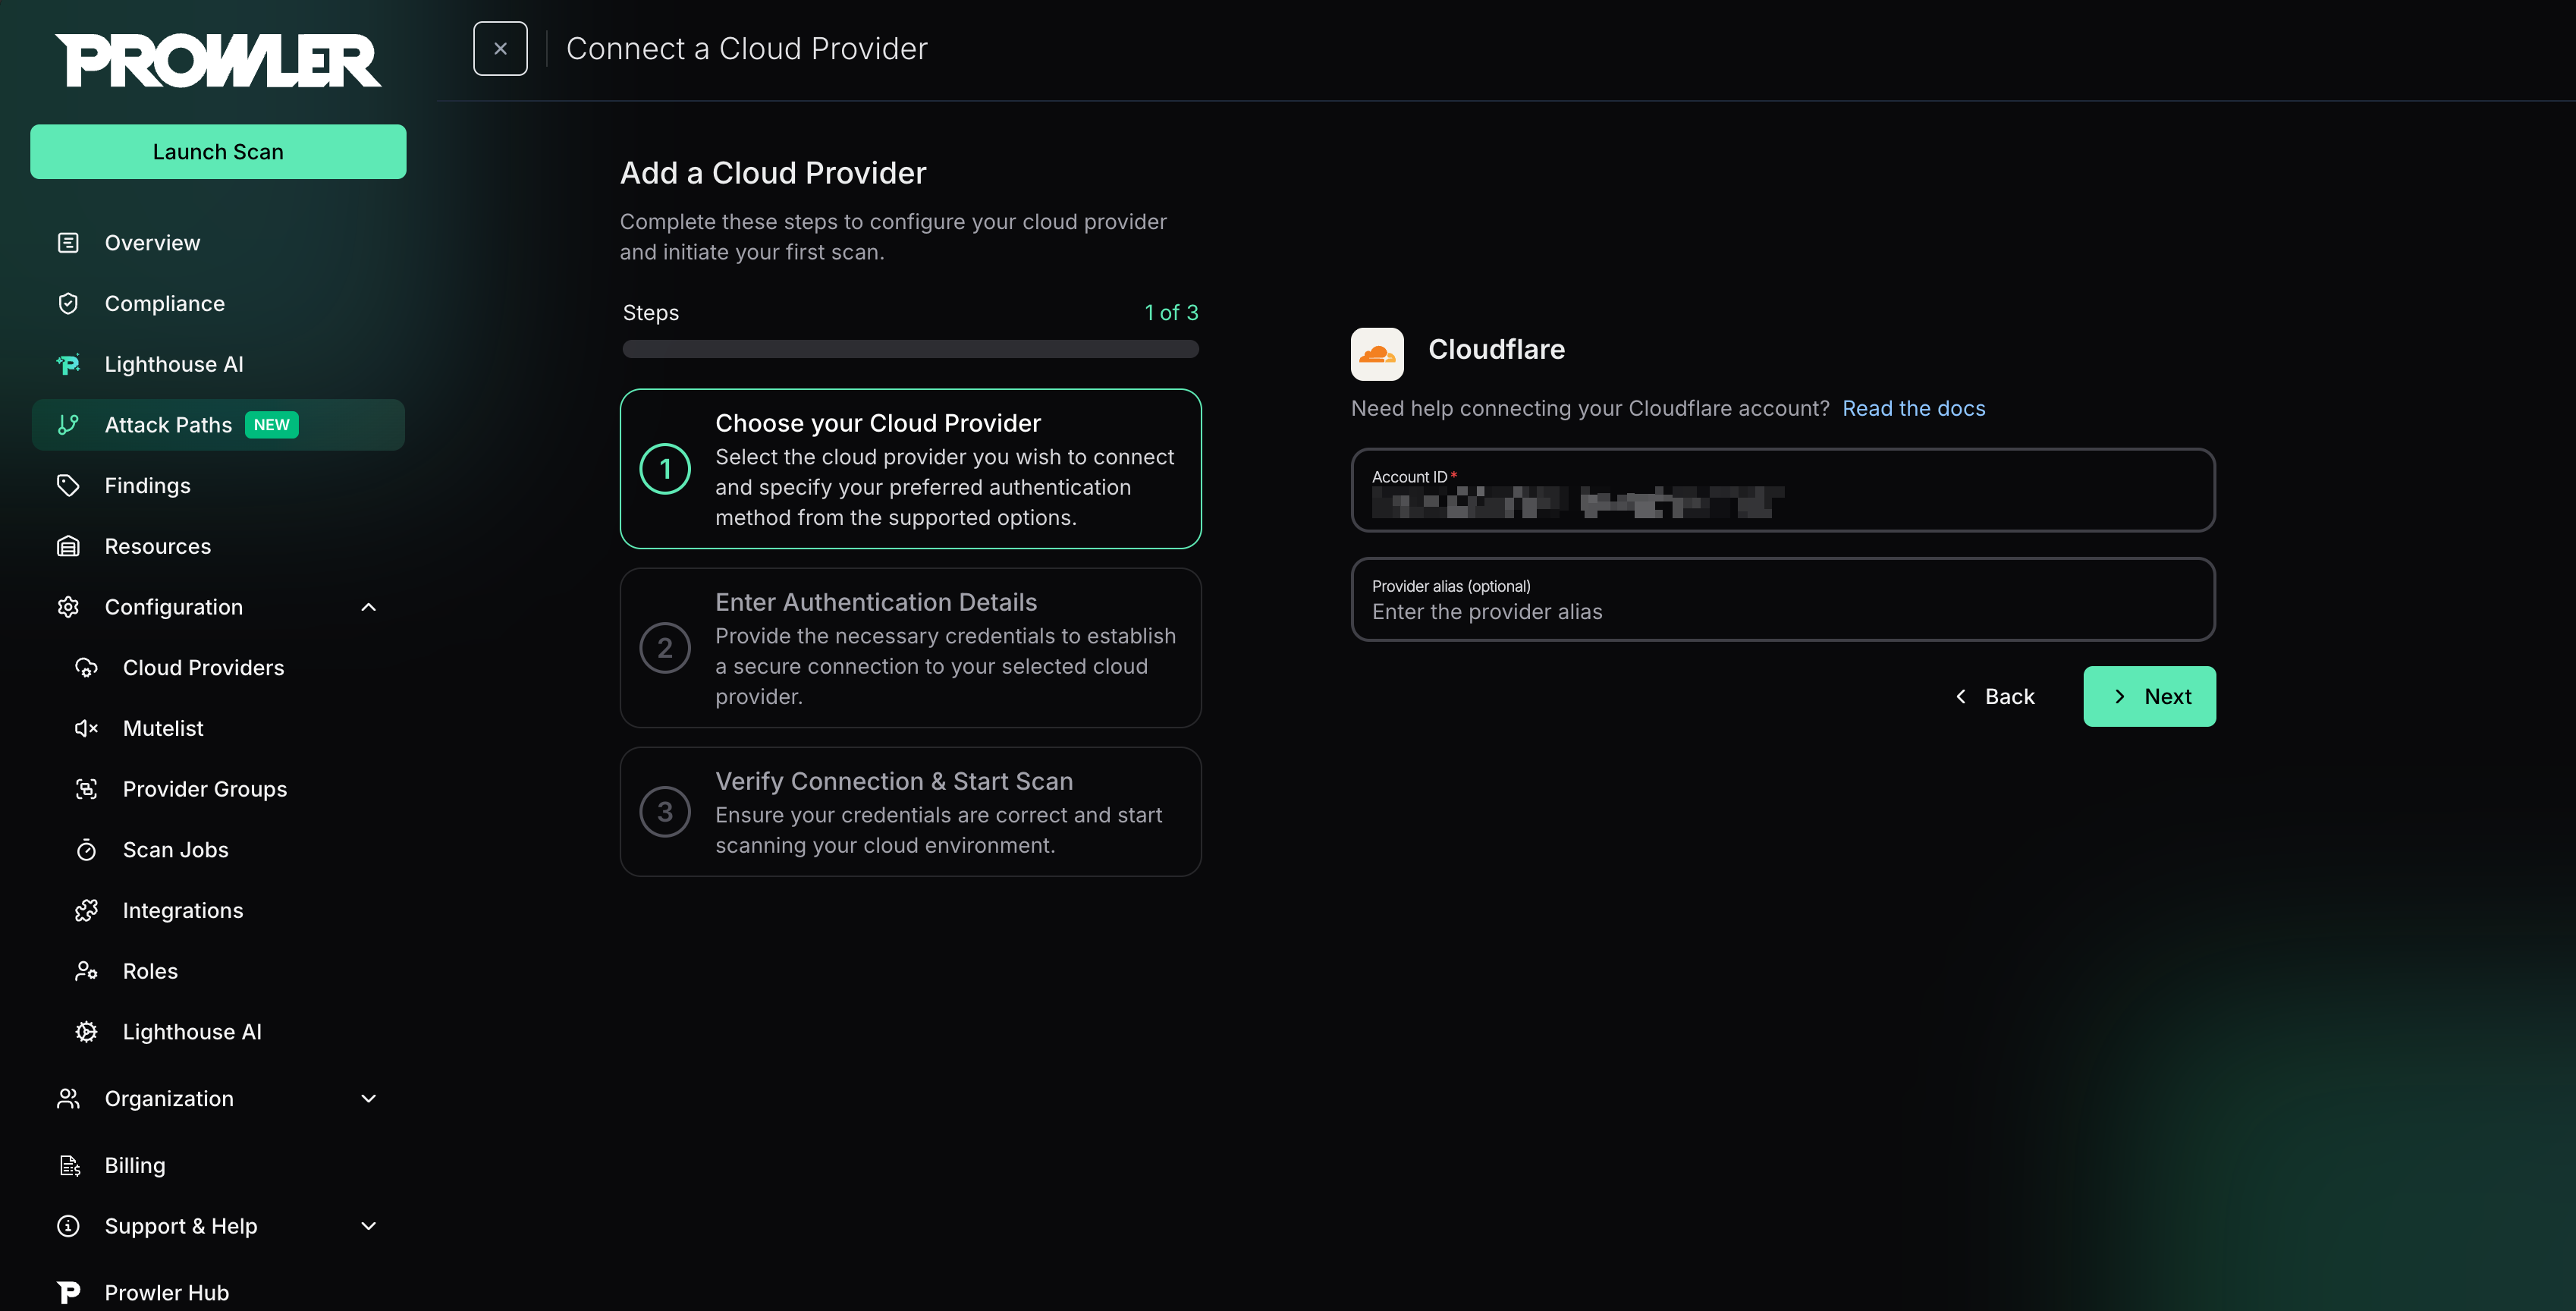
Step 1: Locate the Account ID
- Log into the Cloudflare Dashboard.
- Select any zone in the target account.
-
On the zone overview page, find the Account ID in the right sidebar under the “API” section.
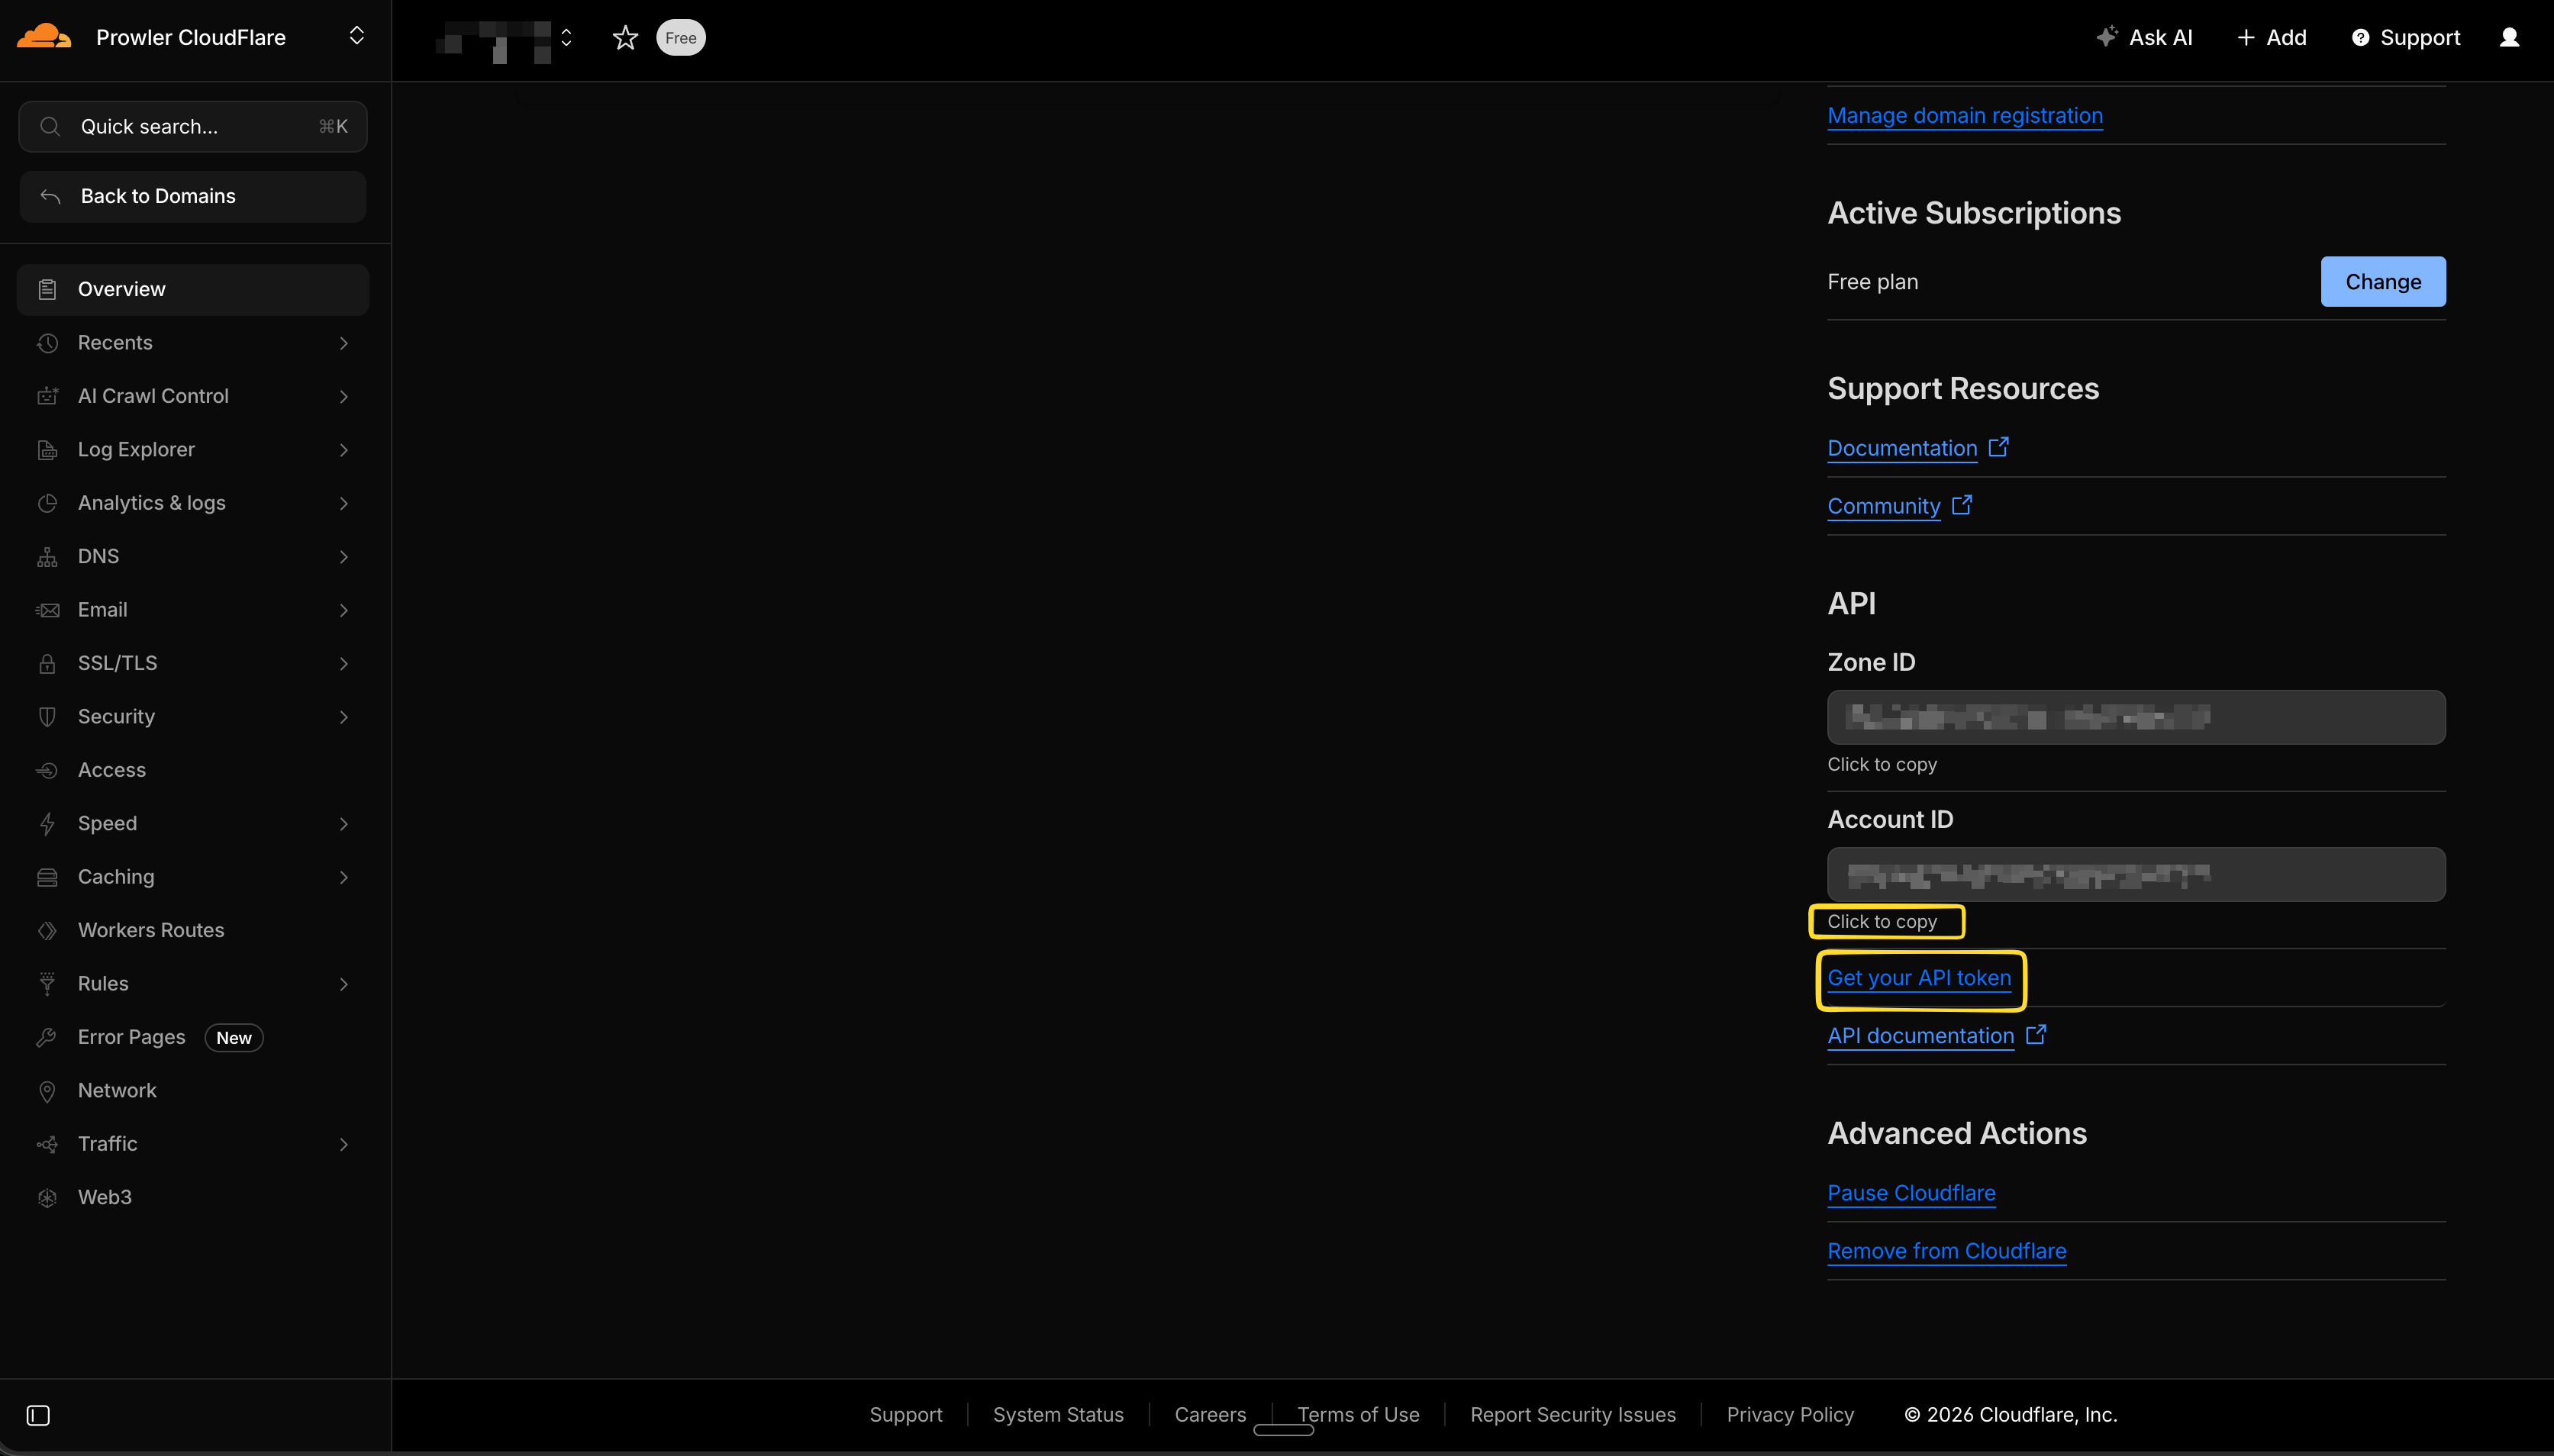
The Account ID is a 32-character hexadecimal string (e.g.,
372e67954025e0ba6aaa6d586b9e0b59). This value acts as the unique identifier for the Cloudflare account in Prowler Cloud.Step 2: Open Prowler Cloud
- Go to Prowler Cloud or launch Prowler App.
-
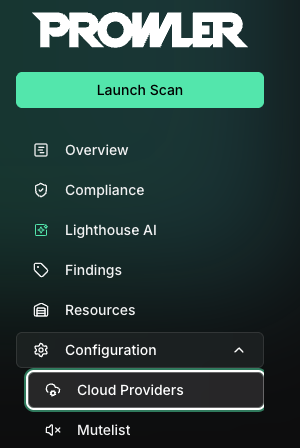
Navigate to “Configuration” > “Providers”.
-
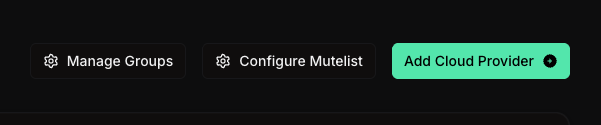
Click “Add Provider”.
-
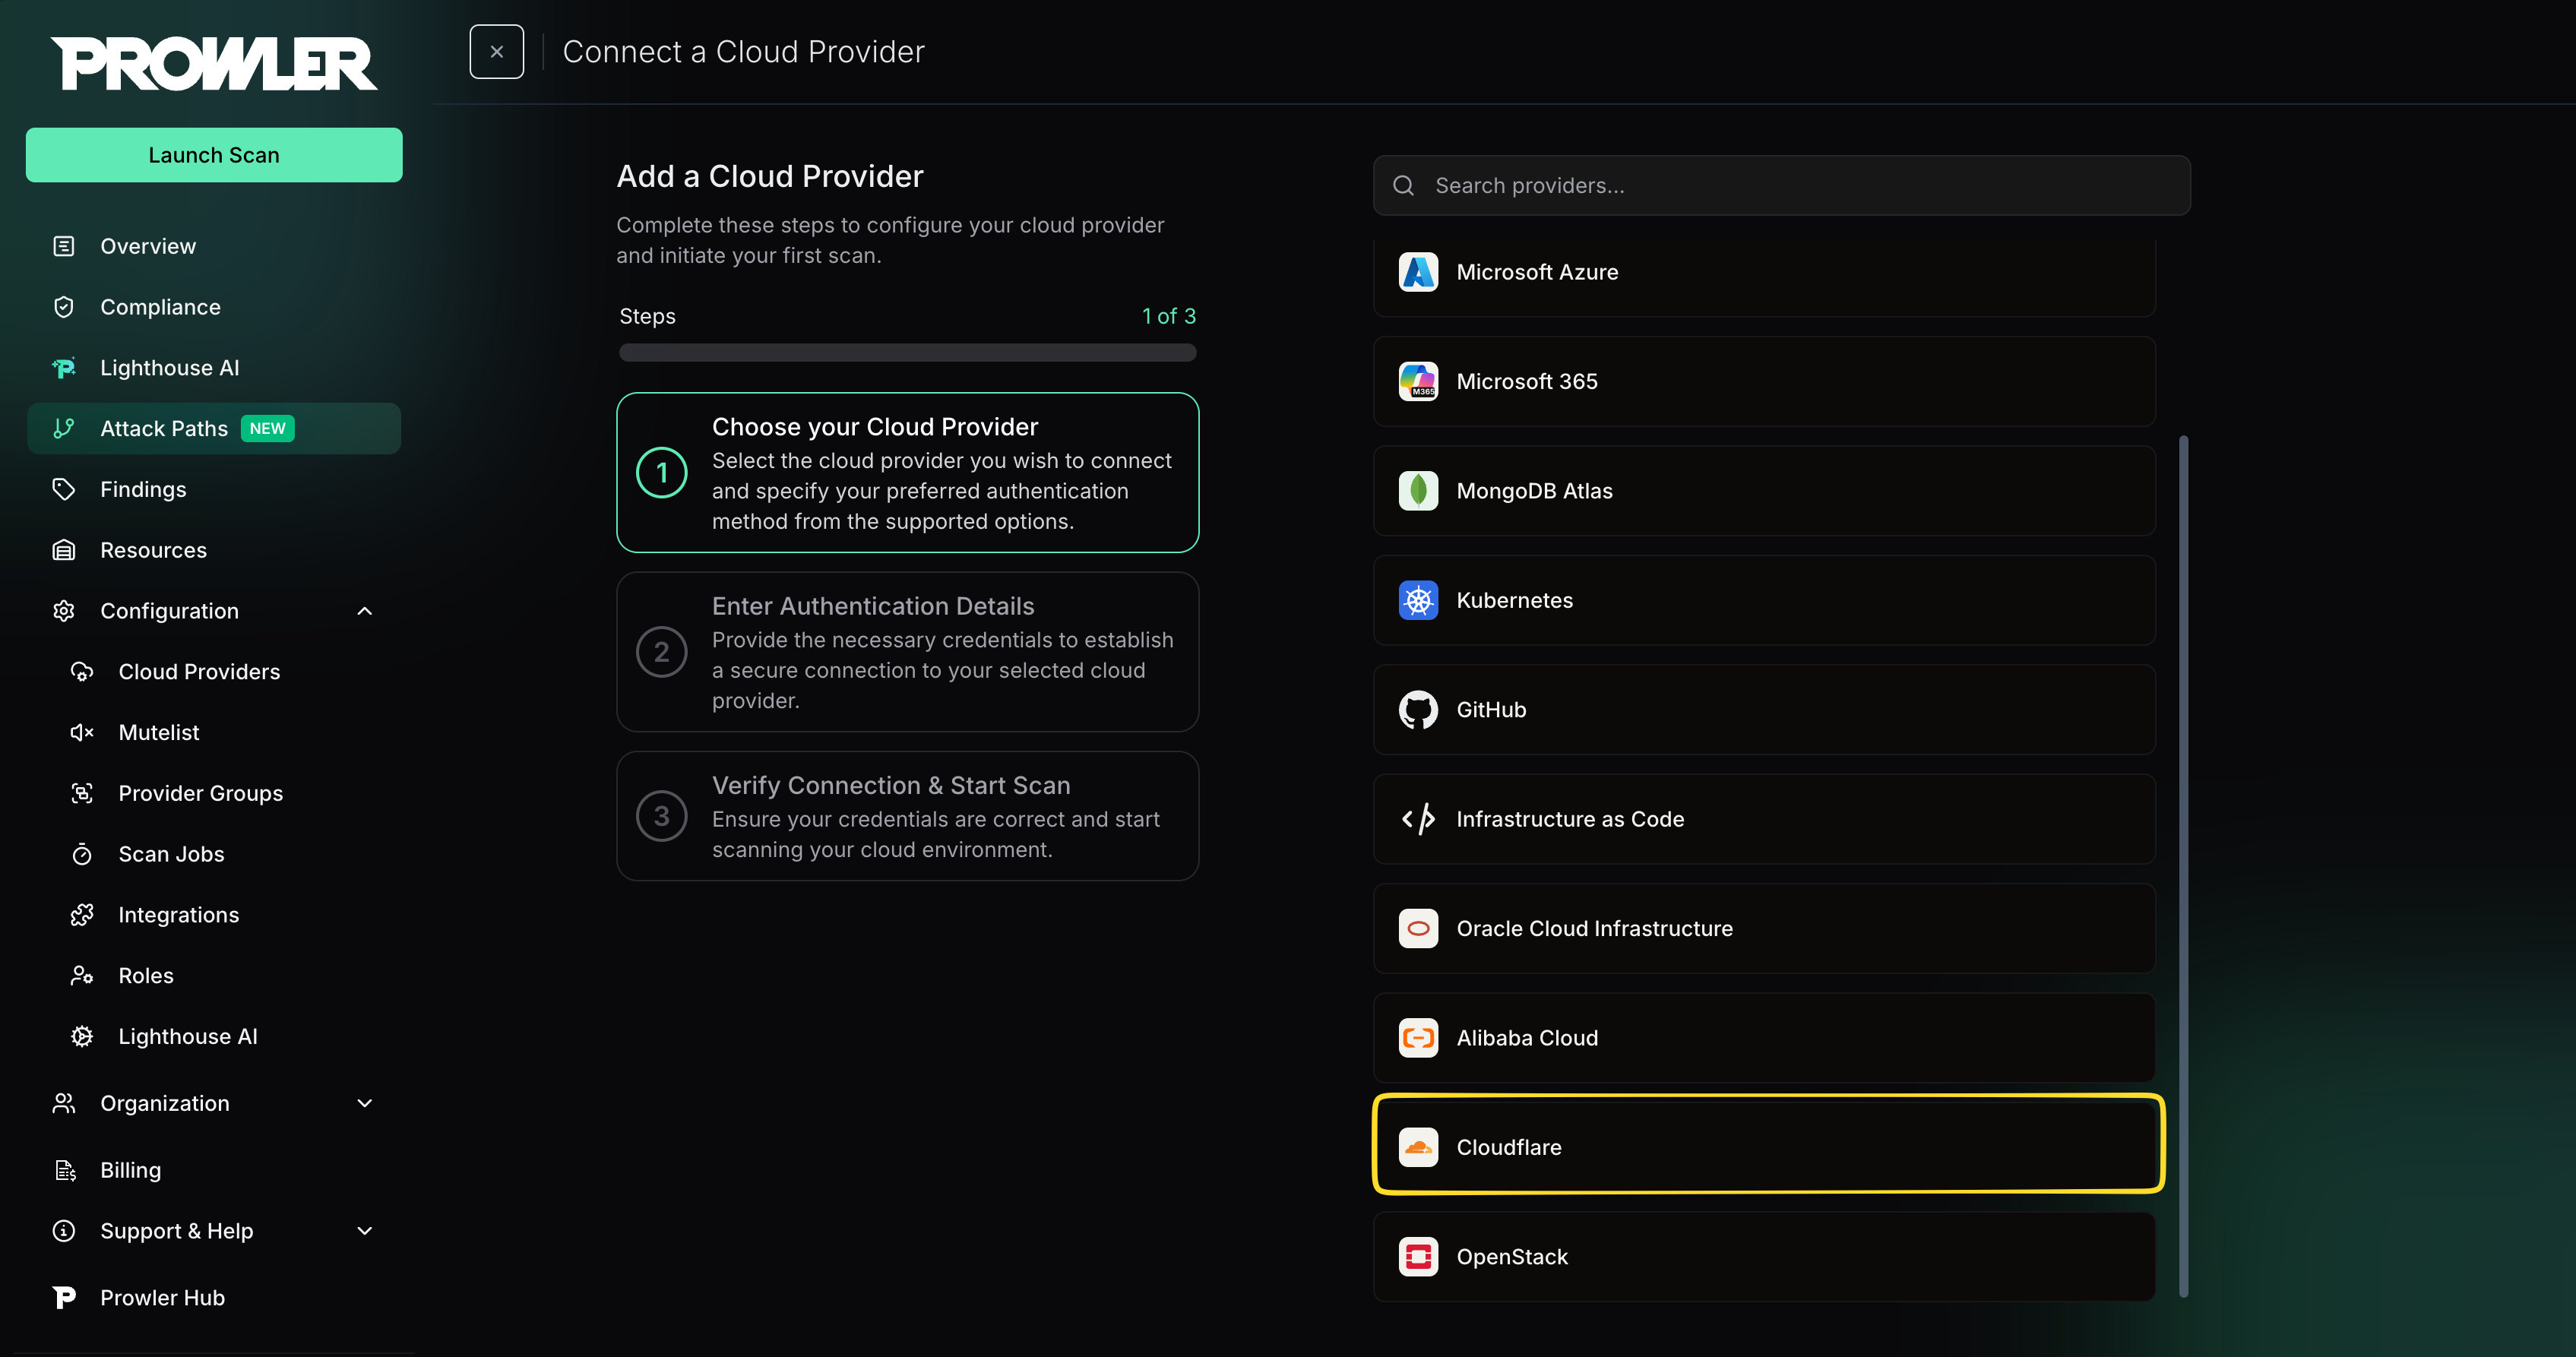
Select “Cloudflare”.
-
Add the Account ID and an optional alias, then click “Next”.
Step 3: Choose and Provide Authentication
After the Account ID is in place, select the authentication method that matches the Cloudflare setup: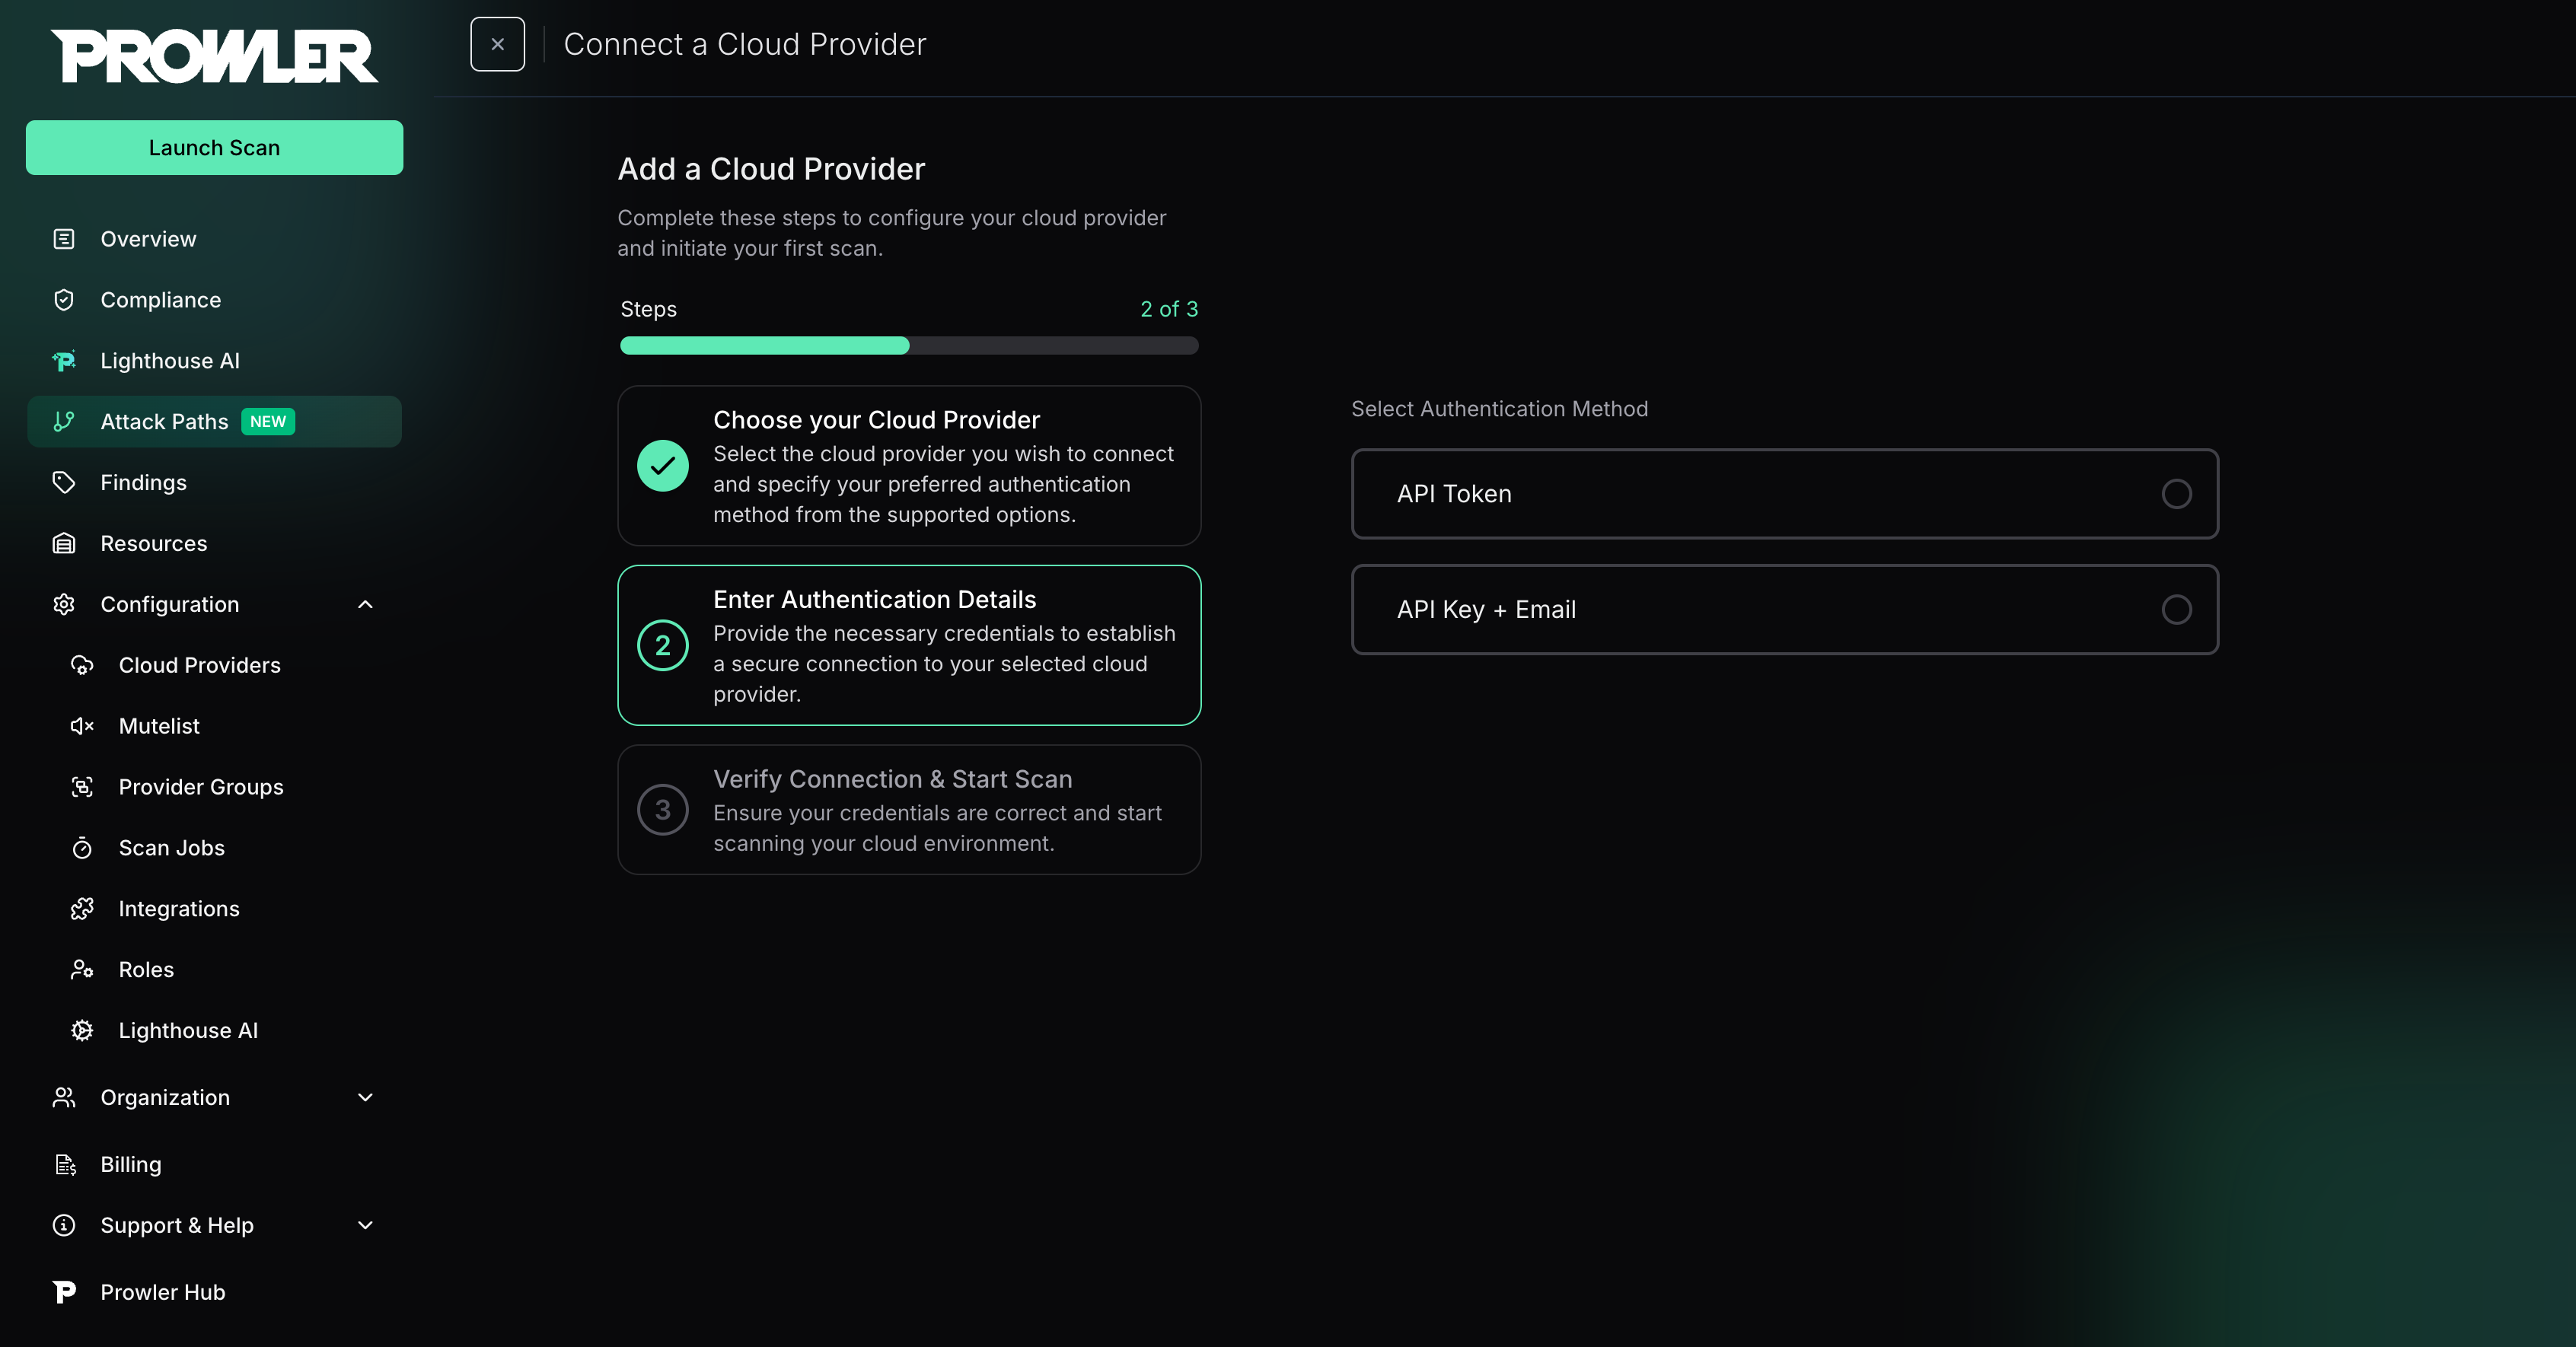
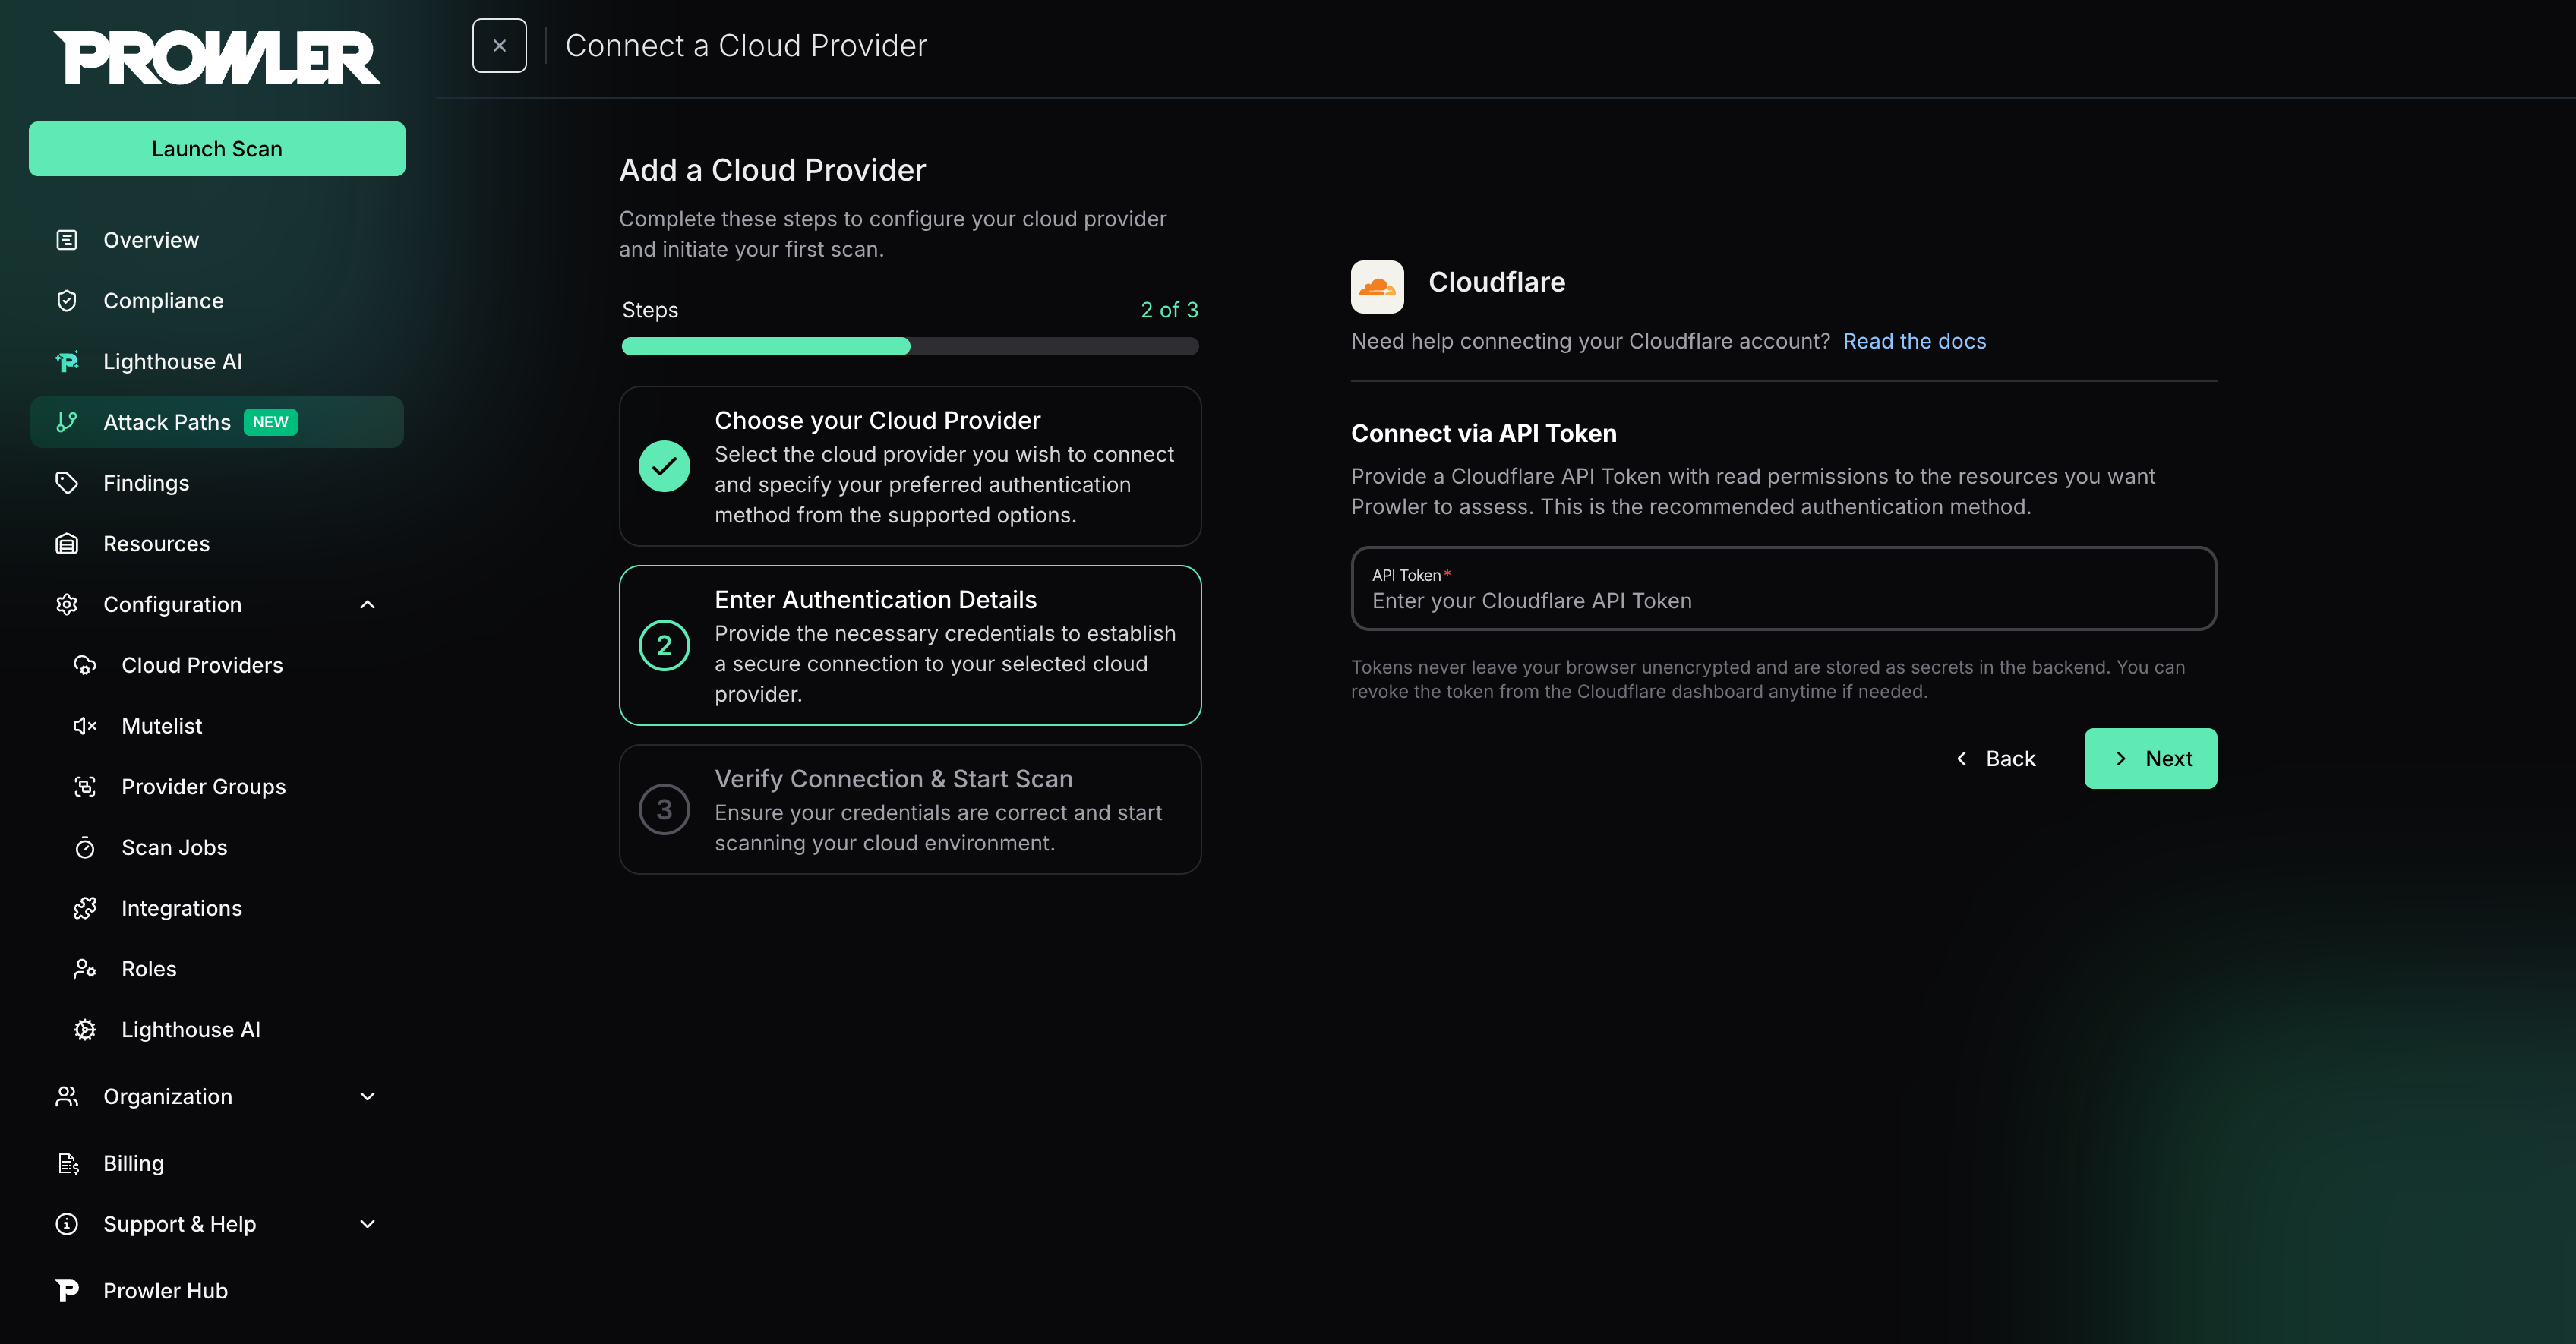
User API Token Authentication (Recommended)
- Select API Token.
-
Enter the User API Token created in the Cloudflare Dashboard.
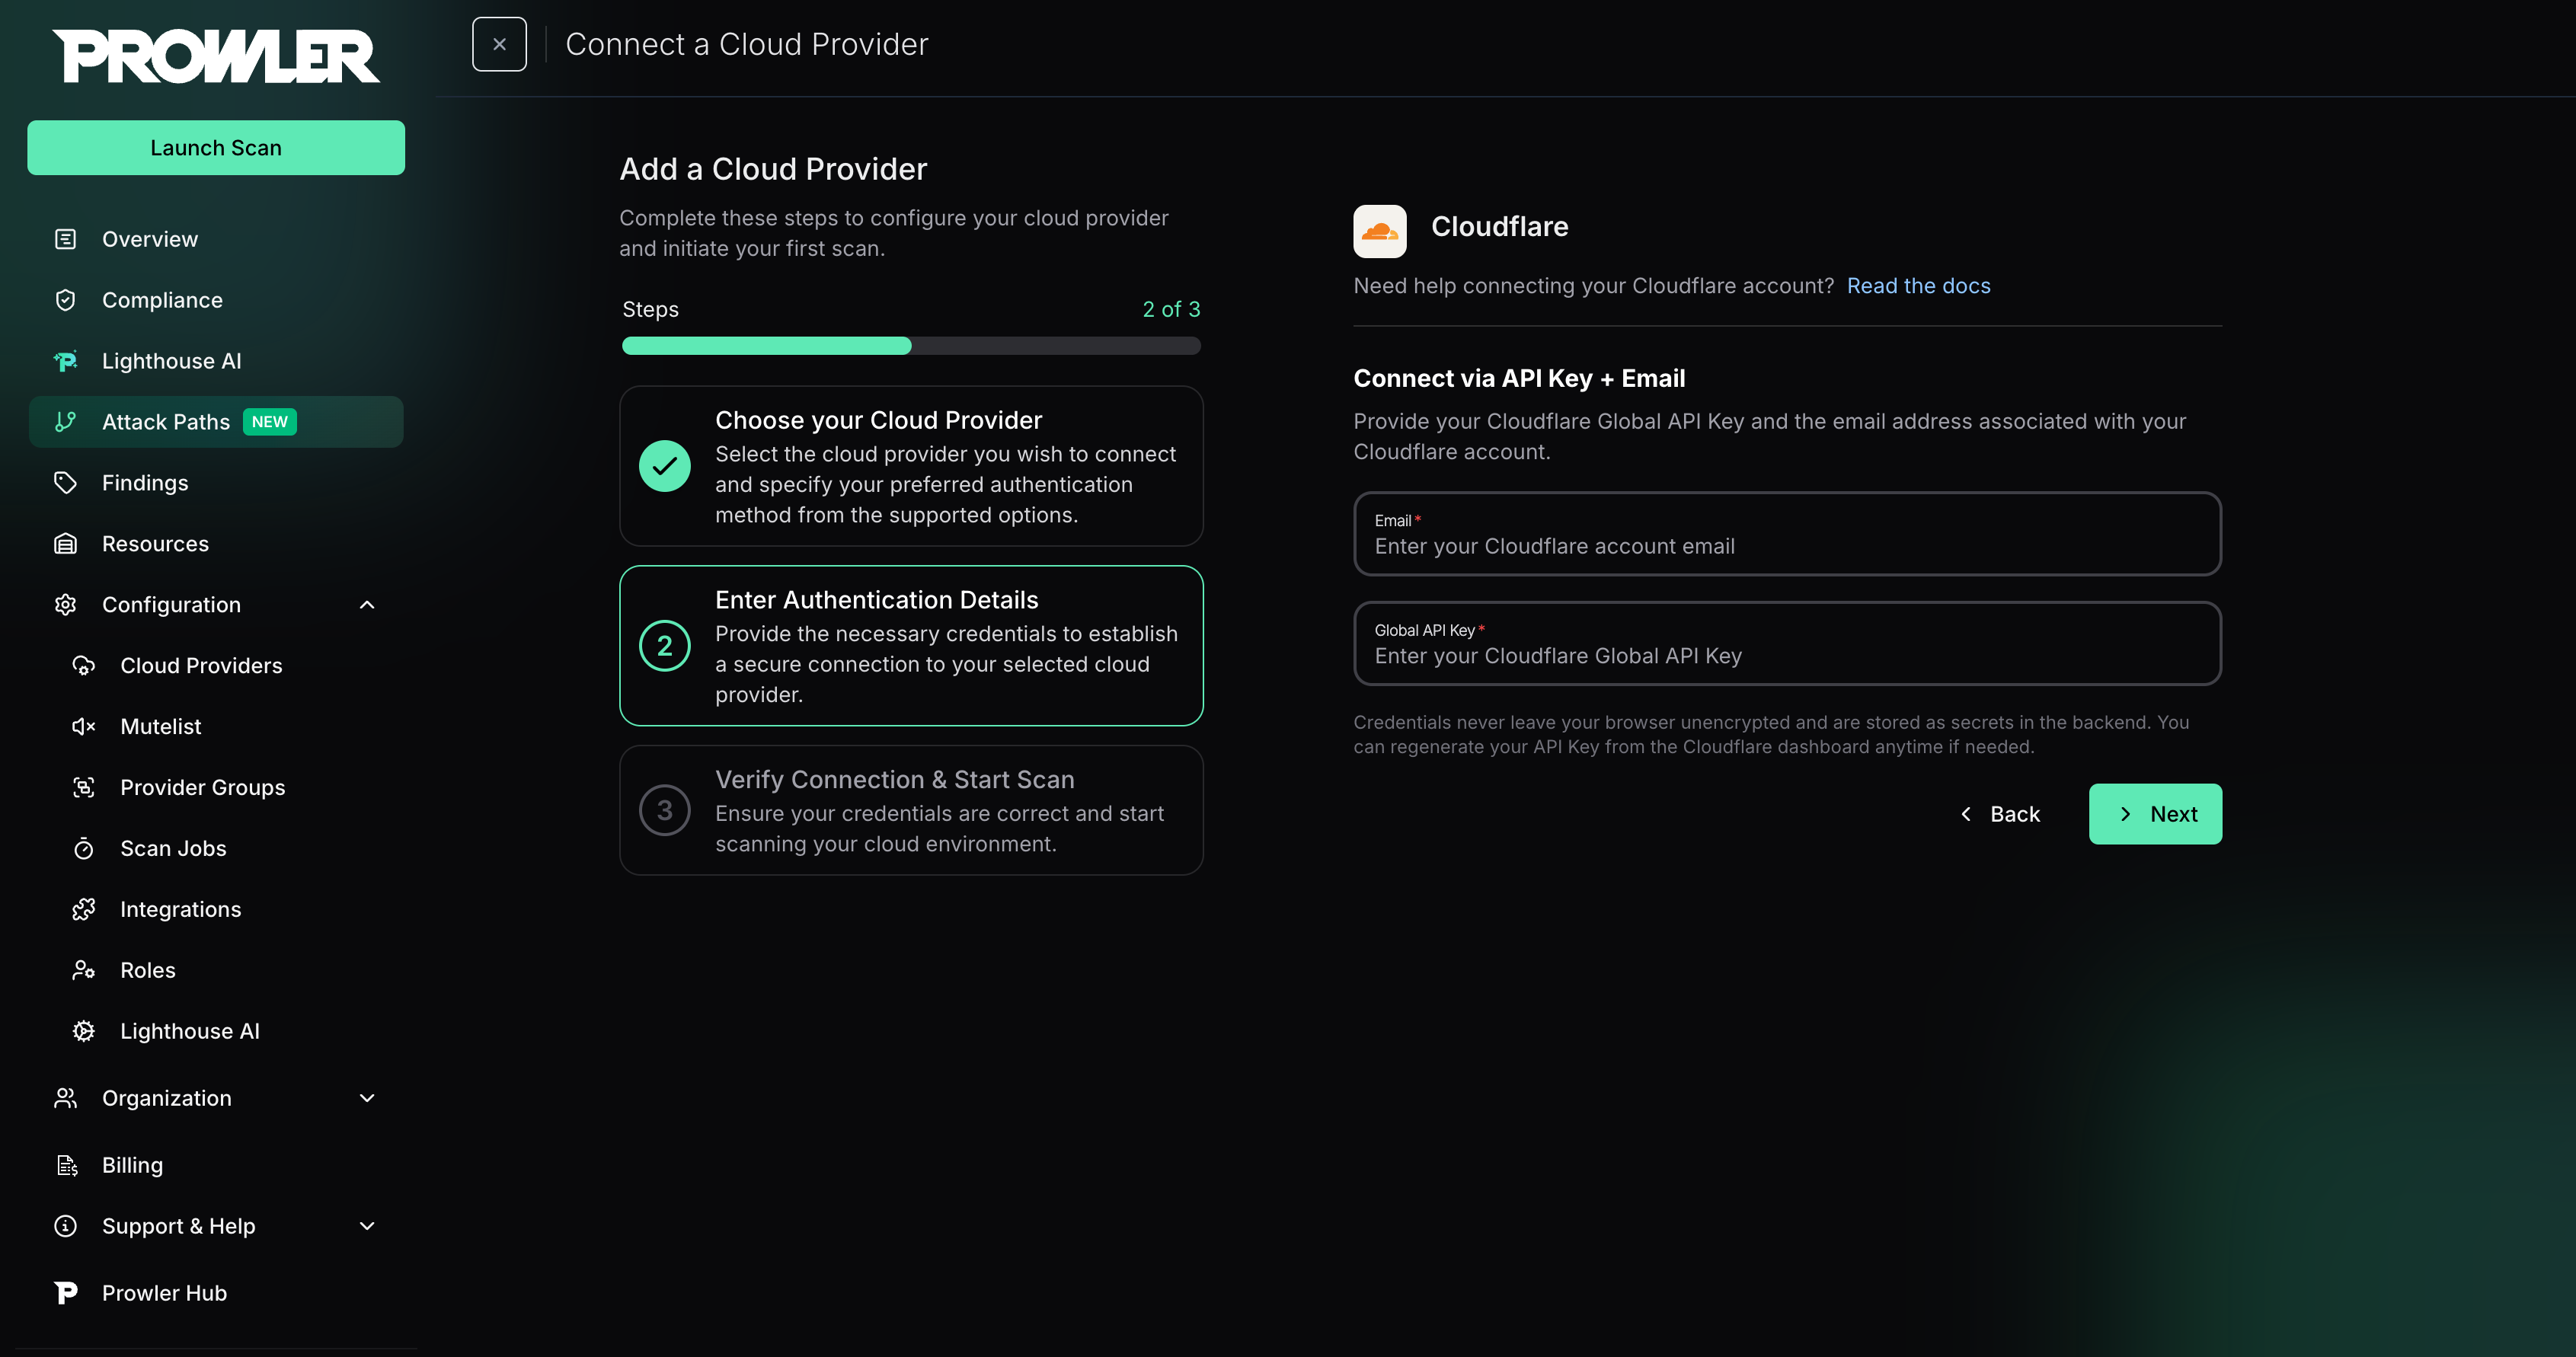
API Key and Email Authentication (Legacy)
- Select API Key + Email.
- Enter the Global API Key.
-
Enter the email address associated with the Cloudflare account.
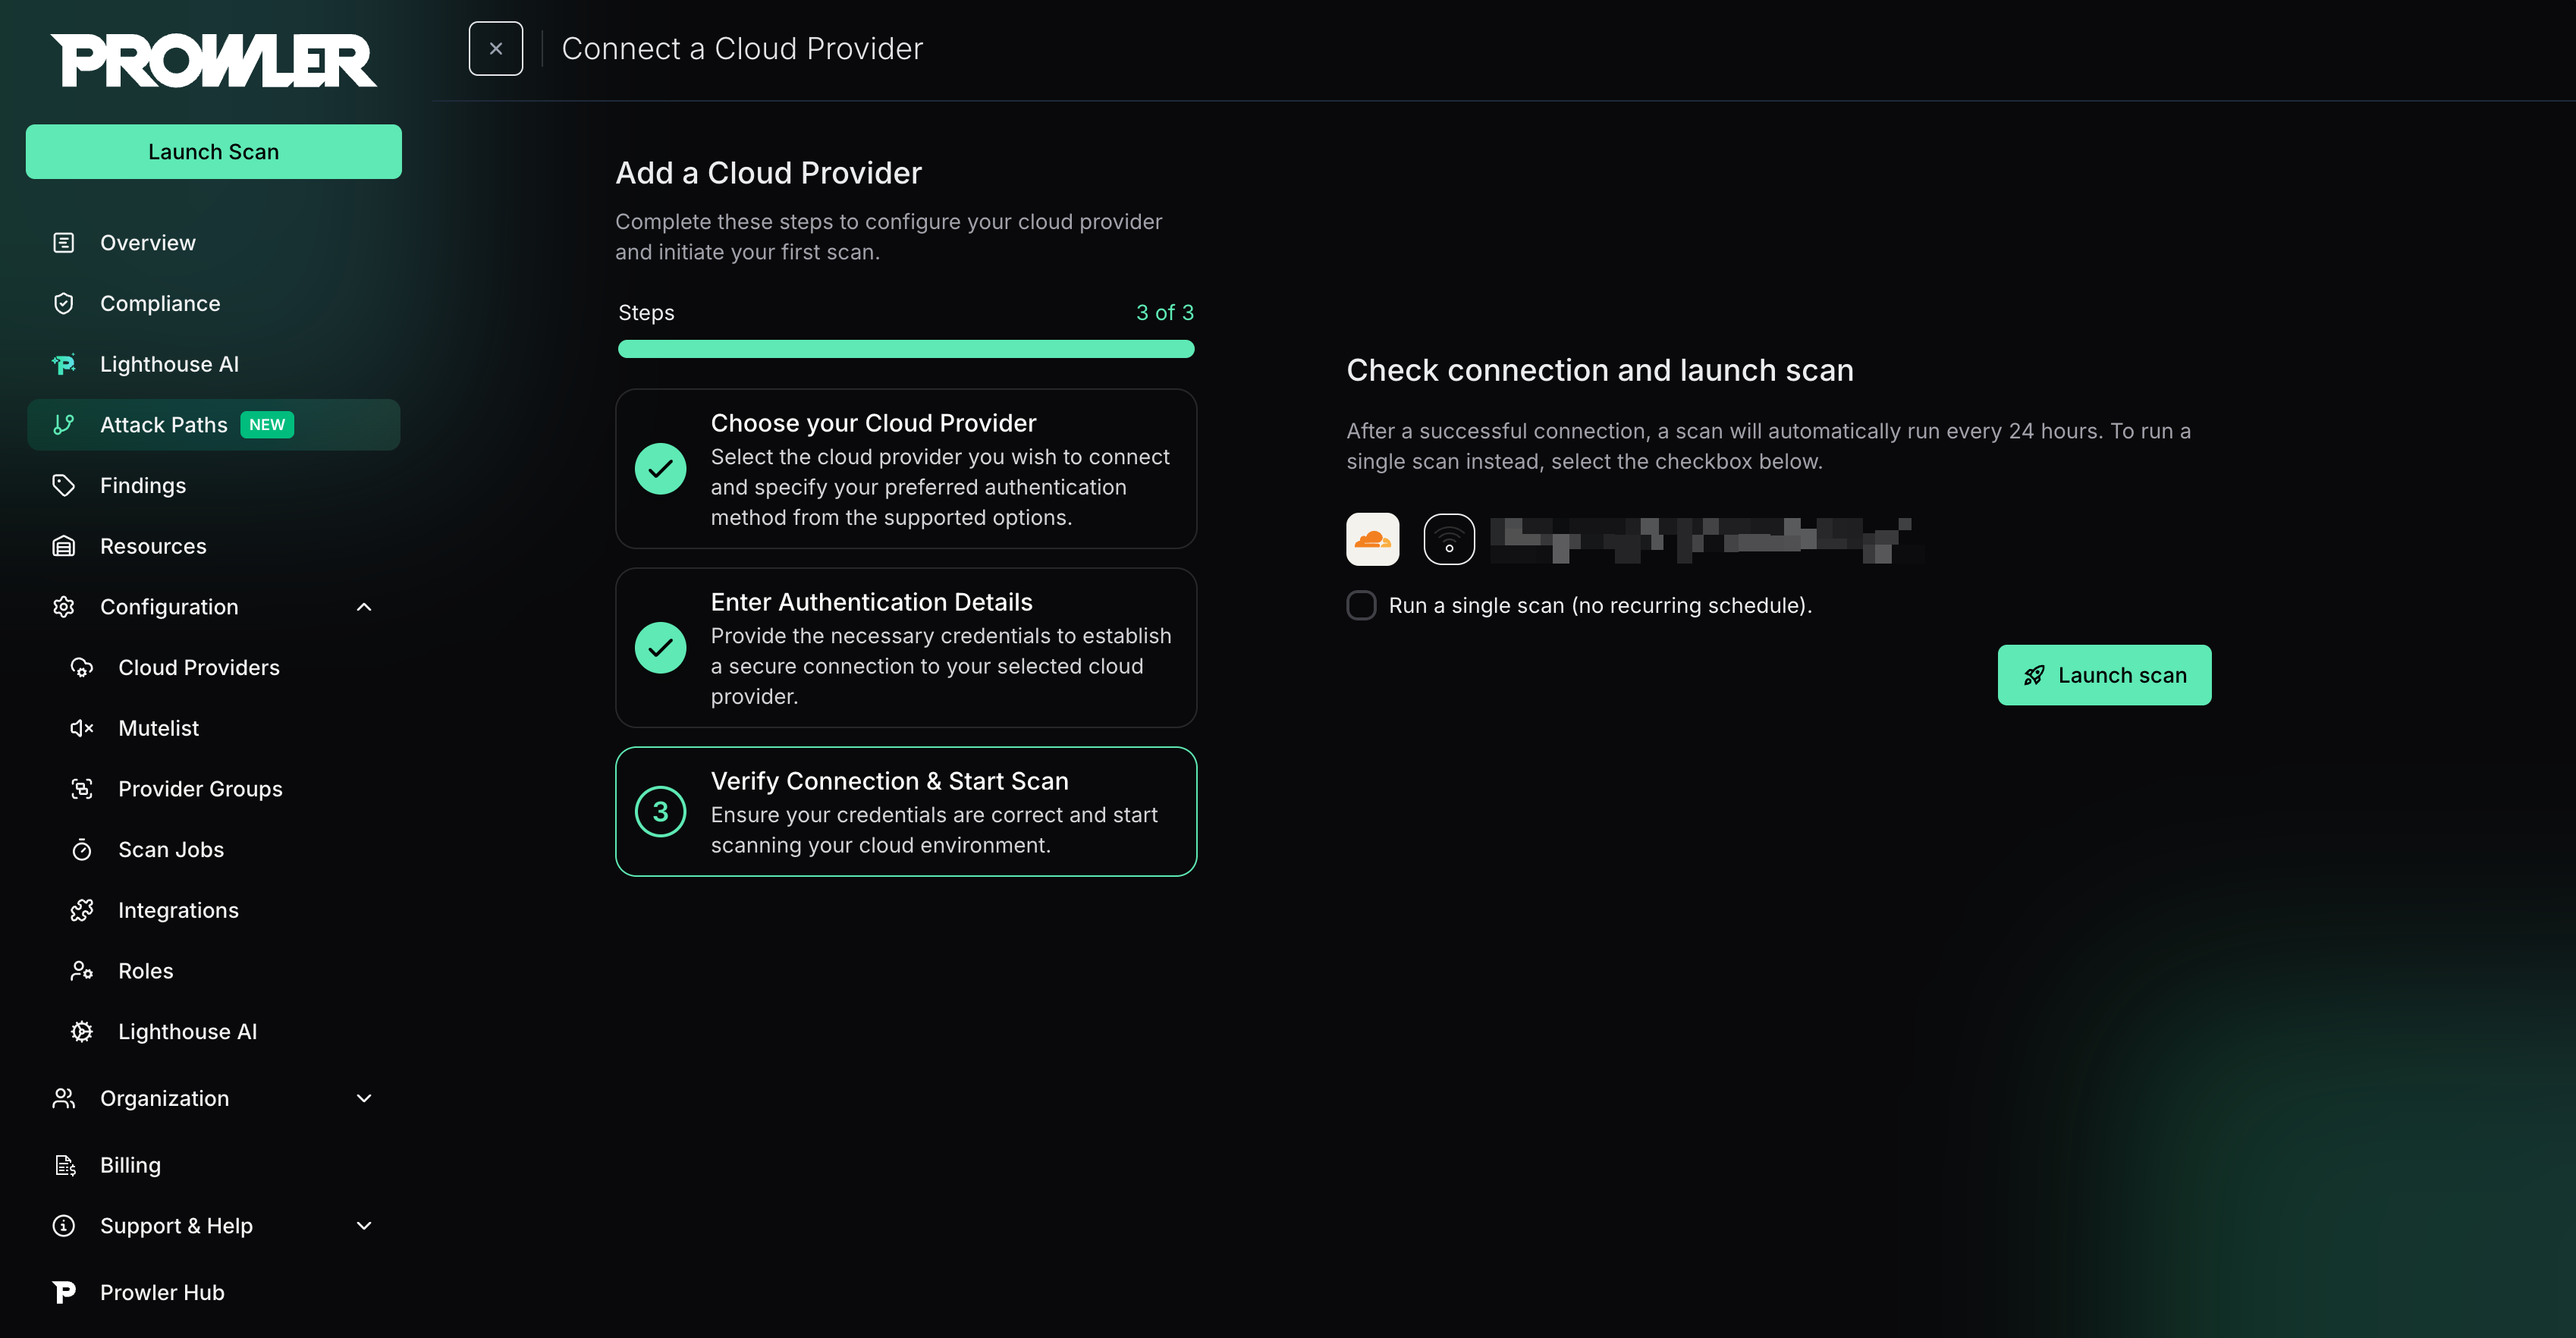
Step 4: Launch the Scan
- Review the summary.
-
Click Launch Scan to start auditing Cloudflare.
Prowler CLI
Step 1: Set Up Authentication
Choose the matching method from the Cloudflare Authentication guide:- User API Token (recommended): Set
CLOUDFLARE_API_TOKEN - API Key + Email (legacy): Set
CLOUDFLARE_API_KEYandCLOUDFLARE_API_EMAIL
Step 2: Run the First Scan
Run a baseline scan after credentials are configured:Step 3: Filter the Scan Scope (Optional)
Filter by Zone
To scan only specific zones, use the-f, --region, or --filter-region argument:
Filter by Account
To restrict the scan to specific accounts, use the--account-id argument:
If any of the provided account IDs are not accessible with the current credentials, Prowler raises an error and stops execution.