

 About Us
- User Guide: For organization administrators to configure SAML SSO through Prowler Cloud.
- Developer and Administrator Guide: For developers and system administrators running Prowler Local Server instances, providing technical details on environment configuration, API usage, and testing.
User Guide Configuration
Follow these steps to enable and configure SAML SSO for an organization.Key Features
Prowler can be integrated with SAML SSO identity providers such as Okta to enable single sign-on for the organization’s users. The Prowler SAML integration currently supports the following features:- IdP-Initiated SSO: Users can initiate login from their Identity Provider’s dashboard.
- SP-Initiated SSO: Users can initiate login directly from the Prowler login page.
- Just-in-Time Provisioning: Users from the organization signing into Prowler for the first time will be automatically created.
Prerequisites
- Administrator access to the Prowler organization is required.
- Administrative access to the SAML 2.0 compliant Identity Provider (e.g., Okta, Azure AD, Google Workspace) is necessary.
Configuration Steps
Step 1: Access Profile Settings
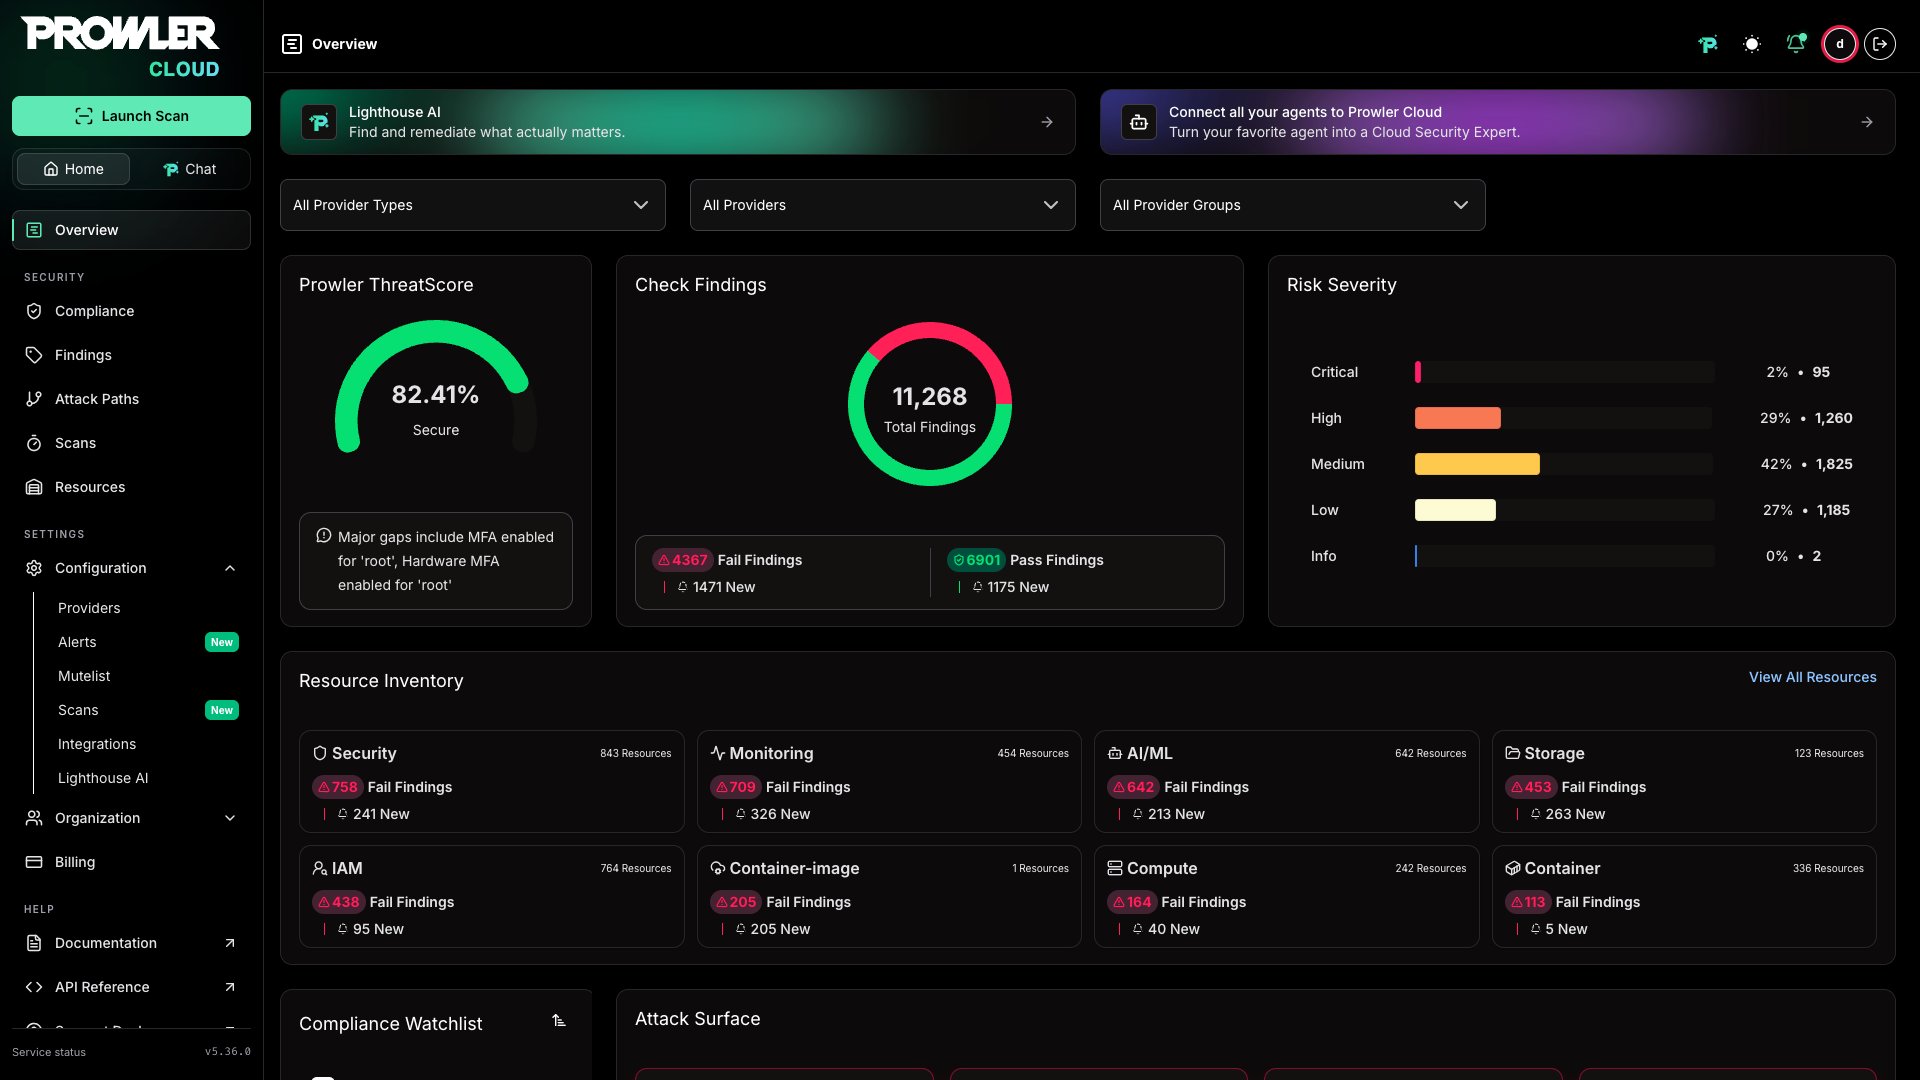
To access the account settings, click the “Account” button in the top-right corner of Prowler Cloud, or navigate directly tohttps://cloud.prowler.com/profile (or http://localhost:3000/profile for local setups).
Step 2: Enable SAML Integration
On the profile page, find the “SAML SSO Integration” card and click “Enable” to begin the configuration process.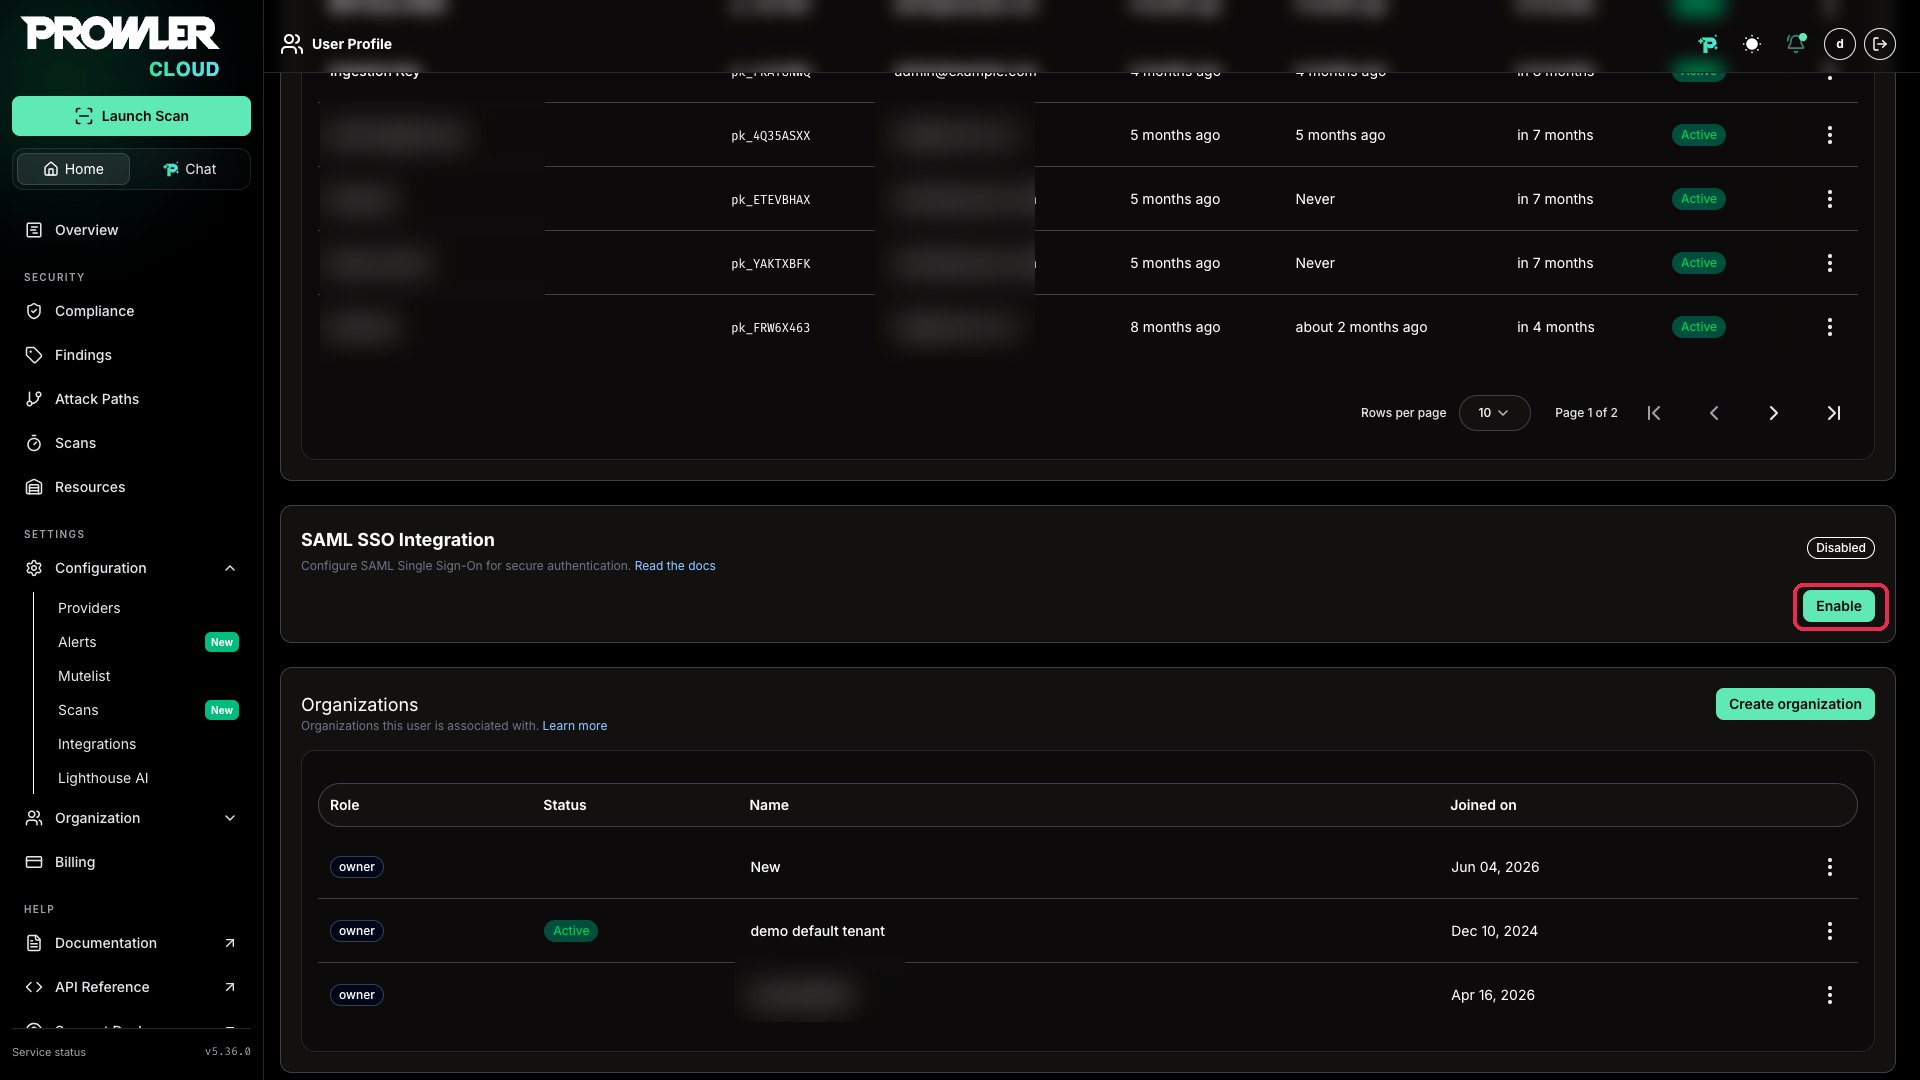
Step 3: Configure the Identity Provider (IdP)
Choose a Method:- Use Generic Method for any SAML 2.0 compliant Identity Provider or when you need custom configuration.
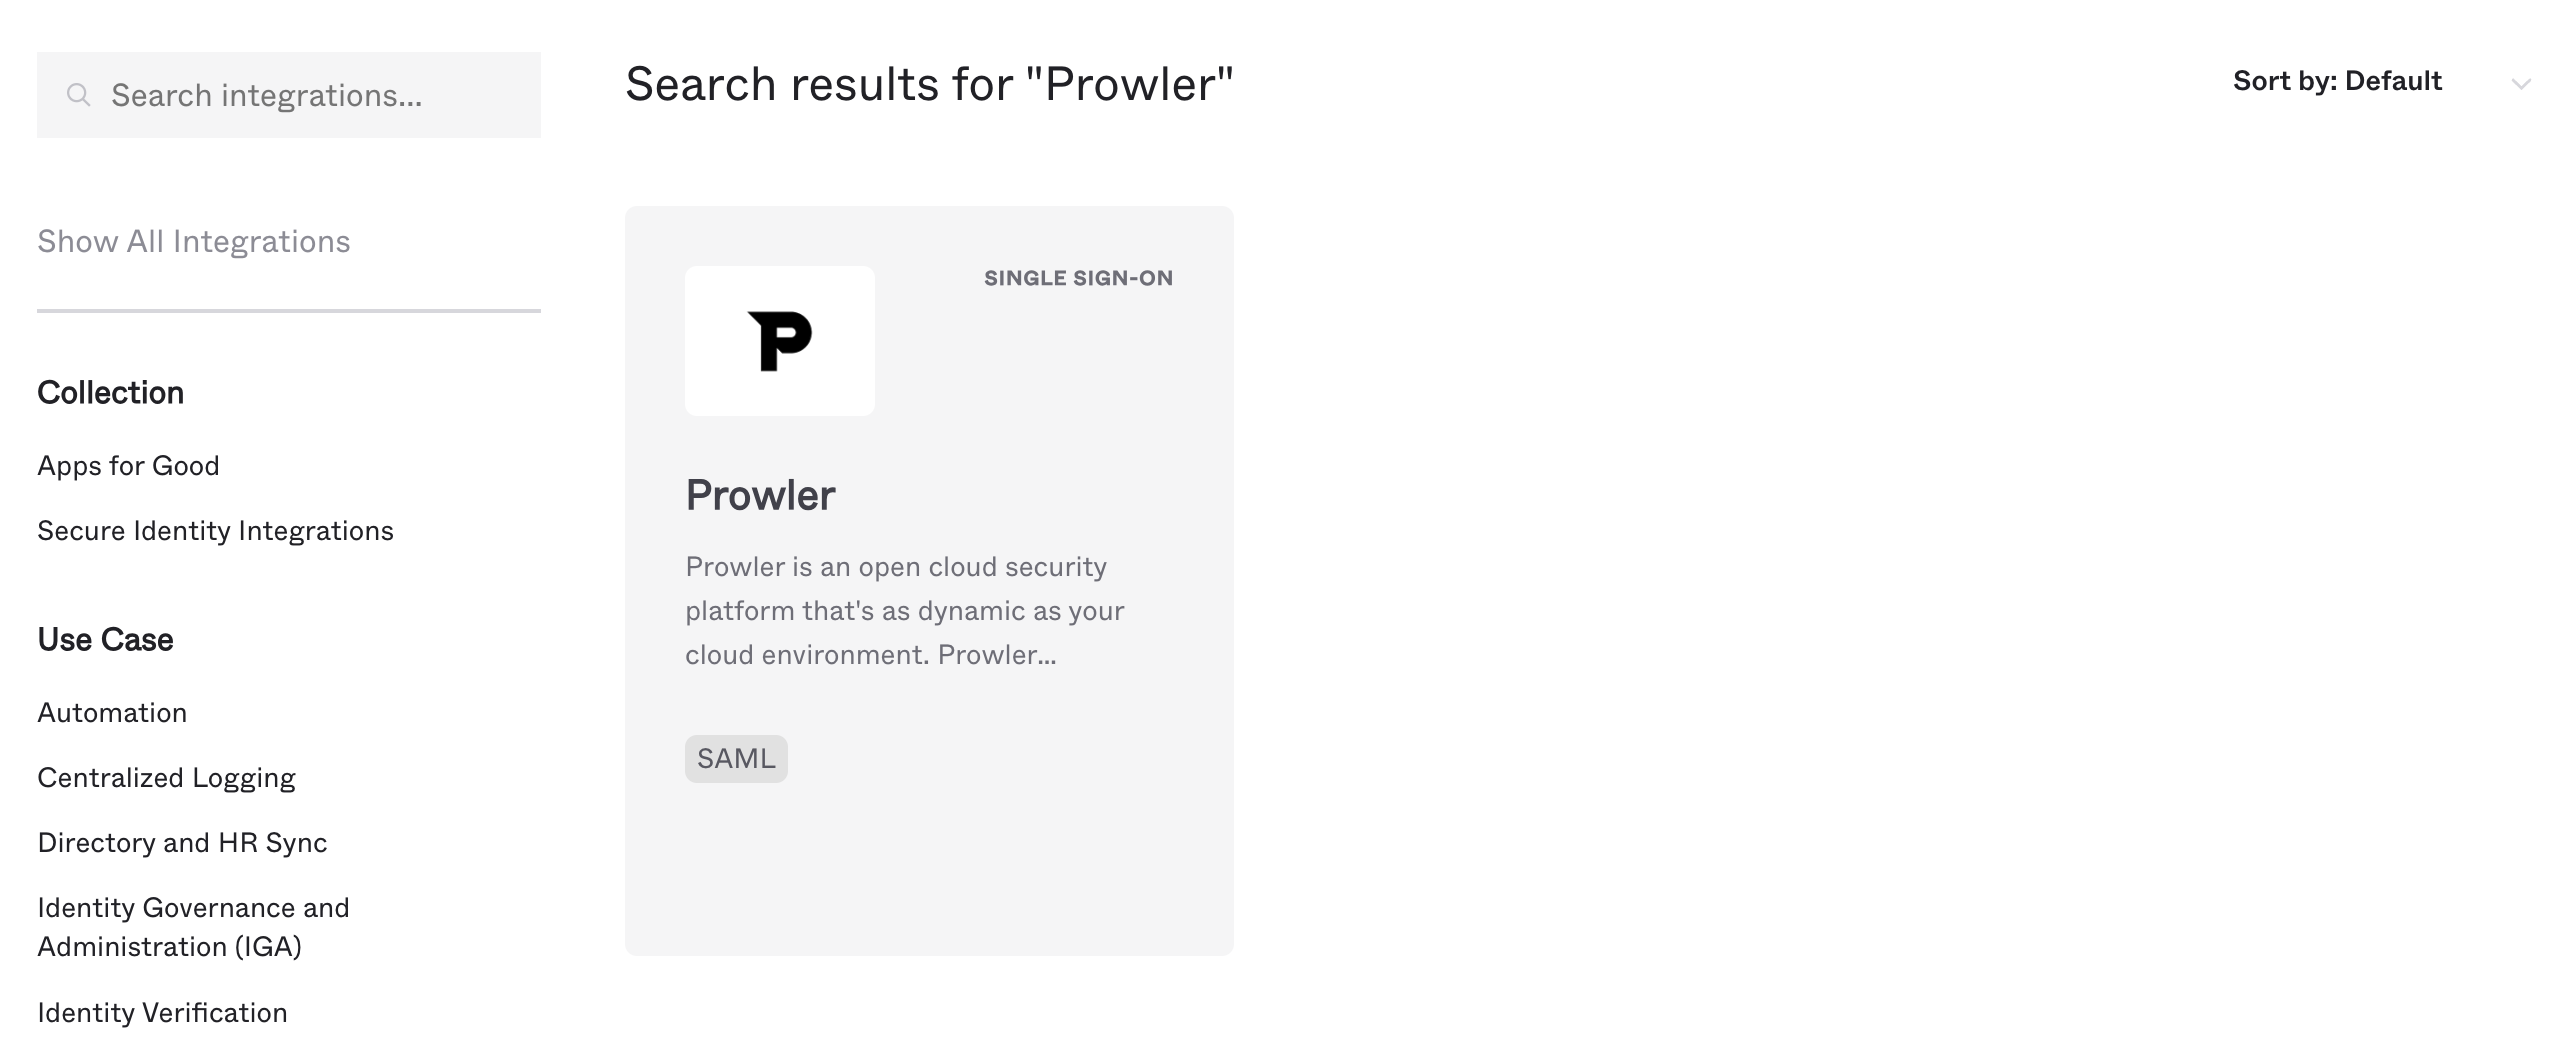
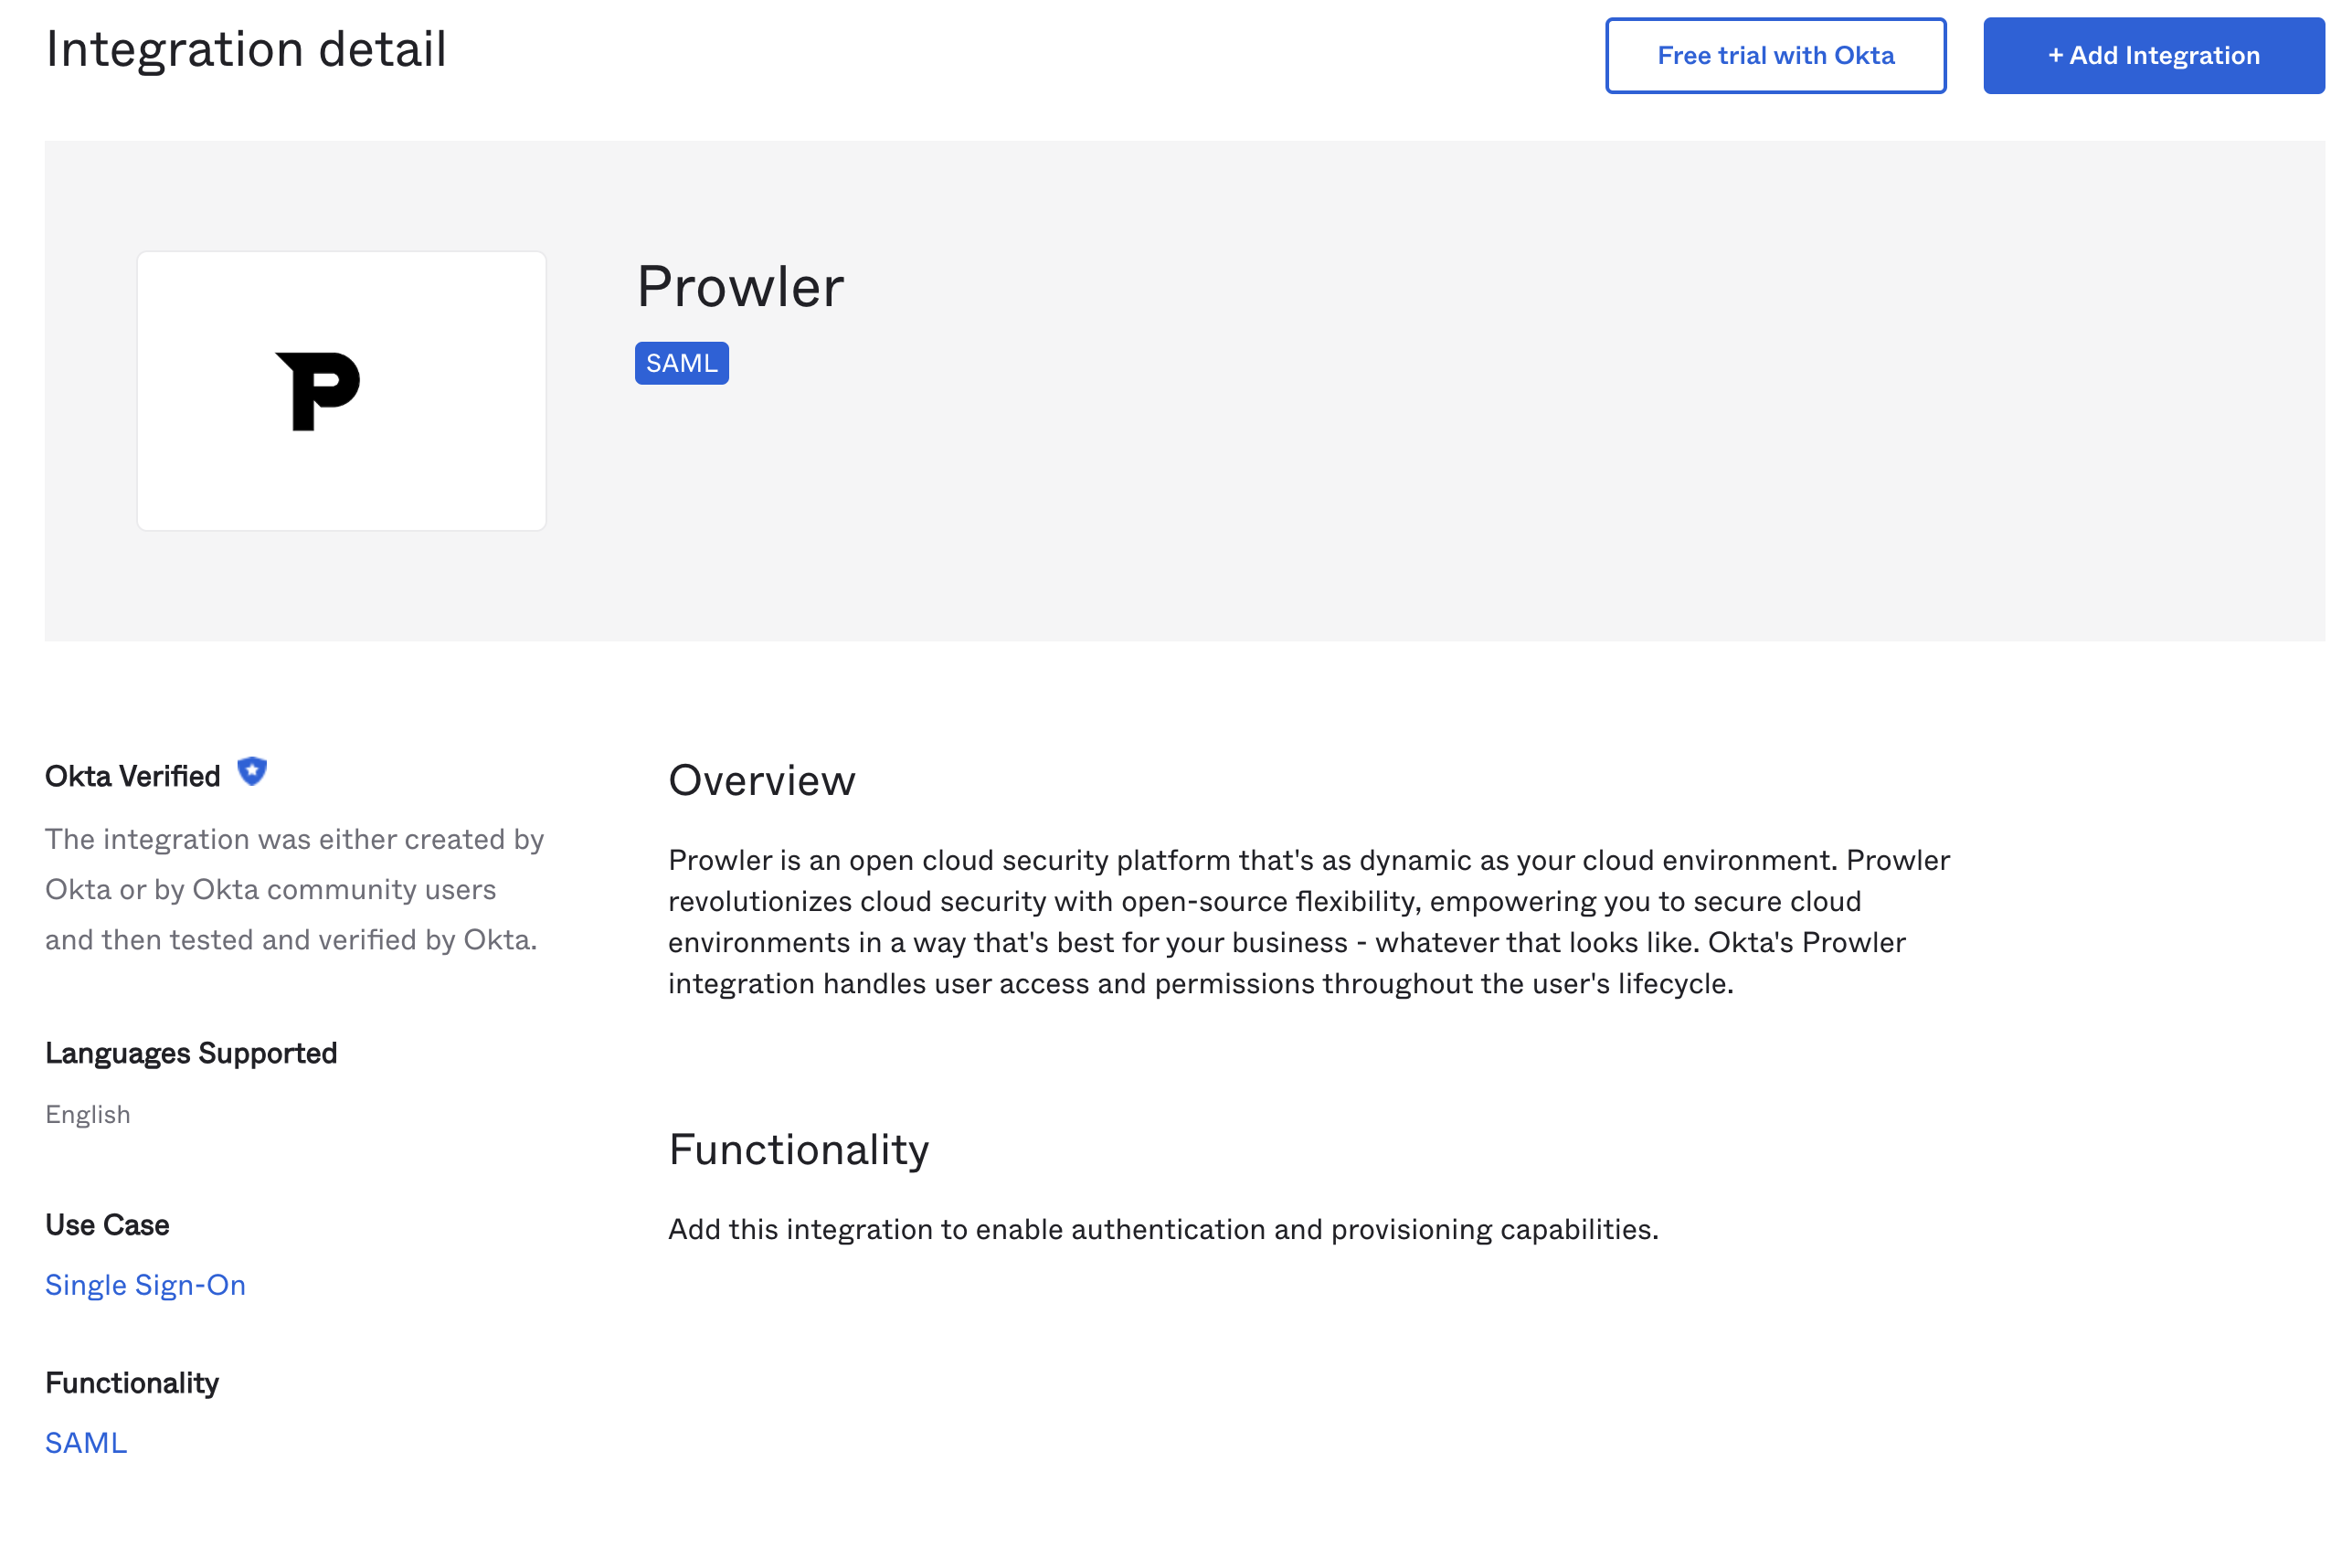
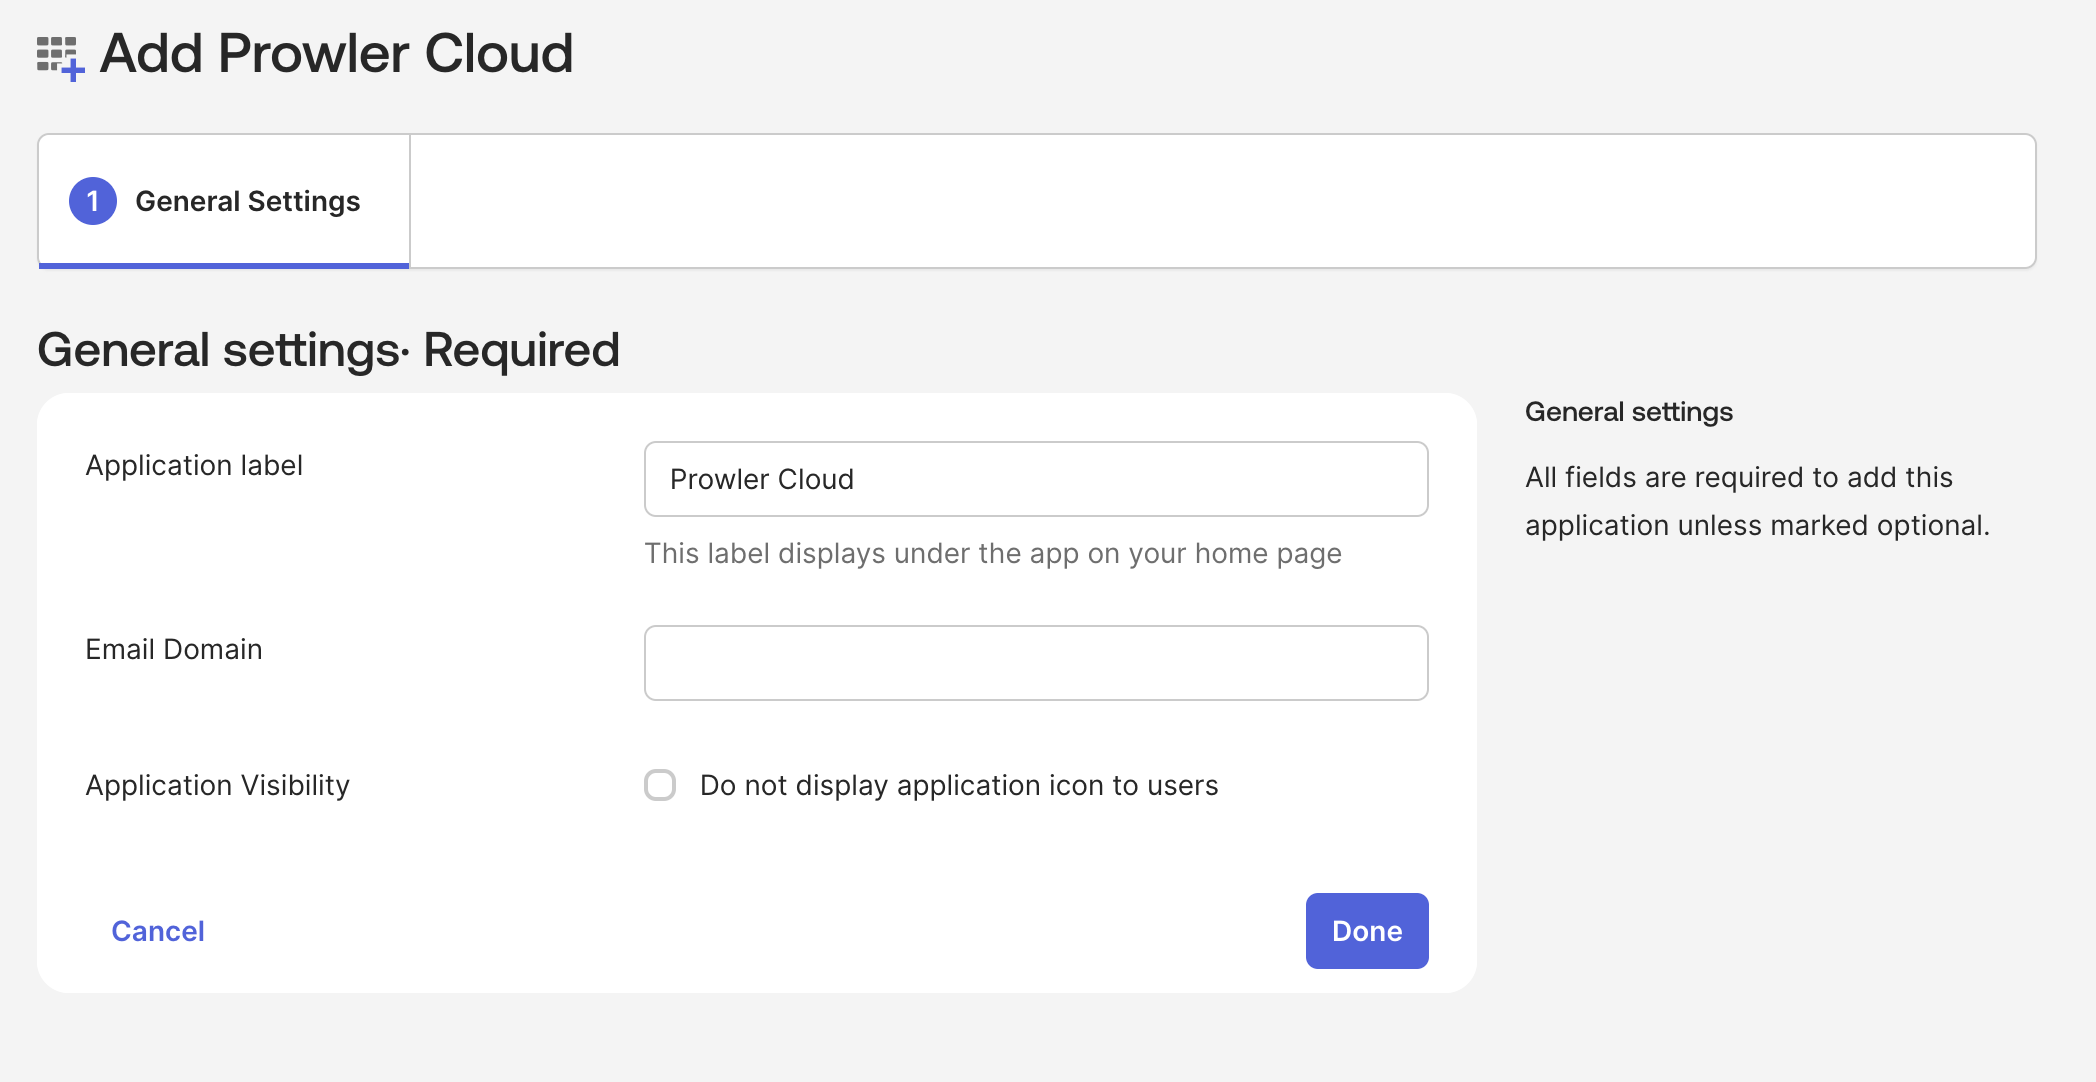
- Use Okta App Catalog if you’re using Okta and want a simplified setup process with pre-configured settings.
- Generic Method
- Okta App Catalog
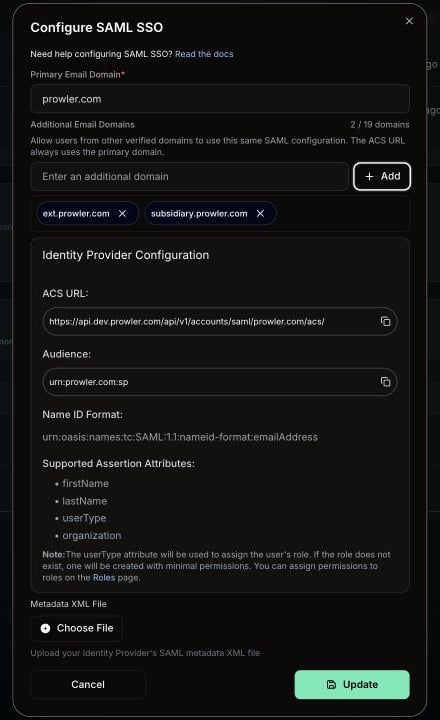
Prowler Cloud displays the SAML configuration information needed to configure the IdP. Use this information to create a new SAML application in the IdP.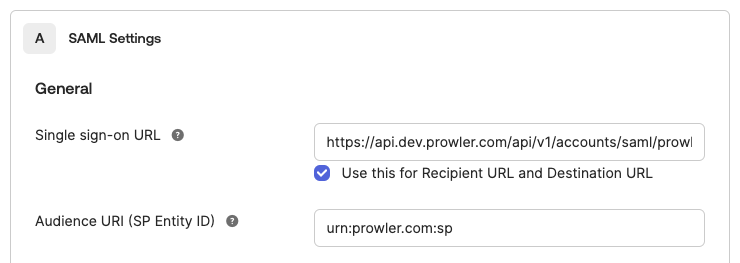
- Assertion Consumer Service (ACS) URL: The endpoint in Prowler that will receive the SAML assertion from the IdP.
- Audience URI (Entity ID): A unique identifier for the Prowler application (Service Provider).
IdP ConfigurationThe exact steps for configuring an IdP vary depending on the provider (Okta, Azure AD, Google Workspace, etc.). Please refer to the IdP’s documentation for instructions on creating a SAML application. For SSO integration with Azure AD / Entra ID, see our Entra ID configuration instructions. For Google Workspace, see our Google Workspace configuration instructions.
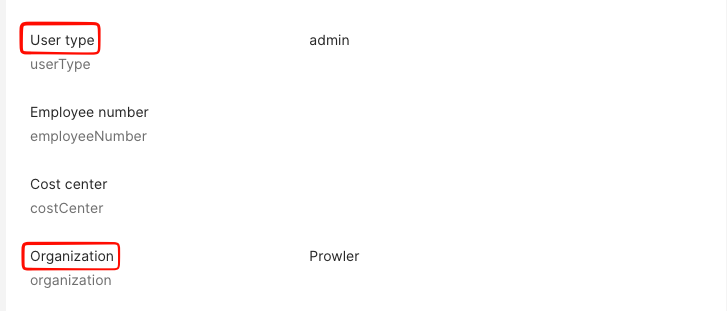
Fallback Role Without
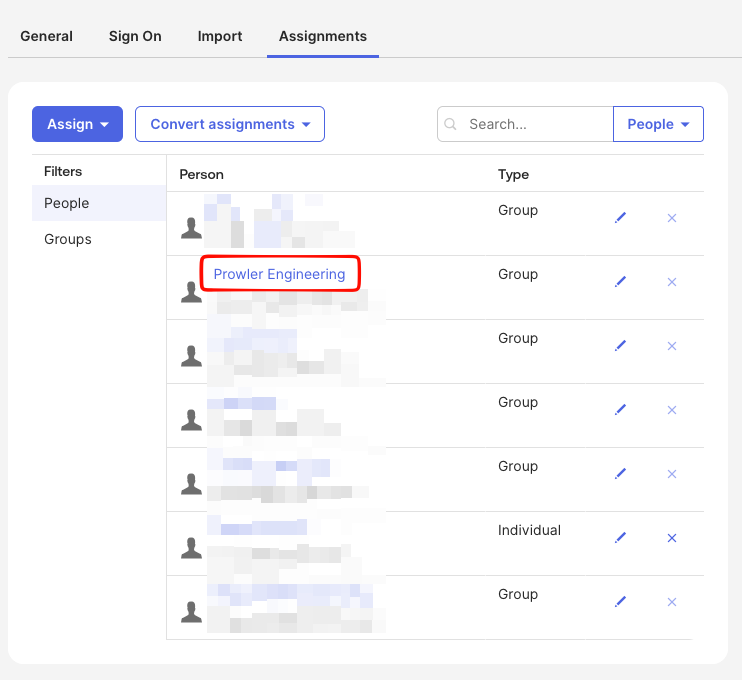
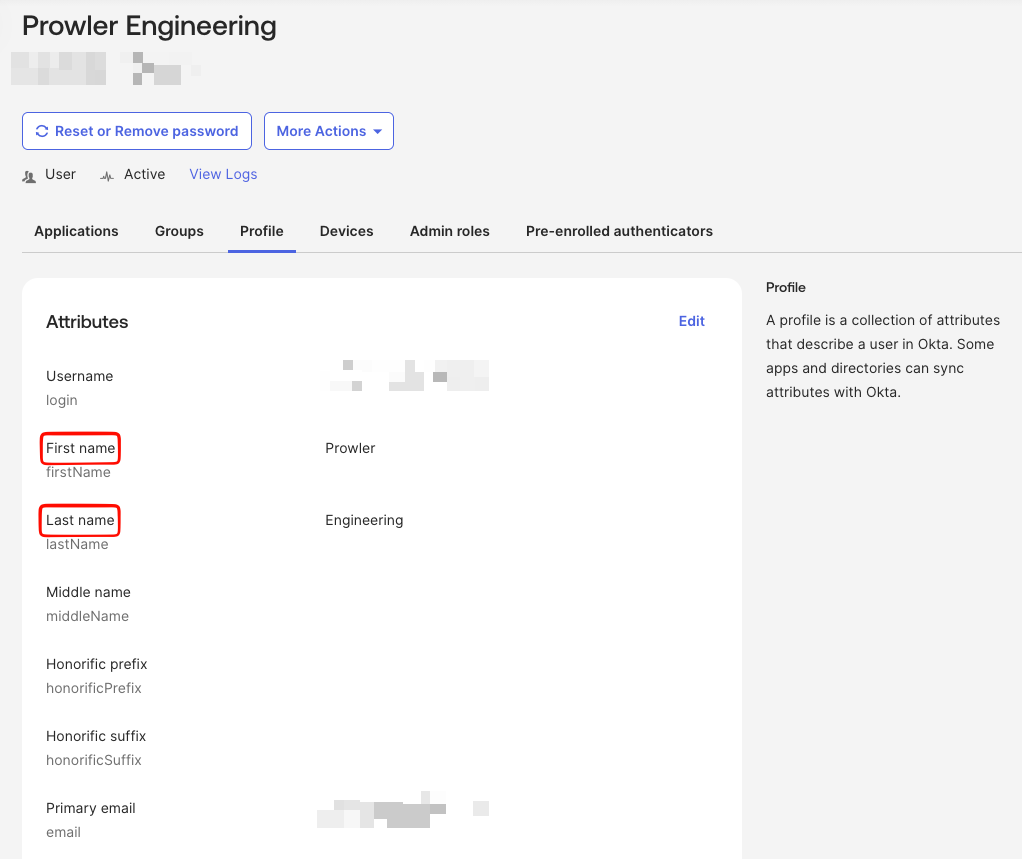
userTypeIf userType is not defined, the user’s existing roles are left unchanged. Users without an existing role in that tenant receive a least-privilege read_only fallback role. If read_only already belongs to a role with different permissions, Prowler Cloud checks suffixed names in order, starting with read_only_0. It reuses the first role with the fallback permissions or creates the first available name. A Prowler administrator can then assign the appropriate role through the RBAC Management tab.IdP Attribute MappingNote that the attribute name is just an example and may be different depending on the IdP. For instance, if the IdP provides a 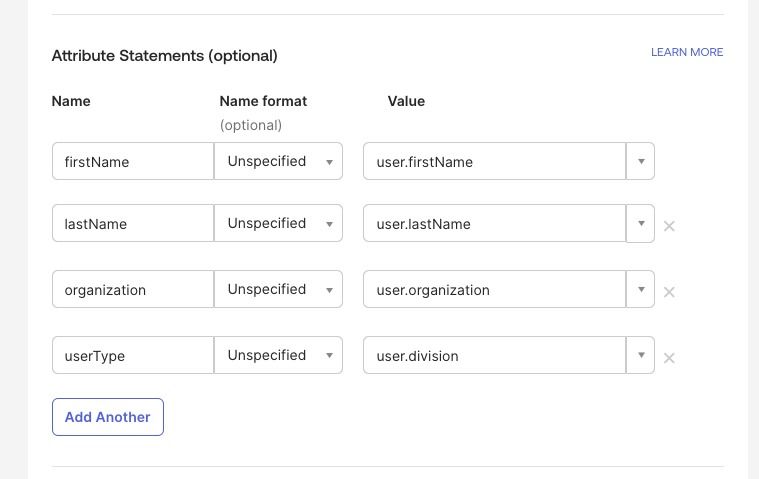
division attribute, it can be mapped to userType.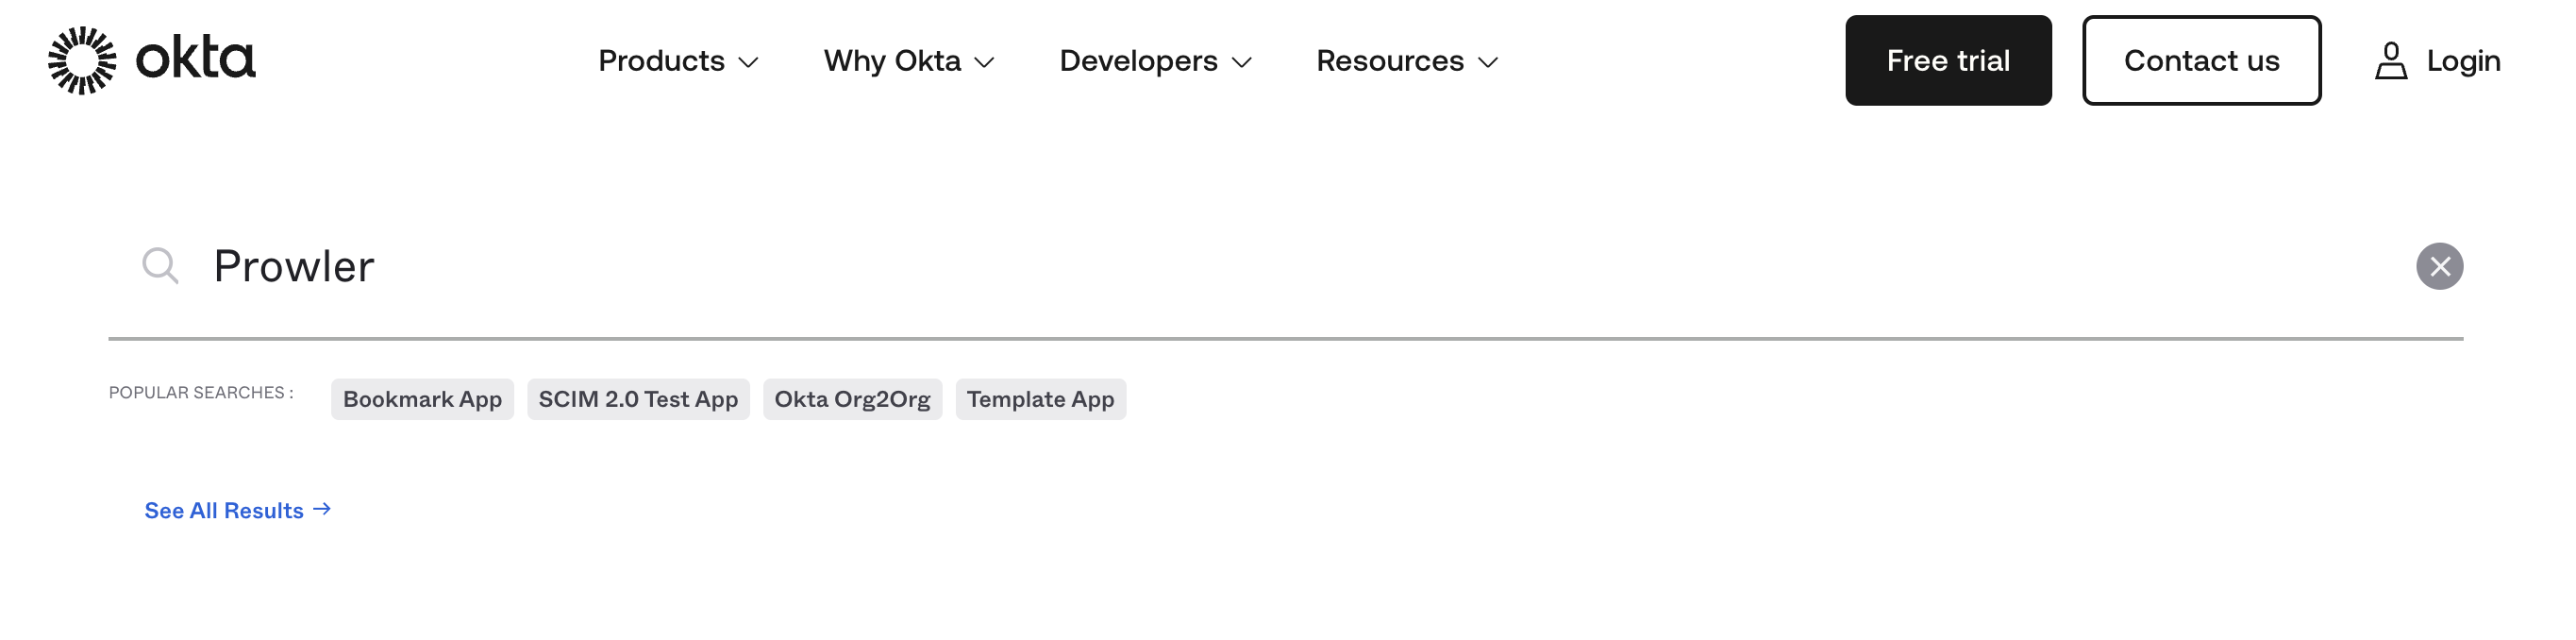
Step 4: Upload IdP Metadata to Prowler
Once the IdP is configured, it provides a metadata XML file. This file contains the IdP’s configuration information, such as its public key and login URL. To complete the Prowler Cloud configuration:- Return to the Prowler SAML configuration page.
-
Enter the primary email domain for the organization (e.g.,
mycompany.com). Prowler Cloud uses this domain to generate the Assertion Consumer Service (ACS) URL. Every configured domain can identify users who authenticate through this SAML configuration. - Upload the metadata XML file downloaded from the IdP.
Step 5: Save and Verify Configuration
Click the “Save” button to complete the setup. The “SAML SSO Integration” card will now display an “Enabled” status, indicating the configuration is complete and enabled.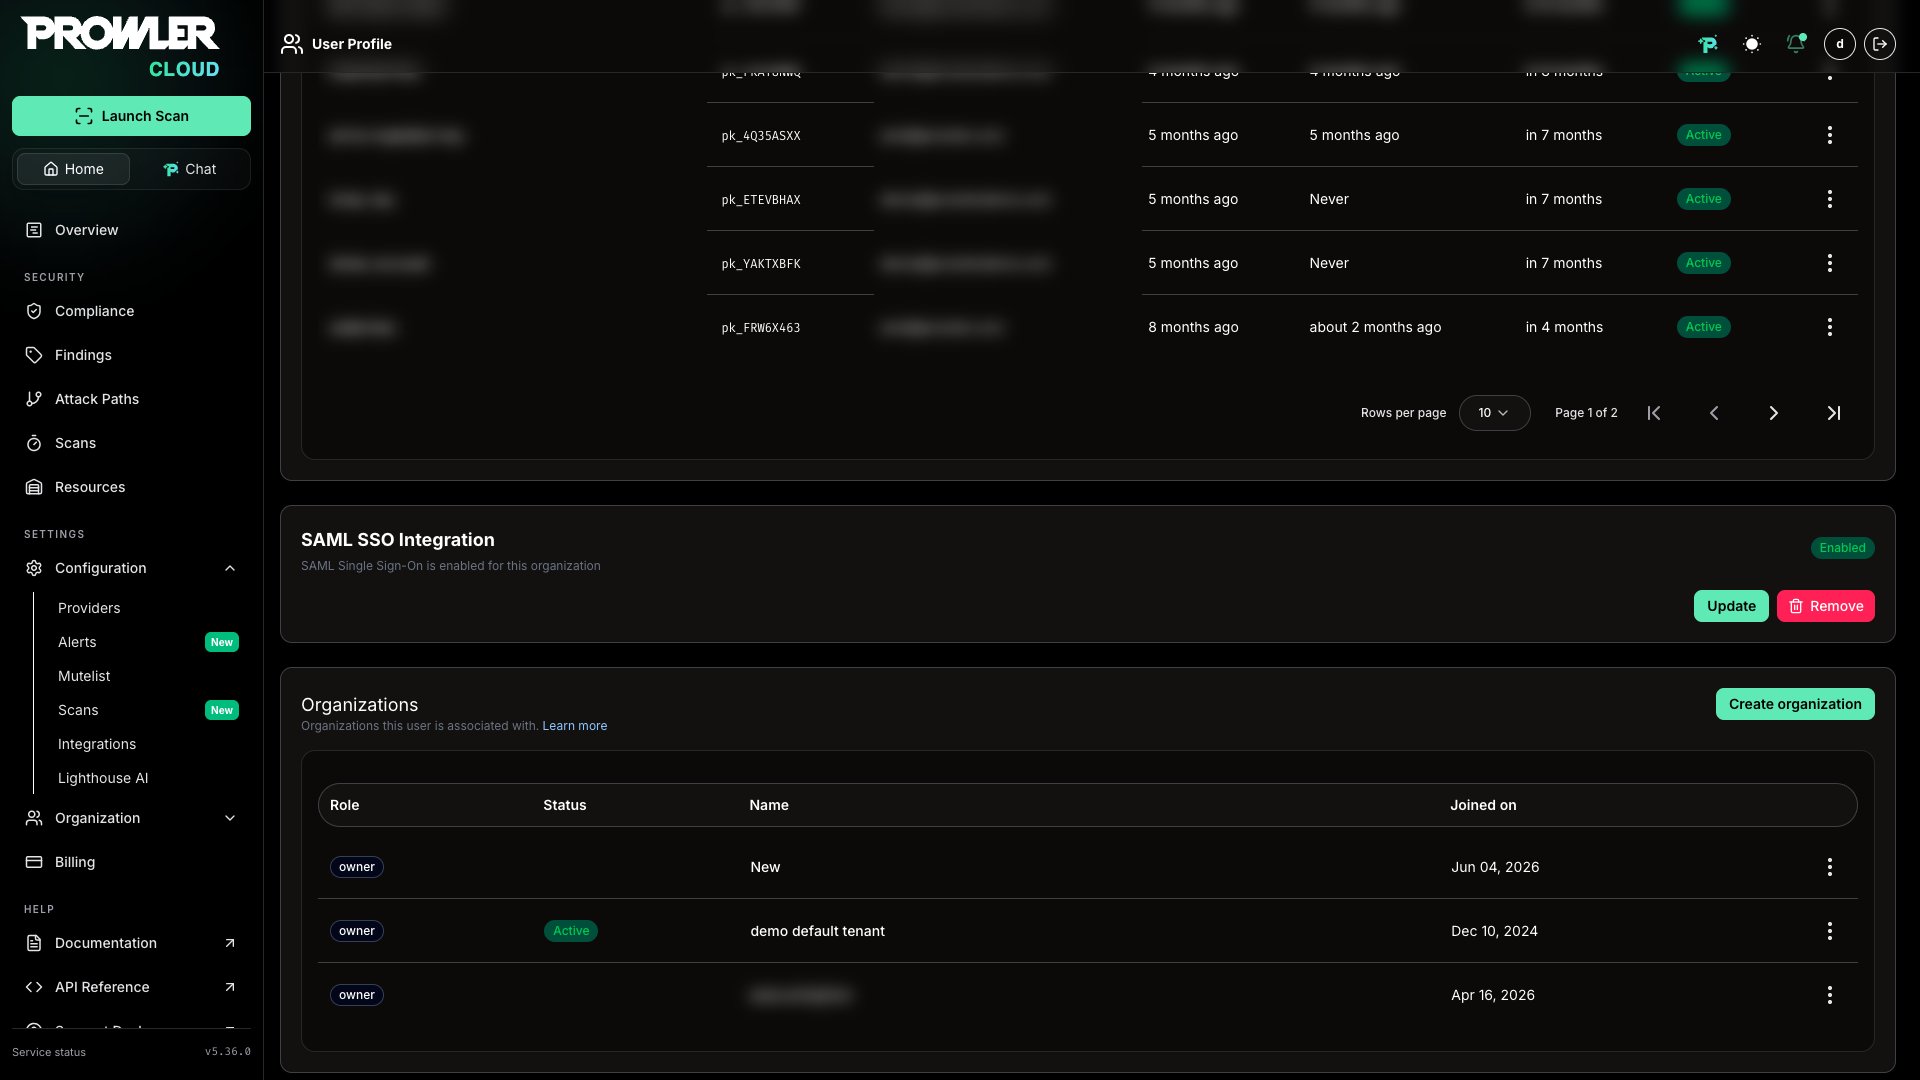
Add Multiple SAML Domains
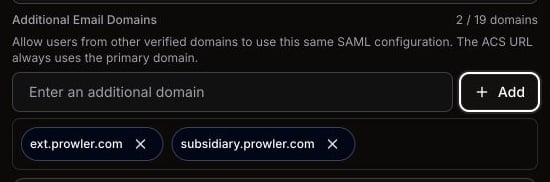
Prowler Cloud supports one primary domain and up to 19 additional verified email domains in the same SAML configuration. Users from every configured domain authenticate through the same Identity Provider (IdP), so separate SAML applications are not required for each domain.A SAML configuration supports up to 20 email domains in total. One domain is required as the primary domain, leaving 19 slots for additional domains. Each subdomain counts as a separate additional domain. For example,
partners.example.com counts separately from example.com.- Enter the domain in Additional Email Domains.
- Click Add. Each additional domain must be unique and must differ from the primary domain.
- Repeat these steps for every domain that must share the configuration.
- Click Save for a new configuration or Update for an existing configuration.
Remove SAML Configuration
SAML SSO can be disabled by removing the existing configuration from the integration panel.
IdP-Initiated SSO
Once SAML SSO is configured, users can access Prowler Cloud directly from their Identity Provider’s dashboard:- Navigate to the IdP dashboard or portal
- Click the Prowler Cloud application tile
- The system automatically authenticates users and redirects them to Prowler Cloud
SP-Initiated SSO
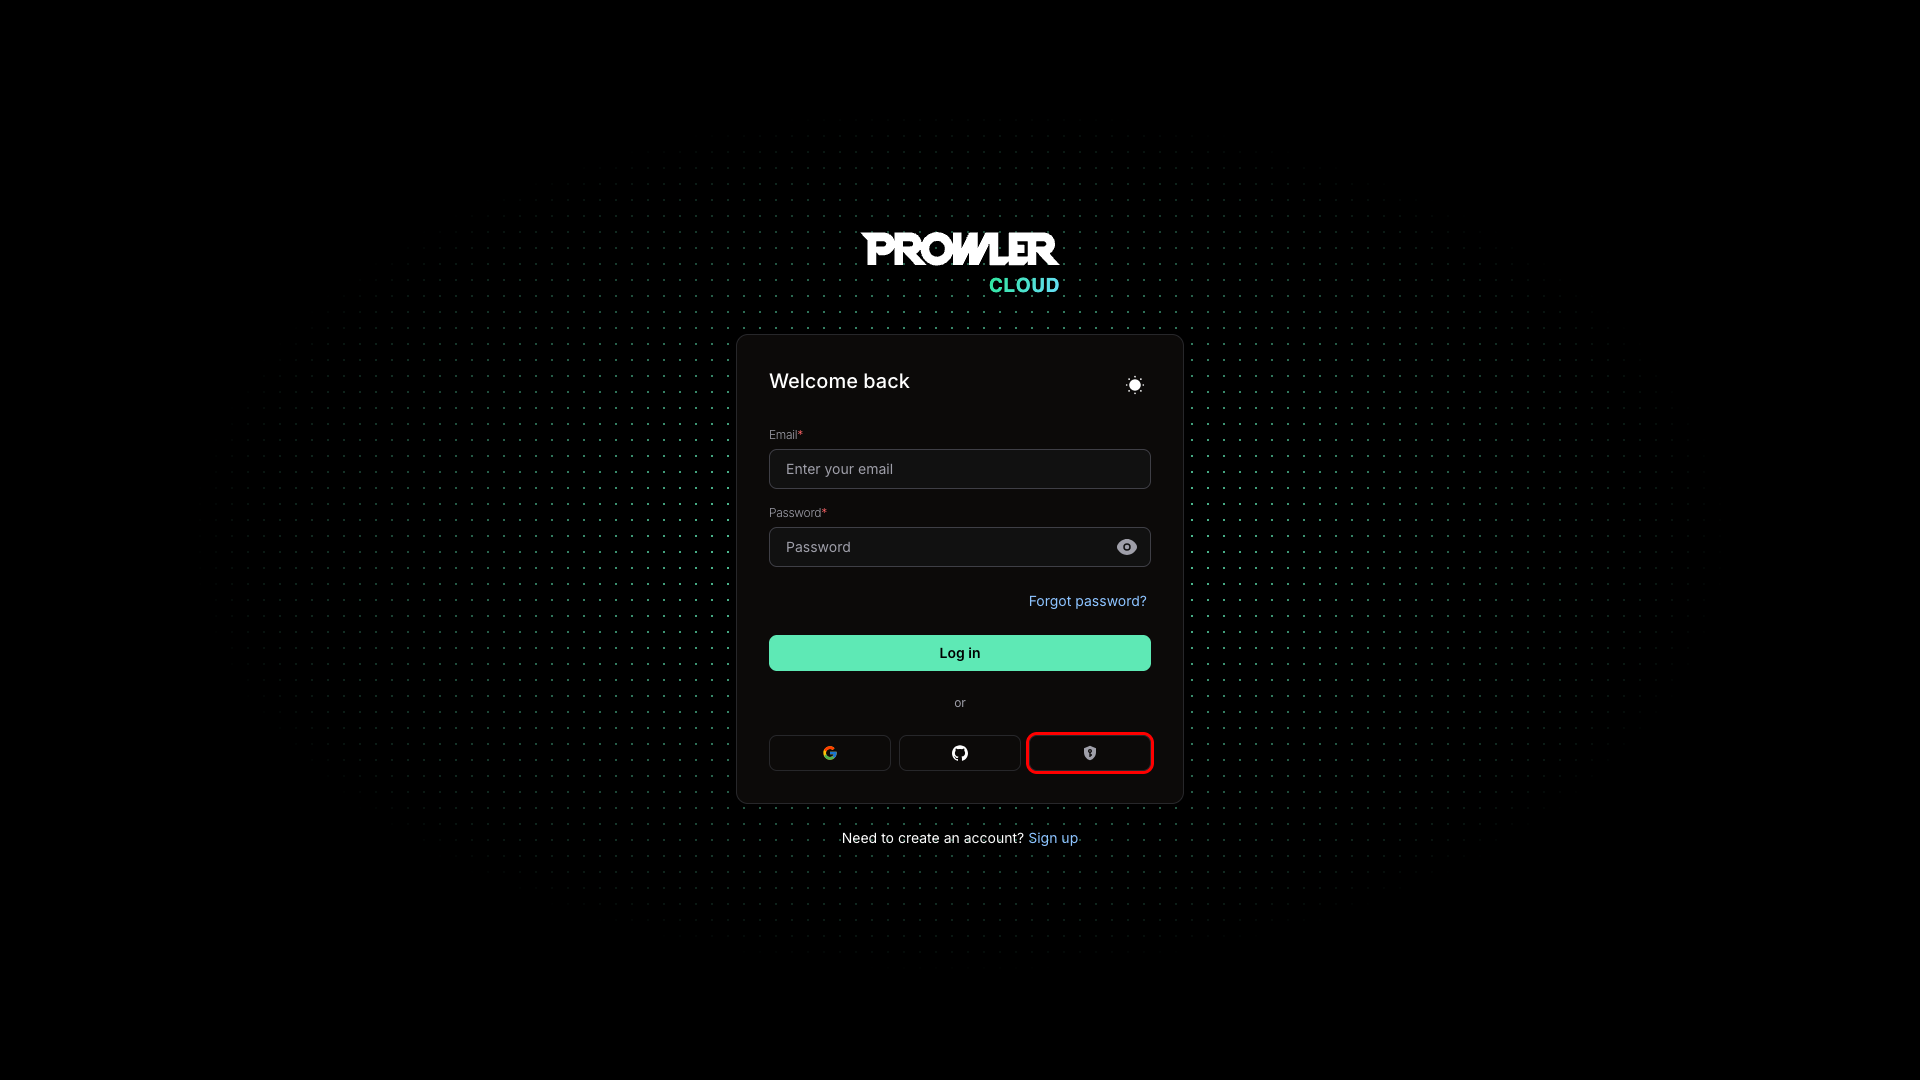
Users can also initiate the login process directly from Prowler’s login page:- Navigate to the Prowler login page
- Click “Continue with SAML SSO”
- Enter their email address from the configured domain
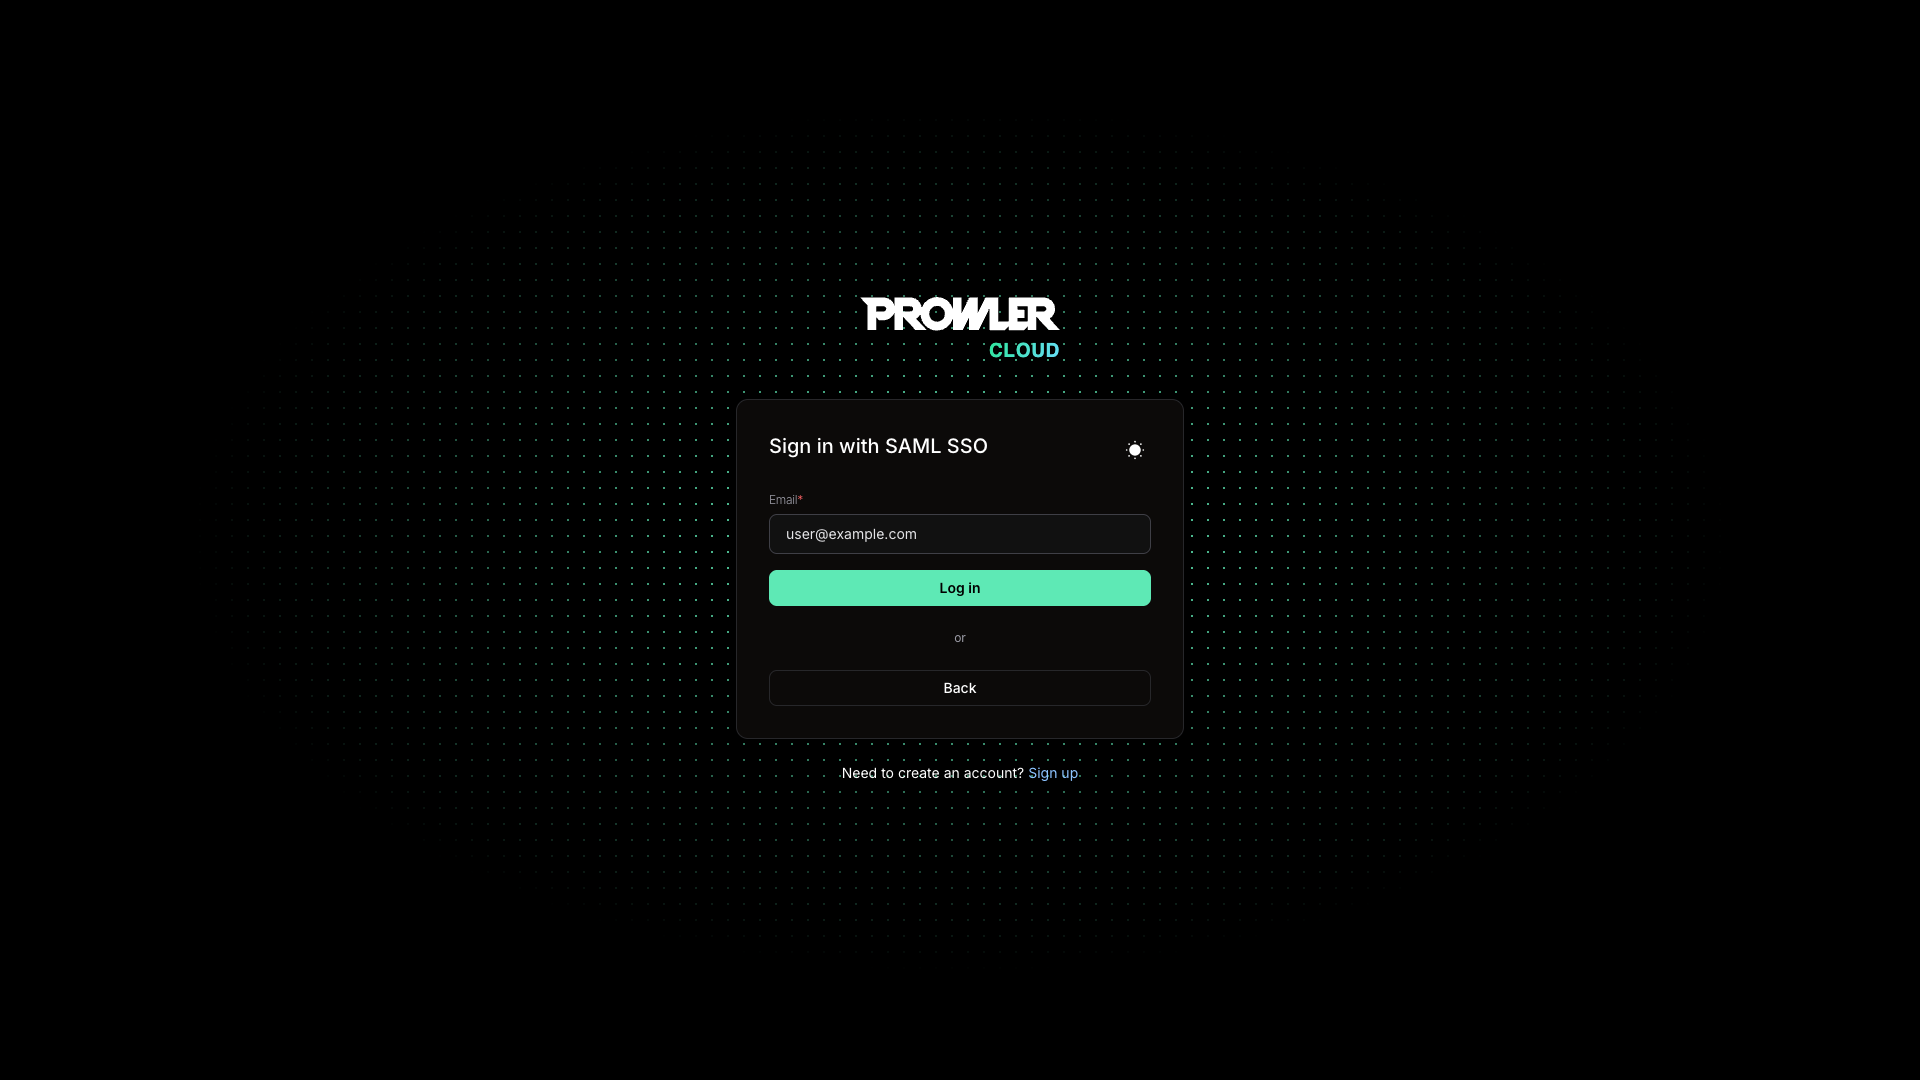
- The system redirects users to the IdP for authentication
- After successful authentication, users are returned to Prowler Cloud
Developer and Administrator Guide
This section provides technical details for developers and administrators of Prowler Local Server instances.Environment Configuration
For Prowler Local Server deployments, several environment variables must be configured to ensure SAML SSO functions correctly. These variables are typically set in an.env file.
After modifying these variables, the Prowler API must be restarted for the changes to take effect.
SAML API Reference
Prowler provides a REST API to manage SAML configurations programmatically.- Endpoint:
/api/v1/saml-config - Methods:
GET: Retrieve the current SAML configuration for the tenant.POST: Create a new SAML configuration.PATCH: Update an existing SAML configuration.DELETE: Remove the SAML configuration.
API DocumentationFor detailed information on using the API, refer to the Prowler API Reference.
SAML Initiate Endpoint
- Endpoint:
POST /api/v1/accounts/saml/initiate/ - Description: This endpoint initiates the SAML login flow. It takes an email address, determines if the domain has a SAML configuration, and redirects the user to the appropriate IdP login page. It is primarily designed for browser-based flows.
Testing SAML Integration
Follow these steps to test a SAML integration in a development environment.1. Expose the Local Environment
Since the IdP needs to send requests to the local Prowler instance, it must be exposed to the internet. A tool likengrok can be used for this purpose.
To start ngrok, run the following command:
https://<random-string>.ngrok.io) that forwards to the local server on port 8080.
2. Update DJANGO_ALLOWED_HOSTS
To allow requests from ngrok, add its URL to the DJANGO_ALLOWED_HOSTS environment variable.
3. Configure the IdP
When configuring the IdP for testing, use the ngrok URL for the ACS URL:https://<your-ngrok-url>/api/v1/accounts/saml/<YOUR_DOMAIN>/acs/
4. Configure Prowler via API
To create a SAML configuration for testing, usecurl. Replace placeholders with actual data.
5. Initiate Login Flow
To test the end-to-end flow, construct the login URL and open it in a browser. This starts the IdP-initiated login flow.https://<your-ngrok-url>/api/v1/accounts/saml/<YOUR_DOMAIN>/login/
If successful, the user will be redirected back to the Prowler application with a valid session.